To export gaming videos for best quality, hand your editor an MP4 container with an H.265 or H.264 codec, the same resolution and frame rate you recorded at, a bitrate high enough for motion-heavy scenes, and AAC audio at 48 kHz. Exporting is a second lossy compression pass, so the settings you pick decide whether the final file looks crisp or blocky.
If you are starting from a raw capture, record into MKV in OBS and use File > Remux Recordings to make an MP4 before editing. That remux moves the streams into a new container without re-encoding anything, so nothing is lost and you still get a file most editors and every platform will open. The habit of recording to MKV exists because a crash mid-recording usually leaves MKV recoverable, while an interrupted MP4 often does not.
Table of Contents
- What You Need
- Step-by-Step: How to Export Gaming Videos for Best Quality
- 1. Organize the gameplay timeline
- 2. Choose an export format and codec
- 3. Set the resolution, frame rate, and bitrate
- 4. Preserve color, detail, and audio quality
- 5. Export and verify the finished gaming video
- Common Mistakes
- Quick quality checklist
- Frequently Asked Questions
- What is the best format for exporting gaming videos?
- What bitrate should I use for a high-quality gameplay video?
- Should I export gameplay videos in 4K if I recorded in 4K?
- Do I need to export in a lossless codec for YouTube?
- Should the exported frame rate match the original recording?
- How can I tell whether my exported gaming video was compressed too much?
- Conclusion
What You Need
Four things, and the quality ceiling of the finished video is decided by the first one.
- Your original recordings. Keep them untouched. Every export is a second lossy pass on footage that is already compressed, so if you overwrite or re-encode the source while tidying your folders, the export is working with worse material than you had.
- An editor. DaVinci Resolve and Adobe Premiere Pro are the two most common on this topic, and the free DaVinci Resolve is the version most hobbyists use. HandBrake covers straight transcodes with no timeline, and FFmpeg handles anything the other two cannot.
- Storage headroom. A master and a delivery copy for the same clip can mean several times the length of the final file in free space. Check the drive before you start rather than after an hour of rendering.
- An export destination. Know the platform and the resolution tier it will serve. A 4K master gives you options that a 1080p master does not.
- Optional hardware. A discrete GPU with NVENC (NVIDIA), AMF (AMD) or Quick Sync (Intel) cuts render times dramatically at the same settings. Those hardware encoders deliver roughly 15 to 25 percent better quality per bitrate than x264, so they are not just a speed convenience.
Step-by-Step: How to Export Gaming Videos for Best Quality
1. Organize the gameplay timeline
Trim your clips and leave the resolution, frame rate and pixel aspect ratio exactly as they came in. Changing any of them in the timeline, even for a single clip, forces a resample the export then has to carry.
Scan for two things before you render: duplicate frames from a dropped capture, which show up as a brief stutter when you play the timeline back, and recording gaps where the game was closed. Both are easier to fix on the timeline than in a finished file.
For highlight edits, land your cuts on keyframes. Cutting between two arbitrary frames leaves the encoder with a jump it has to spend bits on, and it spends them by smearing the first second after the cut.
2. Choose an export format and codec
Use MP4 for anything you upload, and pick the codec inside it from this short list: H.265 for smaller files at equal quality, H.264 for maximum compatibility, AV1 if your editor offers it and you are willing to wait for the render. The container itself never affects quality. MP4, MOV and WebM are just wrappers, and the same H.265 stream in MP4 and MOV is identical picture for picture.
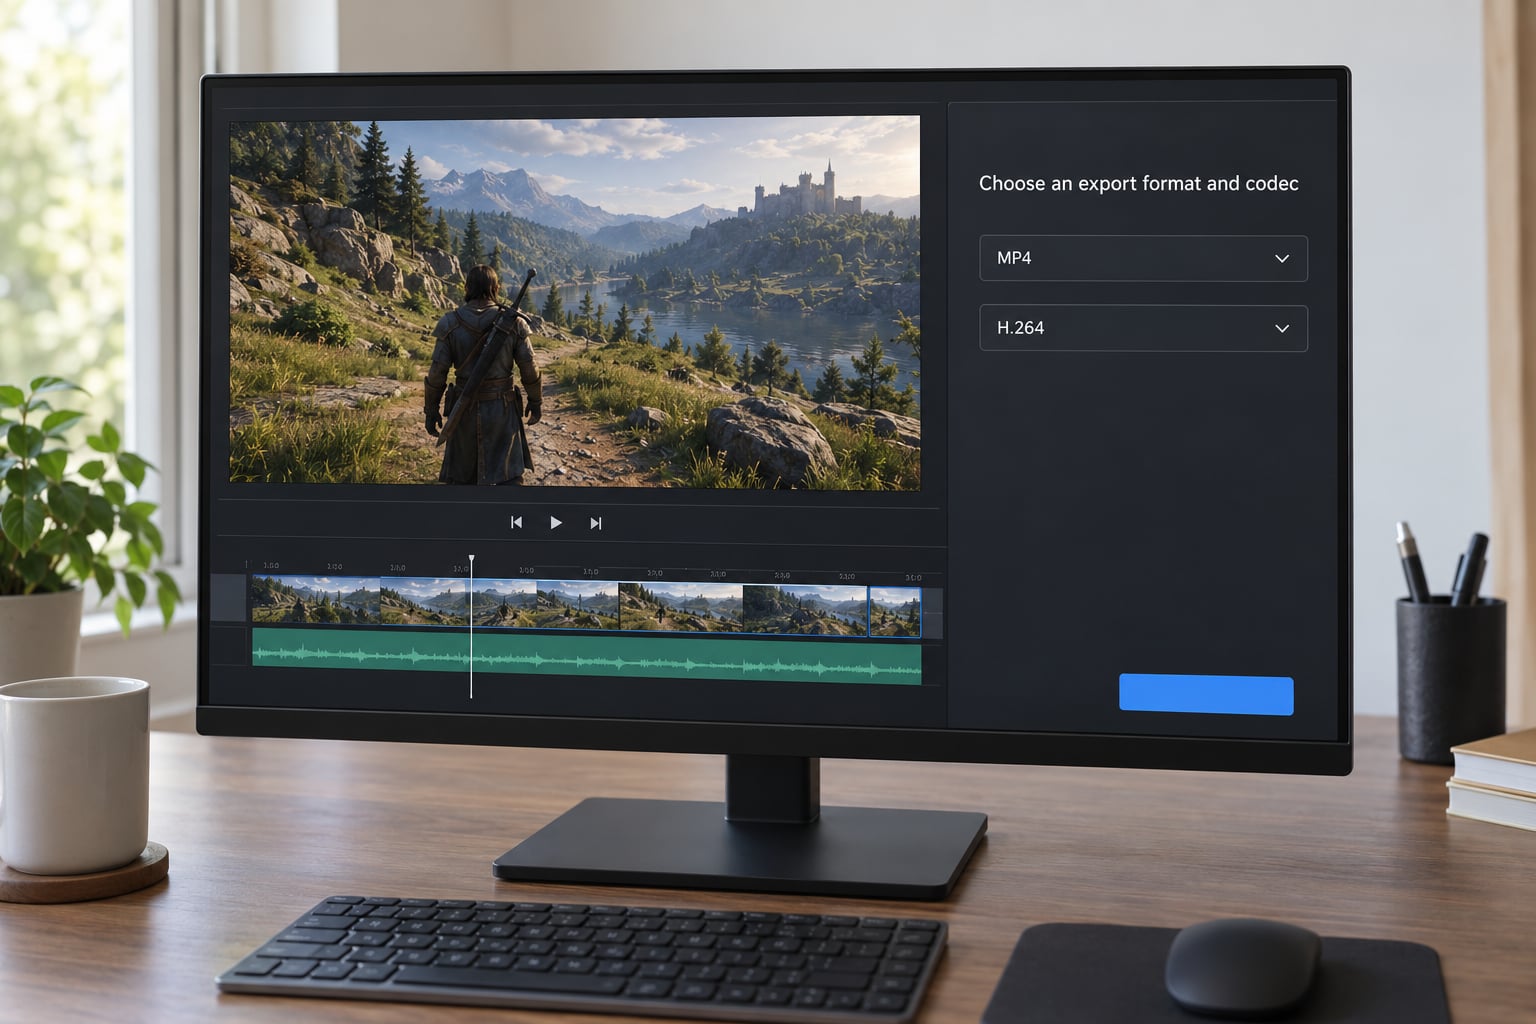
Gaming content is unusually hostile to compression because it is full of fast particle effects, flickering HUD elements and dark corridors, all of which burn bitrate fast. That is why the top answer in the r/davinciresolve thread on gaming export settings is H.265, with AV1 and H.266 named as the only things better for quality per byte.
3. Set the resolution, frame rate, and bitrate
Match the source frame rate, never upscale, and give motion-heavy scenes a higher bitrate than a static menu screen would need. Here are the numbers that work for gaming footage at the resolutions people actually upload.
| Resolution and frame rate | H.264 bitrate | H.265 bitrate | High-motion games (H.265) |
|---|---|---|---|
| 1080p60 | 20 to 30 Mbps | 12 to 18 Mbps | 18 to 24 Mbps |
| 1440p60 | 35 to 50 Mbps | 20 to 30 Mbps | 30 to 40 Mbps |
| 4K60 | 60 to 80 Mbps | 40 to 60 Mbps | 60 Mbps |
| 1080p30 | 12 to 18 Mbps | 8 to 12 Mbps | 12 to 16 Mbps |
That 60 Mbps H.265 figure for 4K is not invented. It is the number people land on for 4K gaming export in the Blackmagic Design forum thread on CQP versus CBR, where 60 mbit H.265 gets described as the sweet spot.
Bitrate mode comes down to how you want quality to behave. CBR (constant bitrate) spends the same on every frame, which is what most gaming creators use. VBR spends more where the picture is busy. CQP, also called CRF, sets a target quality instead and lets the bitrate float, which is the easiest way to keep a flat bitrate from starving your action scenes. Two-pass encoding is not usually worth the doubled render time for a highlight edit.
Frame rate is a genre decision as much as a technical one. Competitive shooters read better at 60 fps. Strategy, simulation and most RPGs look fine at 30 and take a fraction of the bitrate. Converting between the two on the timeline produces frames that were never drawn by the game, so match what you recorded.
4. Preserve color, detail, and audio quality
Export in Rec.709 with SDR footage. Gamma 2.2 matches how games are authored and what most monitors show; 2.4 is a slightly darker viewing curve for a properly calibrated cinema-style setup, and mixing the two is a common cause of washed-out or crushed footage.
Ten-bit matters more in gaming than people expect, because dark scenes with a bright HUD produce banding that 8-bit cannot hold. If your source is 10-bit, keep it 10-bit. If the color space is HDR, tag the export HDR and do not let the editor flatten it to SDR by accident, since a flattened HDR export loses highlight detail permanently.
Watch your data levels too. Full range means black really sits at zero, limited range is the broadcast-style 16 to 235 scale, and a mismatch between them is why footage sometimes looks washed or crushed only on one platform.
For audio, use AAC at 48 kHz, stereo, 320 kbps. Sample rate is the setting people get wrong: capture your microphone or headset at the same rate you export, because recording at 44.1 kHz and exporting at 48 kHz resamples the audio and can leave you with sync drift or thin-sounding dialogue. Audio bitrate is the last place to economise, not the first, because a 320 kbps stereo track is a rounding error next to a 20 Mbps video stream.
Avoid stacking effects that recompress your media. Two heavy denoise passes or a sharpening filter that re-encodes previews can quietly cost you detail before the final render even starts.
5. Export and verify the finished gaming video
Name the file with the project name, the resolution and the frame rate, such as RaidNight_final_1440p60_v3.mp4. A version number in the name saves you a lot of guessing later.
Watch the render rather than walking away, especially on your first export with new settings. Most editors report dropped frames, missing media or an unwritable path as soon as it happens, and a render that dies at 90 percent otherwise costs you the whole wait.
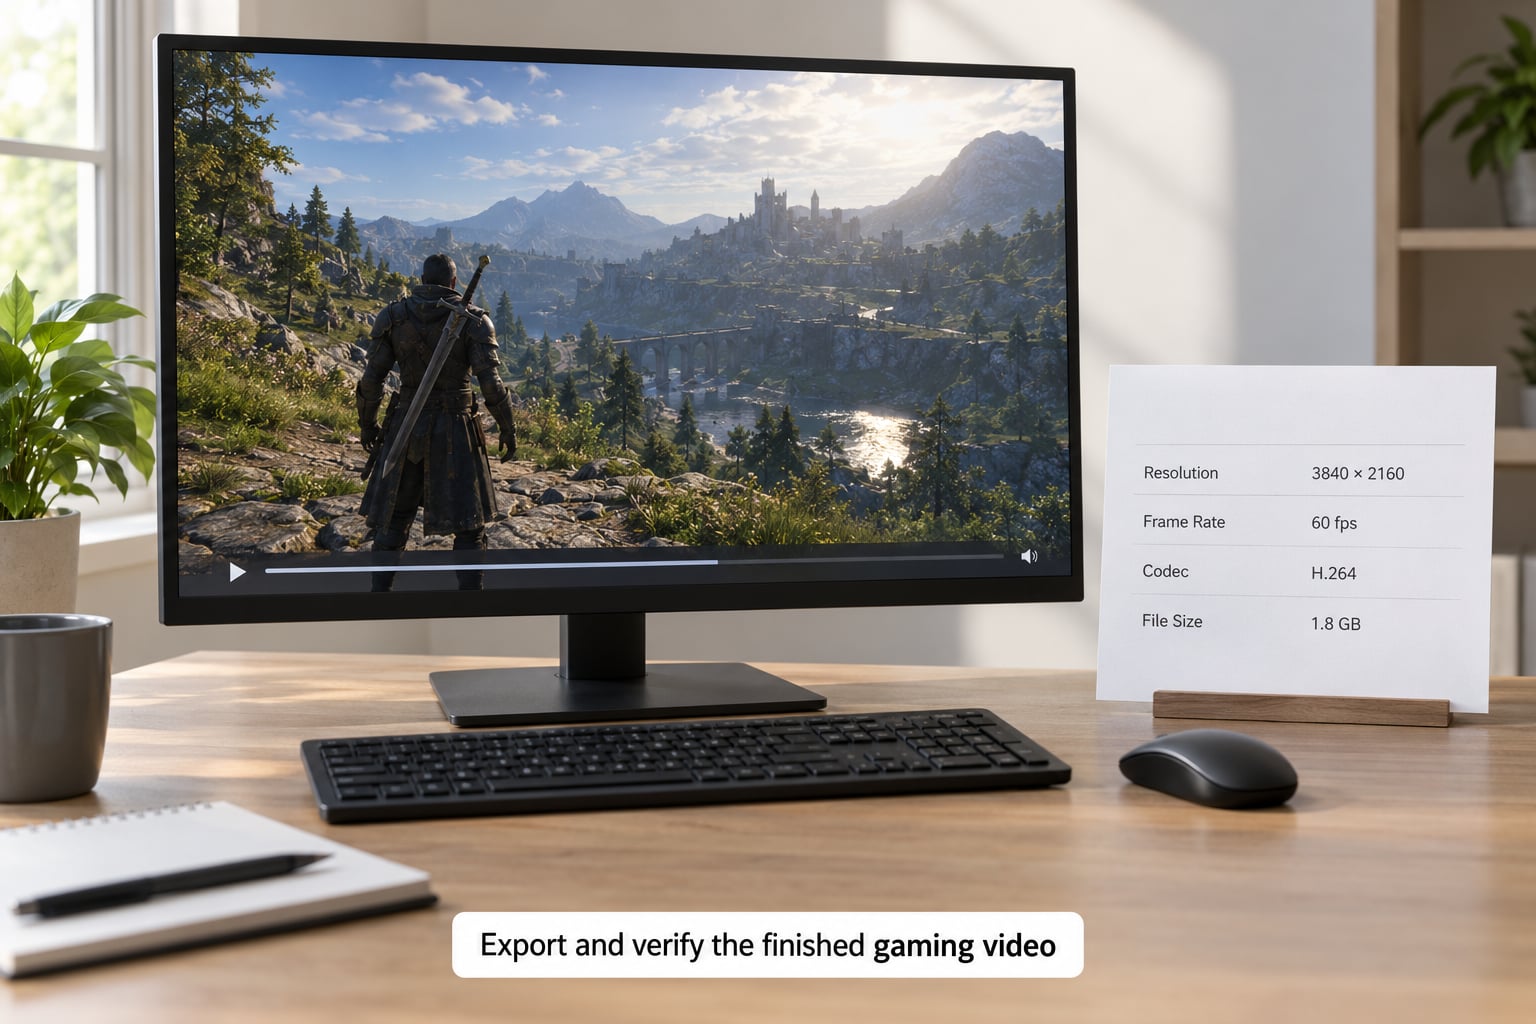
Then play the finished file, not the project. Open it in a media player and check the properties panel for the resolution and frame rate, then watch a minute of the busiest gameplay in it. Scrub through the first ten seconds, since that is where most players show buffering. Look for stutter, blocky patches in dark areas, and audio that drifts out of sync.
If the file is a straight copy or a single encode from your source, keep the source as an archive master. Export a second delivery copy with the upload settings rather than re-rendering the master later, and back both up before you upload. This is the master-versus-delivery habit that keeps an undeliverable file from becoming a lost recording.
Common Mistakes
Exporting below the recording resolution. A 4K recording exported at 1080p throws away detail you paid storage and capture bandwidth for. Downscale only when a platform needs it, and only once.
Using a frame rate the source does not have. Uploading 30 fps footage labelled as 60 fps produces judder that no bitrate fixes. Match the source exactly.
Applying the same filter twice. Grain, sharpen and denoise applied to a clip and then again to the group or the master double the artifacts and soften the image. Check the master for anything the clips already carry.
Treating bitrate as the only quality control. More bitrate does not rescue a bad frame rate, a wrong color tag, or a source that was already bitrate-starved at recording time. A community fix for the classic blur problem is to record at 20 Mbps or more and confirm the file is 1080p SDR Rec.709, H.264, constant frame rate, then wait for the platform to finish processing before judging it.
Exporting HDR as if it were SDR. The result is milky highlights or crushed shadows, and the detail is gone for good. Tag HDR properly or convert it once, deliberately.
Over-compressing audio. Dropping to 96 kbps to save a few megabytes on a 2 GB file is a bad trade. Spend the bits on the video track if you must economise, and keep AAC at 320 kbps.
The size trap is real too. A 13-minute 1080p60 project exported to DNxHR HQ produced a 41.5 GB file in one reported case, which is technically high quality and practically undeliverable. At 1080p and about 5 Mbps, a finished file runs roughly 2.2 GB per hour, so you can sanity-check any number your editor proposes against what you can actually upload.
Quick quality checklist
- Source file confirmed as 1080p or 4K, SDR Rec.709, constant frame rate, before you started
- Timeline resolution and frame rate match the source, with no upscaling
- Codec is H.265 or H.264, container MP4
- Bitrate is at or above the table figure for your resolution and motion level
- Audio is AAC, 48 kHz, stereo, 320 kbps, captured at the same sample rate
- Color space, gamma and data levels match the source, HDR tagged as HDR
- No master-level filter duplicating a clip-level effect
- Render watched to completion, no dropped frames reported
- Finished file played in a media player, properties checked, representative gameplay watched
- Master archived and backed up before upload, and the platform’s processing finished before you judge quality
Frequently Asked Questions
What is the best format for exporting gaming videos?
MP4 with an H.265 codec is the best default for gaming uploads, because H.265 holds the same detail as H.264 at roughly two-thirds the bitrate, and MP4 opens everywhere. Use H.264 only when you need maximum device compatibility. MOV is fine for an archive master. The container itself never changes quality, so do not switch formats expecting a sharper picture.
What bitrate should I use for a high-quality gameplay video?
For 1080p60, 12 to 18 Mbps in H.265 is enough for most games, and 18 to 24 Mbps for motion-heavy titles. For 1440p60, use 20 to 30 Mbps, and for 4K60 use 40 to 60 Mbps. Gaming needs more bitrate than talking-head footage because particle effects, HUD flicker and dark scenes all consume it. If you can only remember one number, treat 60 Mbps H.265 as the 4K target.
Should I export gameplay videos in 4K if I recorded in 4K?
Yes, and it is a form of insurance. A 4K export gives the platform more data to work with, and 1440p or 4K uploads are less likely to be served as a lower rendition than 1080p ones. Non-partnered channels in particular have reported 4K uploads being treated as protection against automatic downgrades. You can always export a 1080p copy later from the master.
Do I need to export in a lossless codec for YouTube?
No. YouTube re-encodes everything you upload into its own VP9 and AV1 renditions at fixed bitrates, so a lossless master buys you nothing on the platform. What matters is giving that transcode enough headroom, which is why a high-quality H.265 export beats a lossless file handed over. Lossless or intra-frame codecs still make sense for the archive master you keep on your own drive.
Should the exported frame rate match the original recording?
Always. Export at the frame rate you recorded, and never upscale to a higher one, because interpolated frames were never drawn by the game and read as soft or juddery motion. Pick 60 fps for competitive shooters where you want every frame of input feedback visible, and 30 fps for strategy, simulation and RPGs where the extra frames are wasted bitrate.
How can I tell whether my exported gaming video was compressed too much?
Play the file locally first. Blocky patches and smearing in dark corridors, stair-stepped edges on HUD text, and audio that drifts out of sync are all signs of a starved bitrate. Compare the properties panel against your intended settings, and check the source recording too, since a source captured at too low a bitrate cannot be rescued at export. If local playback is clean and the upload is not, the platform transcode is the limit, not your export.
Conclusion
Match the export to the recording, not to a preset you found online. Start by opening your source file’s properties, write down the resolution, frame rate, color space and sample rate, then set your export to match those and raise only the bitrate.
Once the file is rendered, play it before you upload it. Five minutes watching the busiest part of your gameplay in the finished file will catch a blocky export that a 40-minute upload makes permanent.