To add commentary to gameplay footage, you record your voice as its own audio track, drop that track into a video editor above the gameplay clip, line it up with the on-screen action using the waveform, then clean and balance the mix before export. The whole process takes about 90 minutes for a ten-minute video once you have the routine. The microphone and the edit matter far more than any other piece of kit, and everything you need is free or close to it.
That direct answer is the easy part. The fiddly part is the bit nobody warns you about: commentary drifts out of sync the moment you cut a loading screen out of the middle of a take, and a voice recorded six months ago no longer matches the footage you recorded last night. Everything below is built around avoiding those two problems.
This is for people who already have gameplay footage or are about to record some. If you stream live and want to reuse clips, the same workflow applies, just with stream highlights instead of raw recordings as the source. Last updated for 2026, and the menu paths are written for the current versions of the software named.
Table of Contents
- What You Need
- Editing software for gameplay commentary
- Step-by-Step: How to Add Commentary to Gameplay Footage
- 1. Plan the commentary before you hit record
- 2. Prepare the gameplay capture settings
- 3. Set up the microphone and audio levels
- 4. Record gameplay and commentary in the same pass
- 5. Add a second voiceover pass when the gameplay is already recorded
- 6. Edit the gameplay and the voice track together
- 7. Mix voice, game audio, music and effects
- 8. Review and export the finished video
- Common Mistakes
- Commentary drifts out of sync after you cut the footage
- The microphone sits too far away
- Levels jump around between lines
- Keyboard and mouse clicks bleed into the mic
- Commentary is mixed louder than the game
- You over-edit until the personality is gone
- Frequently Asked Questions
- How do I do commentary over gameplay?
- How do I record commentary separately and sync it to footage?
- What is the best software to edit gameplay videos?
- Should I comment live while playing or add commentary in post?
- Do let’s play videos need commentary to be monetized?
- Conclusion
What You Need
You need five things, and only two of them cost money. A capture method for the game, a microphone, headphones, one video editor, and one audio tool.
- Gameplay capture — OBS Studio on PC, built-in recording on PlayStation 5 or Xbox Series, a capture card for consoles, or the native screen recorder on Android and iOS.
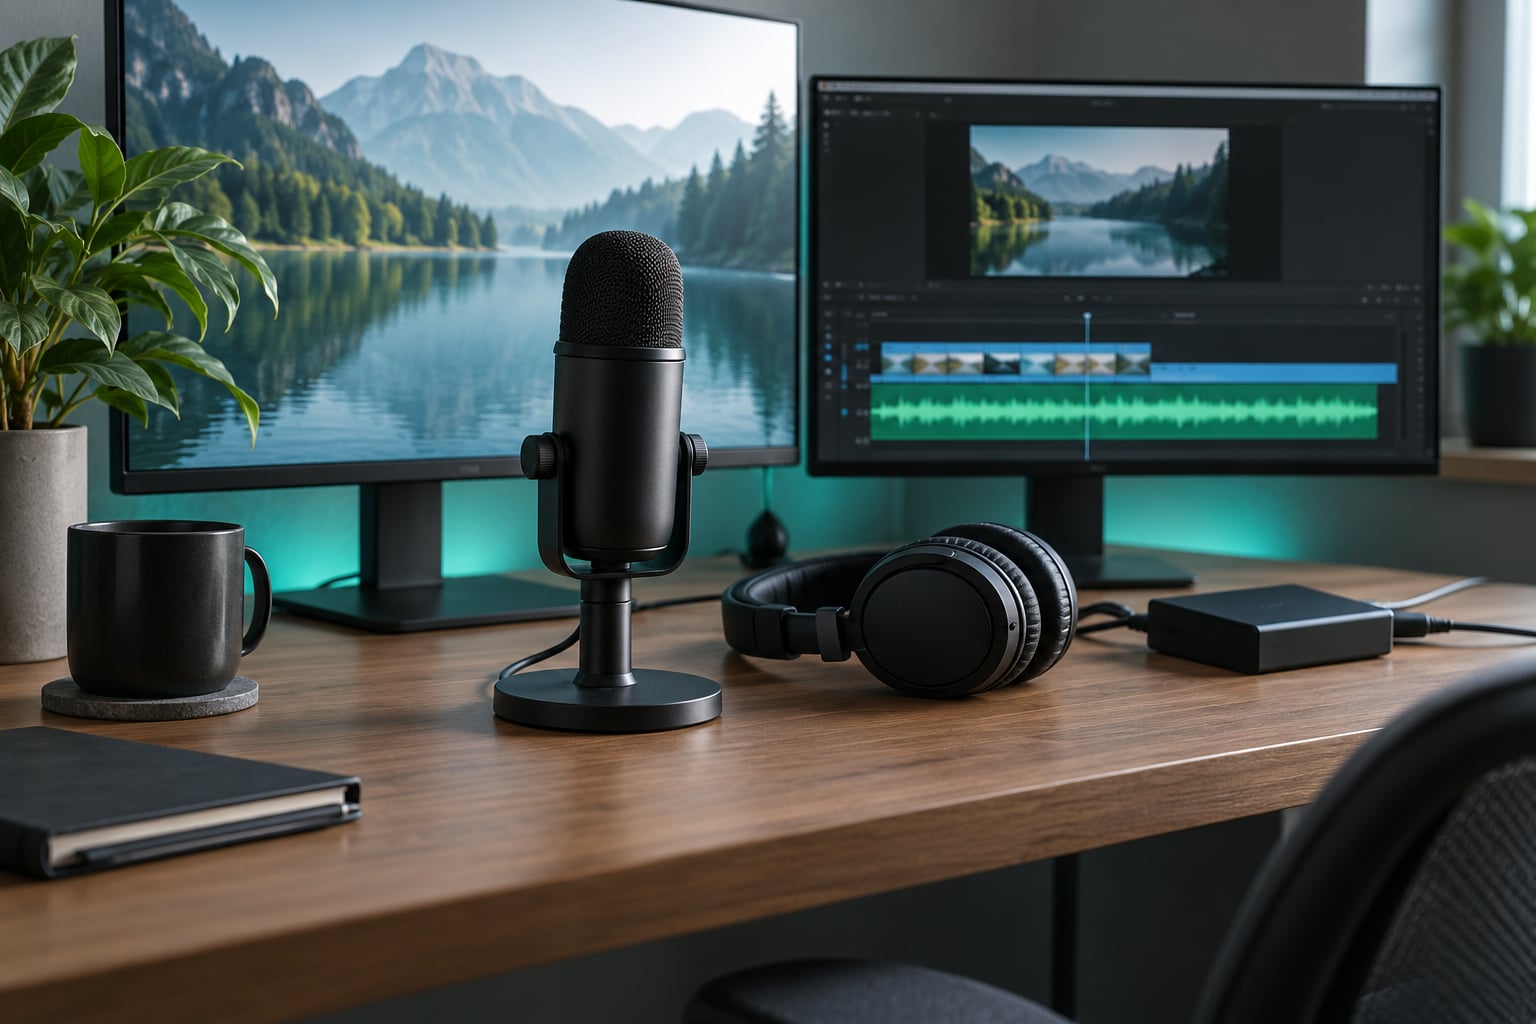
- A microphone — a USB condenser mic for a desk setup, or a headset mic if you want zero setup. A USB dynamic mic is a good middle ground if your room is loud.
- Headphones — closed-back, so game audio does not bleed into the microphone while you talk over it.
- A video editor — DaVinci Resolve, Shotcut, CapCut, iMovie or Kdenlive depending on your operating system.
- An audio tool — Audacity for cleaning the voice track before it goes anywhere near the timeline.
That list looks heavier than it is. OBS Studio, DaVinci Resolve, Shotcut, Kdenlive and Audacity all have free tiers that cover everything described in this guide. A USB microphone on a full-size stand with a pop filter does more for your video than a faster graphics card.
Editing software for gameplay commentary
| Software | Platforms | Cost | Voiceover and audio handling | Learning curve |
|---|---|---|---|---|
| DaVinci Resolve | Windows, macOS, Linux | Free version, paid Studio version | Fairlight page with a full mixer, normalization and voice isolation; facecam and picture-in-picture as a second video track | Steeper, biggest payoff |
| Shotcut | Windows, macOS, Linux | Free, open source | Audio filters per track including gain, normalize and fade; lightweight and quick for trims | Gentle |
| CapCut | Windows, macOS, mobile | Free with paid tiers | Auto-captions, one-tap cleanup and easy text overlays; strong for short-form clips | Very gentle |
| iMovie | macOS and iOS | Free with macOS | Basic audio ducking and separate tracks; fine for straightforward narration over a clip | Gentle |
| Kdenlive | Windows, macOS, Linux | Free, open source | Multi-track mixer with per-clip effects; syncs audio by waveform with a nudge and slip tool | Moderate |
| Audacity | All platforms | Free, open source | Audio only: noise reduction, compressor, normalize; the right place to clean a voice track before importing | Gentle |
DaVinci Resolve is the one most large gaming channels use, and the one that shows up most in editing tutorials. If you have never edited before, start in CapCut or iMovie, get a first video finished, then move up. Editing time disappears once the shortcuts are in your hands.
Step-by-Step: How to Add Commentary to Gameplay Footage
Eight steps, in order. Skip to the four that match your situation if you already have footage recorded.
1. Plan the commentary before you hit record
Write three to five bullet points of what you want to say before you play, because unscripted commentary recorded live drifts into filler. A short plan keeps you talking about the interesting part instead of narrating a menu.
For a walkthrough or a guide, the structure is simple: what the player is looking at, what just happened, why it matters, what comes next. For a highlight video, it is one reaction per clip, kept to a sentence or two.
You can tell this step worked if, after twenty minutes of recording, you still know what your video is about. Most first recordings fail because the creator did not decide on a point of view before the gameplay started.
2. Prepare the gameplay capture settings
Set these once and reuse them: 1920×1080 at 60 fps, H.264 or H.265, a bitrate between 20 and 40 Mbps for 1080p60, and audio at 48 kHz. For 1440p footage, bump the bitrate toward 60 Mbps rather than dropping the frame rate.
Most editors, OBS included, will record more smoothly than your console outputs, so matching the source resolution is a waste. Record at or below the game’s output and never upscale.
Storage is the setting people forget. A one-hour 1080p60 recording at 30 Mbps is roughly 13.5 GB. Check free space before you start, and record to the drive with the most room rather than the system drive.
Console and mobile paths differ. On PlayStation 5, capture video manually from the control centre or set up a broadcast to restream to a service that saves the file. On Xbox Series, hold the Share button to capture a clip, then transfer captures to a USB drive or the network. A capture card gives you clean HDMI passthrough from any console, which is the least fiddly option once it is plugged in. On mobile, use the built-in screen recorder on Android or the Game Mode recording on iOS, and keep the phone on mains power or fully charged, because screen recording drains a battery fast.
3. Set up the microphone and audio levels
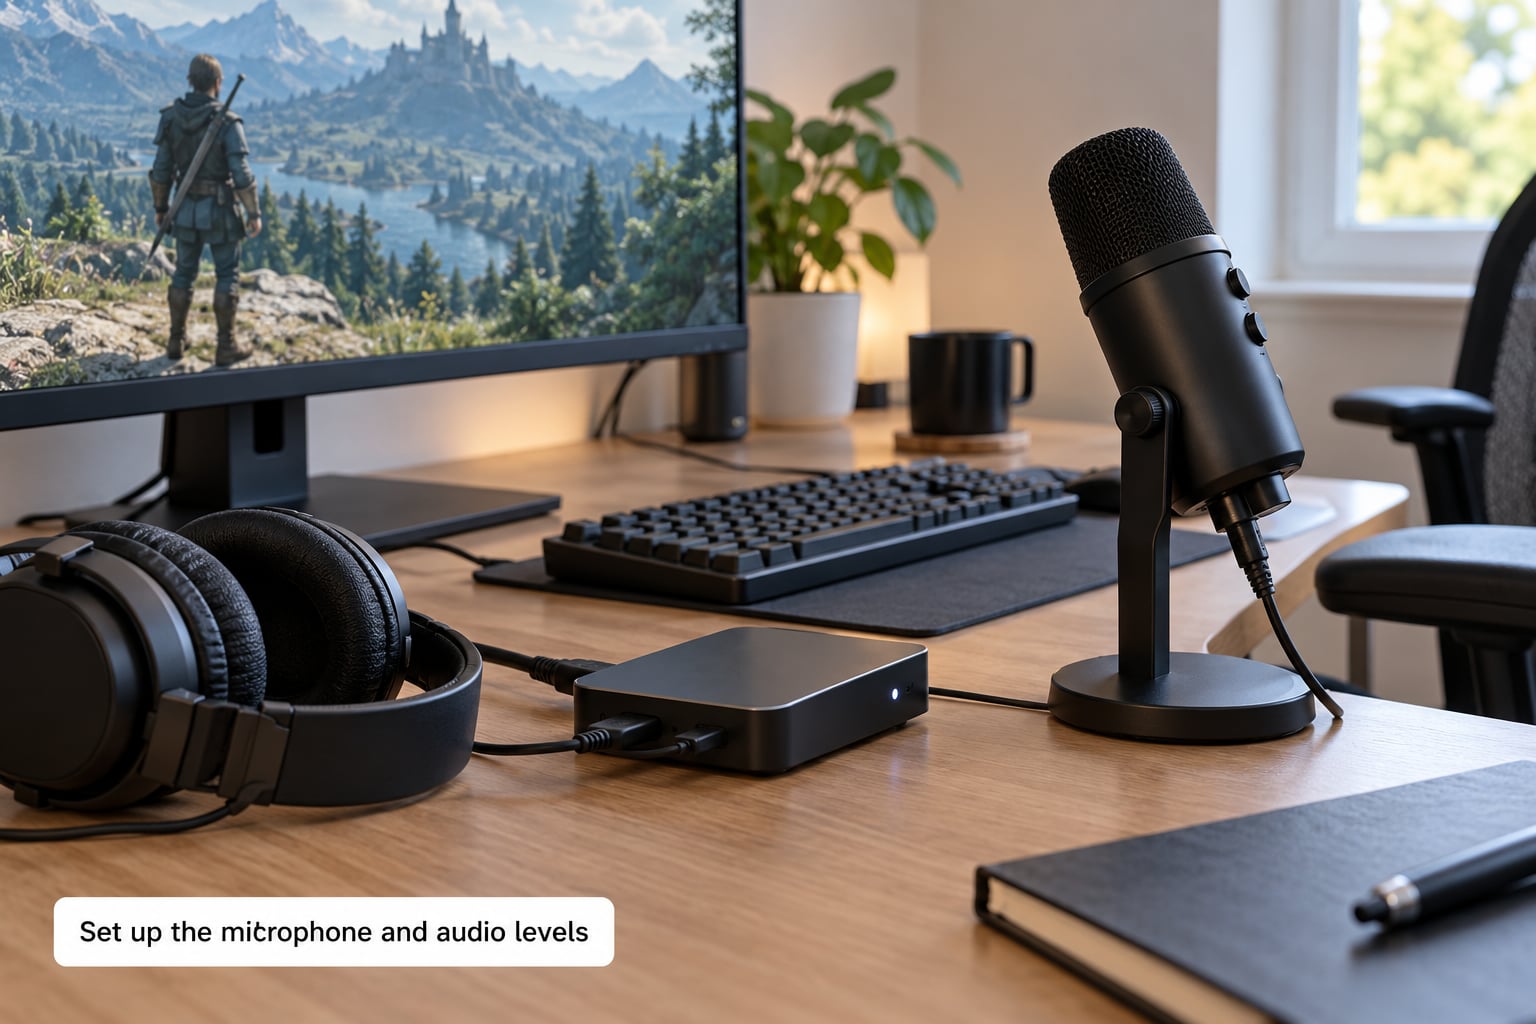
Put the microphone 15 to 20 cm from your mouth, slightly off to one side rather than straight in front, and a couple of inches above mouth height. That off-axis position is what keeps breath pops and plosives out of the recording.
In OBS, open Settings, go to Audio, then to the Mic/Auxiliary tab. Uncheck both of the noise suppression boxes so OBS leaves the audio alone, and leave the gain slider at its default. Doing processing in OBS means you cannot undo it later, and aggressive suppression is the reason a lot of gaming commentary sounds hollow and underwater.
Record a ten-second test, watch the waveform, and set the level so your loudest word peaks between -12 and -6 dB. Speak at the same volume you will use for the real take. Quieter-than-normal test speech is the most common reason commentary ends up too quiet to fix later.
To hear yourself without the delay that makes people talk over themselves, hold down a key assigned to monitoring in your audio mixer and keep the microphone off your speakers. Every millisecond of latency between your voice and your mouth tempts you to speak faster and quieter.
4. Record gameplay and commentary in the same pass
Most creators record live. It is faster, the reactions are real, and the personality is the product. A r/youtubegaming thread on making non-commentary gaming videos stands out for the consensus view that a pure playthrough with no voice has a hard ceiling, while personality is what pulls people in.
Say what you think out loud, leave room for the game, and do not narrate every button press. When something loud happens, stop talking and let the sound land, then react. Speaking over a sound effect is the fastest way to make a video feel cheap.
Keep a rough outline visible on a second screen or your phone. If you lose the thread, say nothing for a few seconds and pick it back up; that dead air is easy to cut in the edit and much harder to hide than a pause would have been.
Finish the take by reacting to the last moment rather than stopping cold. A video that ends mid-sentence feels abandoned, and the first five seconds of the next video matter for the same reason.
5. Add a second voiceover pass when the gameplay is already recorded
Adding commentary to footage you already have is a different job. You are not reacting, you are describing, and the description has to arrive a beat before or with the action rather than after it. Describe the situation first, then the outcome.
People on YTtalk and r/youtubegaming who work this way usually record the voice in Audacity, watch the footage full-screen on one display, and keep the record window on the other. Hit record a second before the moment you want to talk about. A 48 kHz WAV file gives you the most room to clean up later.
Leave visual breathing room too. If a scene gives you nothing to say for six seconds, either cut the clip or add context about what the player is about to attempt, rather than filling every second with talk.
If the footage is old and the voice you want is not available, a text-to-speech pass can cover it. Script it in short sentences, generate the audio, and treat the result as a starting draft to rewrite in your own words. Machine voices are fine for background exposition and rough timing, less so for anything meant to carry personality.
There is a third method worth naming: a hybrid. Record a live pass for the big moments, then write a short post pass for the tutorial explanations that live commentary never had room for. This is what most channels with a mixed Let’s Play and guide format end up doing.
6. Edit the gameplay and the voice track together
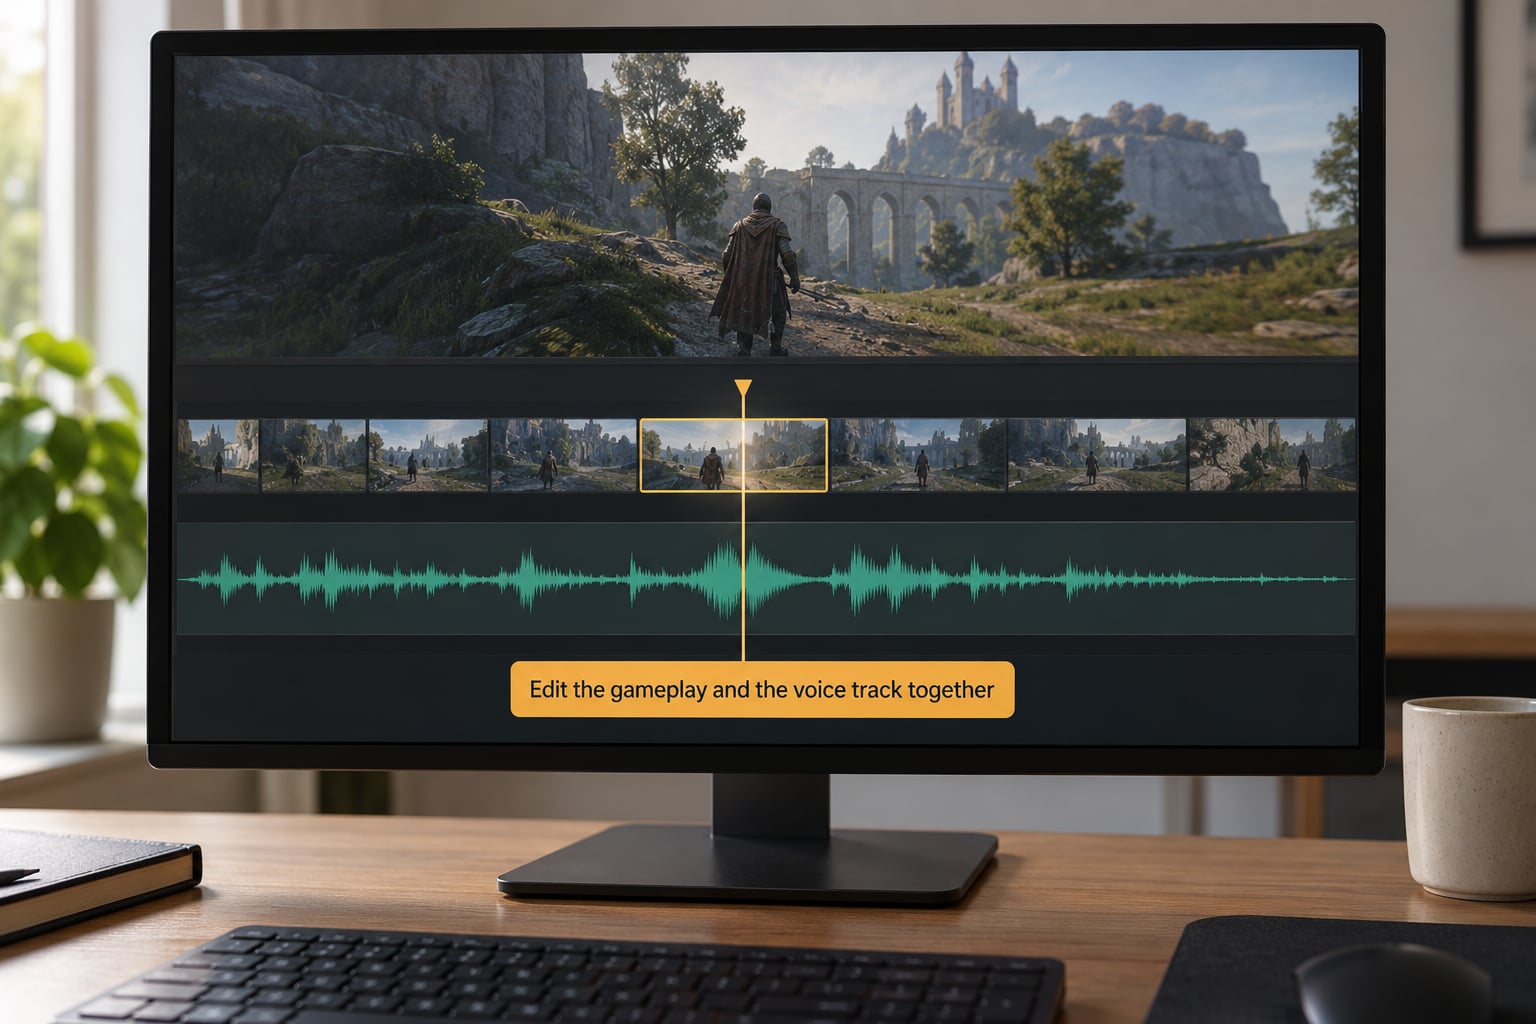
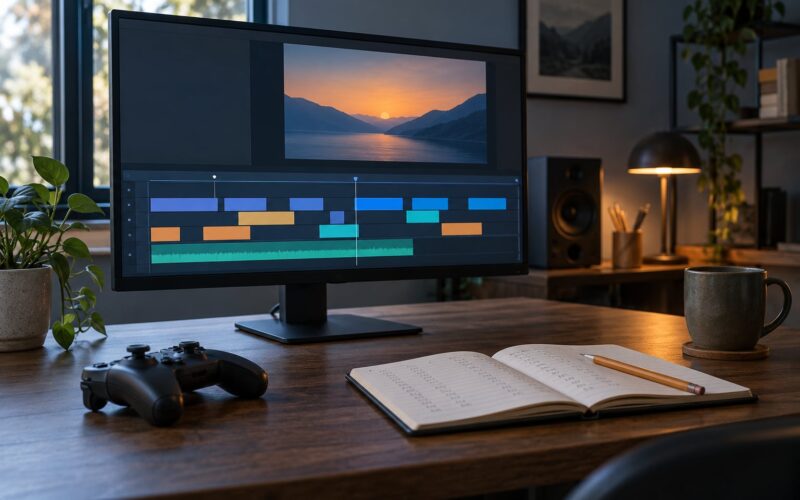
Import the gameplay and the voice file into your editor. Put gameplay on the upper video track, the voice on an audio track below it, and mute or lower the game’s original audio track for now so you can hear the voice clearly.
Trim the gameplay first. Cut loading screens, bathroom breaks, repeated deaths and the long stretches where nothing happens. Editors on YTtalk describe exactly this routine, keeping the humour around the failures and cutting the waiting.
Then align the voice. Most editors have a waveform view; zoom in until you can see individual phrases, and drag the voice track until the phrase you care about sits under the matching visual moment. If your editor offers slip and nudge tools, use them to slide a clip without changing its length.
Here is the trick that fixes the desync everyone complains about. Add markers on the gameplay timeline at three points you can see clearly: a door opening, a colour change in the interface, a menu appearing. Then put matching markers on the voice track. If the distance between marker one and marker two is not the same on both tracks, the tracks have stretched relative to each other, and you fix it by splitting the voice track at the second marker and sliding the second half by the difference in milliseconds.
Do the sync pass before you cut anything else. Cutting gameplay afterwards means re-checking sync every time you remove a clip, and that is how a 30-second video turns into an evening of work.
Finally, tighten the commentary. Remove long pauses with a ripple delete, cut false starts where you repeat a sentence, and leave a two or three frame handle at the start and end of each clip so transitions do not clip words.
7. Mix voice, game audio, music and effects
Bring the game’s audio back and set levels so both are audible without either one shouting. As a starting point, put your voice about 6 dB above the game audio, keep the music bed 12 to 15 dB under the voice, and drop the music further in scenes where you are explaining something.
Clean the voice before you judge the mix. In Audacity, select a couple of seconds of silence at the start, apply noise reduction with that selection as the noise profile, then apply it to the whole track. Follow it with a noise gate that opens near -40 dB so the track does not hiss between sentences, and a compressor at roughly 3:1 to even out the volume between a loud reaction and a quiet aside.
For the final level, normalize to about -14 LUFS integrated and check that peaks stay under -1 dBTP. Streaming platforms normalize loudness themselves, so a deliberately hot file just gets turned down and loses dynamics.
Use ducking where the game gets loud. Manually drop the game audio track by 4 to 6 dB under your dialogue in Resolve, CapCut and most other editors, or apply a compressor with sidechain to the voice track. A few seconds of lowered music under each explanation saves you from rebalancing the whole video.
Royalty-free music sits under the commentary, not over it. A track that competes with your voice is the fastest way to lose a viewer in the first ten seconds.
8. Review and export the finished video
Watch the whole thing once at normal volume without touching anything. You are checking four things: does the voice line up with the action, are levels consistent from start to finish, does any game sound get buried, and does the pacing hold.
Watch it a second time with the game audio off entirely, and a third time with the video muted. Two blind passes catch problems your attention missed the first time.
Add captions while you are still in the editor. Auto-caption in CapCut, Resolve or Premiere gets you most of the way; then fix names and any line the software mangled. Burned-in captions cost no extra work and keep the video readable when sound is off, which is how a lot of gaming viewers watch.
For YouTube, export H.264 MP4 in 1080p60, target around 12 to 20 Mbps, audio AAC 320 kbps at 48 kHz. Keep peaks under -1 dBTP so the platform does not clip what you worked on. For Shorts and TikTok, export a separate 1080×1920 vertical cut rather than cropping later; the reframing is twice as much work after the fact.
Set your title, description and thumbnail before you upload, not after. Upload as a draft, watch it back on a phone with headphones, and publish once the audio holds up on a small speaker.
Common Mistakes
Almost every problem with gameplay commentary comes down to six things, and each has a quick fix.
Commentary drifts out of sync after you cut the footage
This is the big one. Every cut you make in the video shortens it, but your voice track was recorded against the original length, so everything after the first cut is early or late. Fix it by syncing with three markers before you start cutting, and whenever you remove a long section, check the marker distance on both tracks and nudge the voice track by the difference.
The microphone sits too far away
Distance is the number one cause of thin, echoey commentary. A mic 60 cm back needs a lot of gain, and gain amplifies room noise, keyboard clatter and desk knocks along with your voice. Move it to 15 to 20 cm and turn the gain down.
Levels jump around between lines
Quiet sentences followed by a shout that clips is normal raw audio and not a mistake you made. A compressor at 3:1 followed by loudness normalization fixes it in about a minute, and doing it in Audacity before importing means the result is baked into the file.
Keyboard and mouse clicks bleed into the mic
Push the mic further from the desk, angle it away from your hands, and consider a dynamic model if your keyboard is loud. In OBS, setting the correct audio device to default rather than your headset avoids a doubled audio path that can also create a faint echo.
Commentary is mixed louder than the game
If viewers cannot hear a footstep or a gunshot that matters, the video feels wrong even if the voice sounds great. Pull the game audio up rather than pushing the voice down, and check on a phone speaker, where the low end disappears and the balance changes completely.
You over-edit until the personality is gone
Cutting every hesitation and every failed attempt leaves a video that sounds like an advertisement. Keep the reactions to your own mistakes, keep the jokes that follow a death, and place the facecam in a corner so it does not cover the part of the screen you are talking about.
One more worth naming: over-processing the voice with noise reduction until it sounds underwater. Light touches, short noise samples and listening on headphones will keep it sounding like a person.
Frequently Asked Questions
How do I do commentary over gameplay?
Record your voice on a separate audio track while you play, import that file into a video editor above the gameplay clip, and align it using the waveform or three timeline markers. Clean the voice with noise reduction and compression, set the game audio about 6 dB under your voice, and export. Recording live and adding it in post both work; live keeps your reactions genuine, post gives you tighter pacing.
How do I record commentary separately and sync it to footage?
Open the footage full-screen on one display and Audacity on the other, start recording a second or three before the moment you want to describe, and save as a 48 kHz WAV. In your editor, put the voice on an audio track below the video, zoom into the waveform and slide the track until phrases sit under their matching visual moments. Add three markers to check for drift once you start cutting.
What is the best software to edit gameplay videos?
DaVinci Resolve is the strongest all-round option and is free on Windows, macOS and Linux, with a full audio mixer and easy picture-in-picture layering. Shotcut and Kdenlive are lighter open-source options, iMovie is the easiest route on a Mac, and CapCut is the fastest for short vertical clips with auto-captions. Audacity handles voice cleanup before the audio reaches the timeline.
Should I comment live while playing or add commentary in post?
Live commentary keeps your reactions authentic and takes less time, and most creators use it as the default. Post-production voiceover gives you tighter structure and lets you redo a line, which makes it better for tutorials and guides where the explanation has to be accurate. A hybrid works well too: record live for the big moments and write a short post pass for the explanations.
Do let’s play videos need commentary to be monetized?
Commentary is not a formal monetization requirement, but it is close to essential in practice. Ad revenue depends on watch time and audience retention, and a raw screen capture with no voice is hard to keep watching. Channels built around personality report far better reach than silent gameplay, and commentary also opens up reviews, essays and guide formats that attract different viewers.
Conclusion
Record a two-minute test before you commit to a full episode. Stable capture at 1080p60, a microphone 15 to 20 cm from your mouth with a peak level around -6 dB, then one editing pass that trims the dead air, syncs the voice with three markers and sets the game audio just under your commentary.
That first test is where you find out what your room sounds like and how your editor handles waveforms, and it takes an hour instead of a whole evening. Once it feels routine, the workflow in this guide stops being a project and turns into the way you make videos.