To find your ideal mouse sensitivity, fix your hardware DPI, turn off mouse acceleration, measure how far your mouse travels for a full 360-degree turn, then test that number in-game with flick and tracking drills. Nudge it by 3 to 5 percent at a time until overshoots and undershoots balance out.
It takes about an hour of setup and two weeks of play before you know, which is exactly why most people get it wrong. They tweak a slider, feel bad for ten minutes, and change it again.
Below is the process I would hand anyone who plays shooters: measure first, test second, adjust in tiny steps, then leave it alone long enough to adapt. It works across CS2, Valorant, Apex Legends, Overwatch 2 and Fortnite, because it works off physical distance rather than any game’s number scale.
Table of Contents
- What You Need
- Step-by-Step: How to Find Your Ideal Mouse Sensitivity
- Step 1: Establish a Sensible Starting Point for Your Mouse Sensitivity
- Step 2: Measure Your Physical Mouse Movement
- Step 3: Convert the Setting for Your Game
- Step 4: Test Firing, Tracking, and Turning
- Step 5: Adjust in Small Percentages
- Step 6: Validate the Setting Across Real Matches
- Step 7: Record and Maintain Your Final Sensitivity
- Common Mistakes
- Fix Windows mouse acceleration before you measure anything
- Frequently Asked Questions
- What is the difference between mouse DPI and in-game sensitivity?
- Is a lower mouse sensitivity always better?
- How do I convert my sensitivity to a different FPS game?
- How long should I test a new mouse sensitivity before judging it?
- When should I change my sensitivity again?
- Should I use 800 or 1600 DPI for gaming?
- Conclusion
What You Need
A mouse that holds its DPI setting steady, and no driver updates halfway through your test. The single most common reason a sensitivity test fails is a hardware or software change hiding inside it.
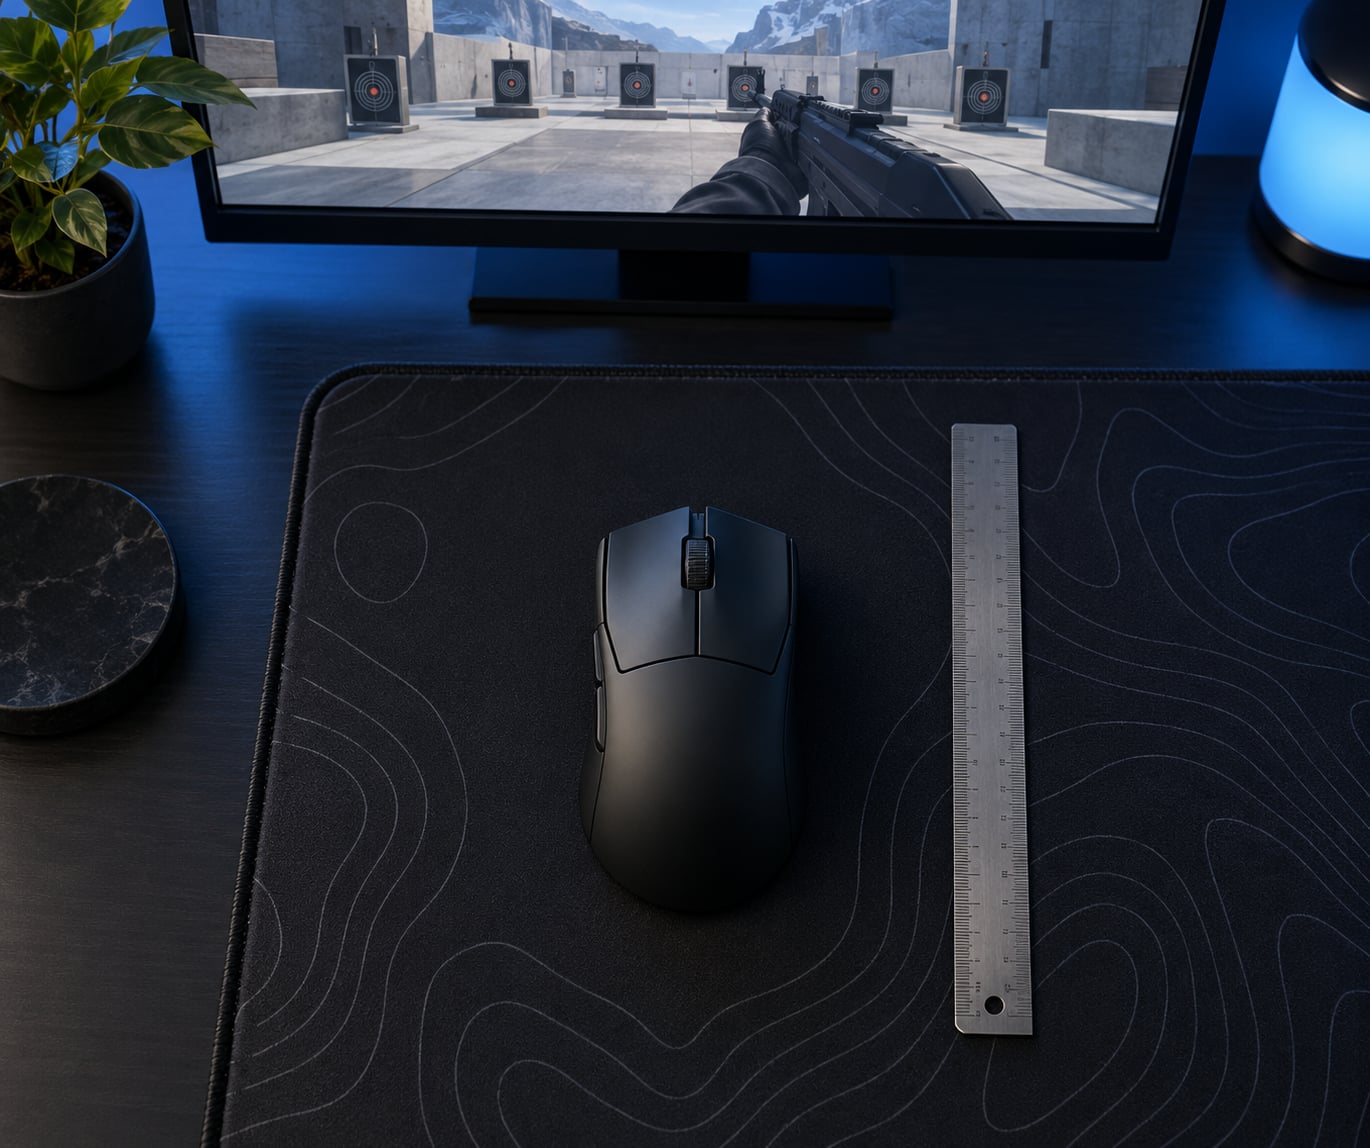
- A ruler or tape measure to measure the physical distance your mouse covers.
- A fixed DPI you can read off your mouse software or driver panel and write down.
- The game’s sensitivity menu, plus any aim-down-sights or scope multiplier in the same screen.
- A consistent play area with at least 25 to 30 cm of usable mousepad in front of you.
- A practice range or aim trainer if the game has one. This is optional, but it removes the chaos of live matches from step four.
One warning about hardware. Most gaming mice are accurate to within a few percent of the DPI printed on the box, and cheap optical sensors can drift more than that as they warm up. Verify it once before you start, then leave it alone.
Step-by-Step: How to Find Your Ideal Mouse Sensitivity
The method has seven steps. The order matters because each one removes a variable that would otherwise contaminate the next.
Step 1: Establish a Sensible Starting Point for Your Mouse Sensitivity
Start from what you use now, not from a number you saw in a pro’s settings video. If you are not currently playing anything, 800 DPI with an in-game sensitivity that puts you around 25 to 40 cm for a 360-degree turn is a reasonable first guess for a first-person shooter.
Write three things down before you touch anything: your mouse DPI, your current in-game sensitivity, and your field of view. Also note your aim style, because that sets a hard limit on how fast you can go. Arm aim uses the whole mousepad and wants a slower sensitivity. Wrist aim is flickier and wants a faster one. Hybrid sits in the middle.
Check your desk too. If you can only drag the mouse 20 cm before it hits a wall, your sensitivity is capped by space, not by preference.
Step 2: Measure Your Physical Mouse Movement
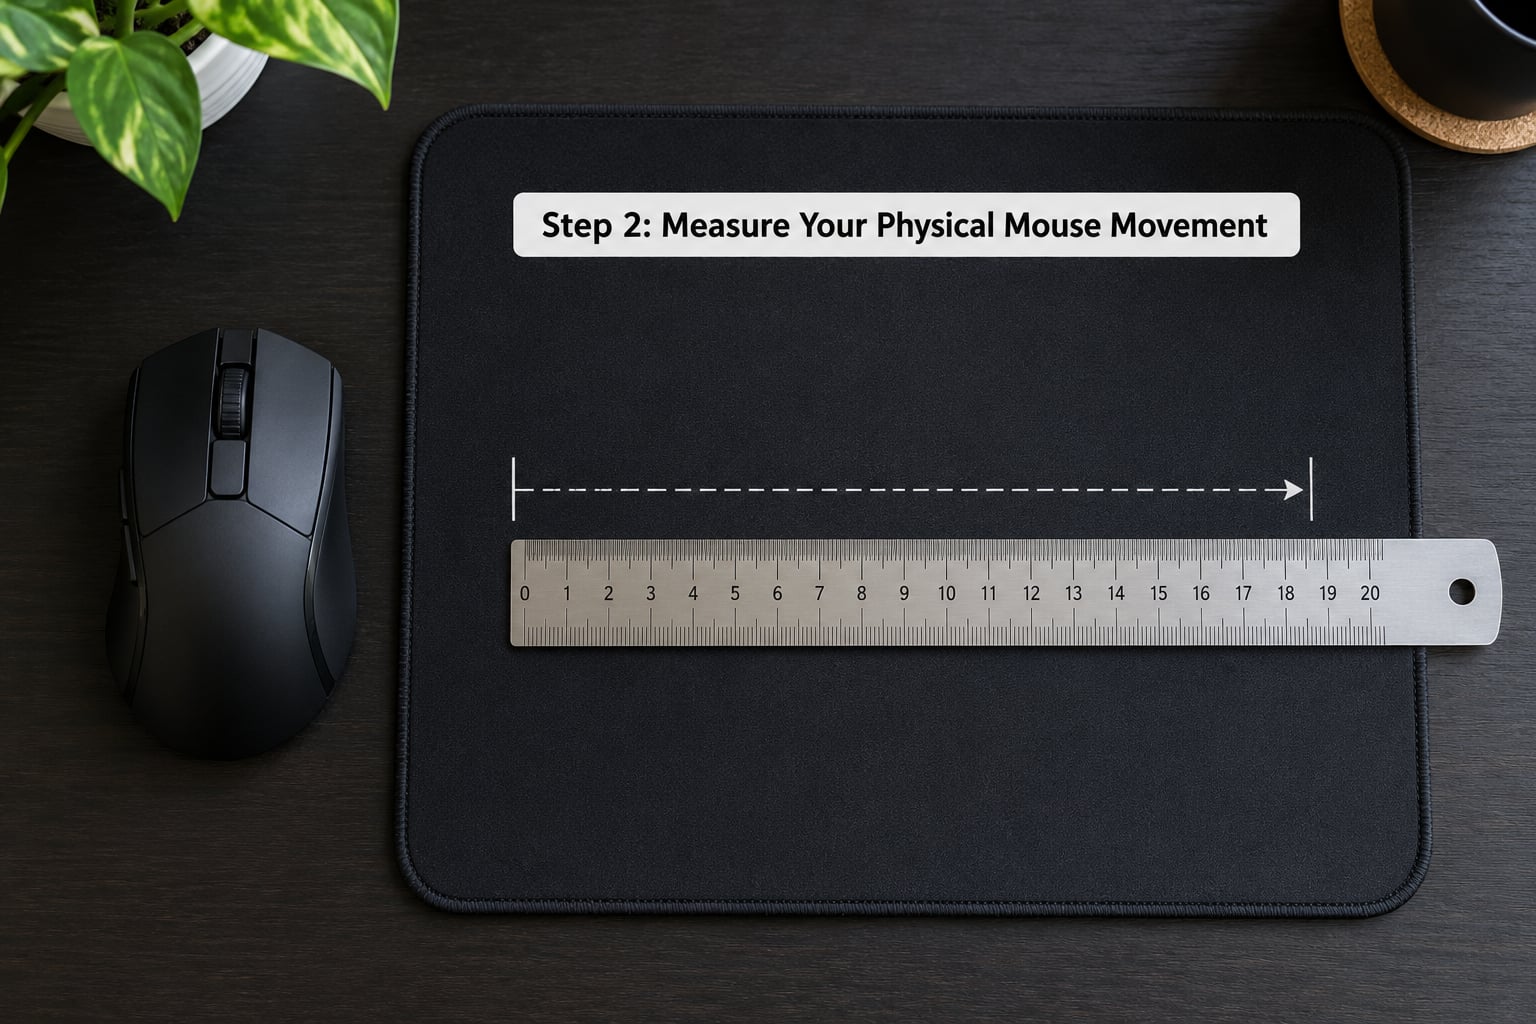
The cleanest game-independent measurement is centimeters per 360 degrees, and you can get it without any software. Set the mouse to its default sensitivity step or any setting you know, place the mouse at the left edge of your pad, mark where the sensor sits, then push the mouse exactly one full pad length to the right. Measure how far it travelled in centimetres and multiply by the number of degrees of turning that motion produced.
In practice, most games make this easy. Aim at a flat wall, do a full pad swipe from the left edge to the right edge, and see whether it lines up with a 180-degree turn, a 360-degree turn, or something in between.
- One full pad swipe equals about 180 degrees and your sensitivity is probably too slow for arm aiming.
- A full pad swipe is nowhere near a full turn and you are running too fast, forcing constant corrections.
- A full swipe covers 300 degrees or more and your wrist is doing too much work.
For games that display the value, Fortnite shows centimetres per 360 directly in Settings, Mouse, Sensitivity. That number is the fastest way to sanity-check your setup.
Step 3: Convert the Setting for Your Game
Every game uses its own sensitivity scale, so the number 1.0 means something completely different in CS2 than in Valorant. The conversion depends on a per-game constant called the yaw multiplier, and the formula is simple once you have it.
Centimetres per 360 equals 360 times 2.54, divided by DPI multiplied by in-game sensitivity, multiplied by the yaw multiplier. For CS2 the yaw multiplier is 0.022, so 800 DPI with a sensitivity of 1.0 gives roughly 52 cm per 360. The same 800 DPI mouse in Valorant, where the multiplier is 0.07, needs a sensitivity of about 0.314 to land on the same 52 cm.
| eDPI (DPI x CS2 sens) | CS2 sens at 800 DPI | CS2 cm/360 | Valorant sens at 800 DPI | Valorant cm/360 |
|---|---|---|---|---|
| 800 | 1.00 | 52.0 | 0.314 | 52.0 |
| 1600 | 2.00 | 26.0 | 0.629 | 26.0 |
| 2400 | 3.00 | 17.3 | 0.943 | 17.3 |
| 3200 | 4.00 | 13.0 | 1.258 | 13.0 |
| 4000 | 5.00 | 10.4 | 1.572 | 10.4 |
eDPI, which is your DPI multiplied by your in-game sensitivity, is the fastest shortcut between games with matching scales. The rough conversion between CS2 and Valorant divides the CS2 number by 3.18, so CS2 at 1.14 becomes Valorant at 0.358.
Convert before you copy any number you find online, and remember that aim-down-sights multipliers change the effective value while scoped. Games with a separate scope or ADS slider have their own scale on top of the base number, so match those separately rather than assuming they follow the hipfire conversion.
Step 4: Test Firing, Tracking, and Turning
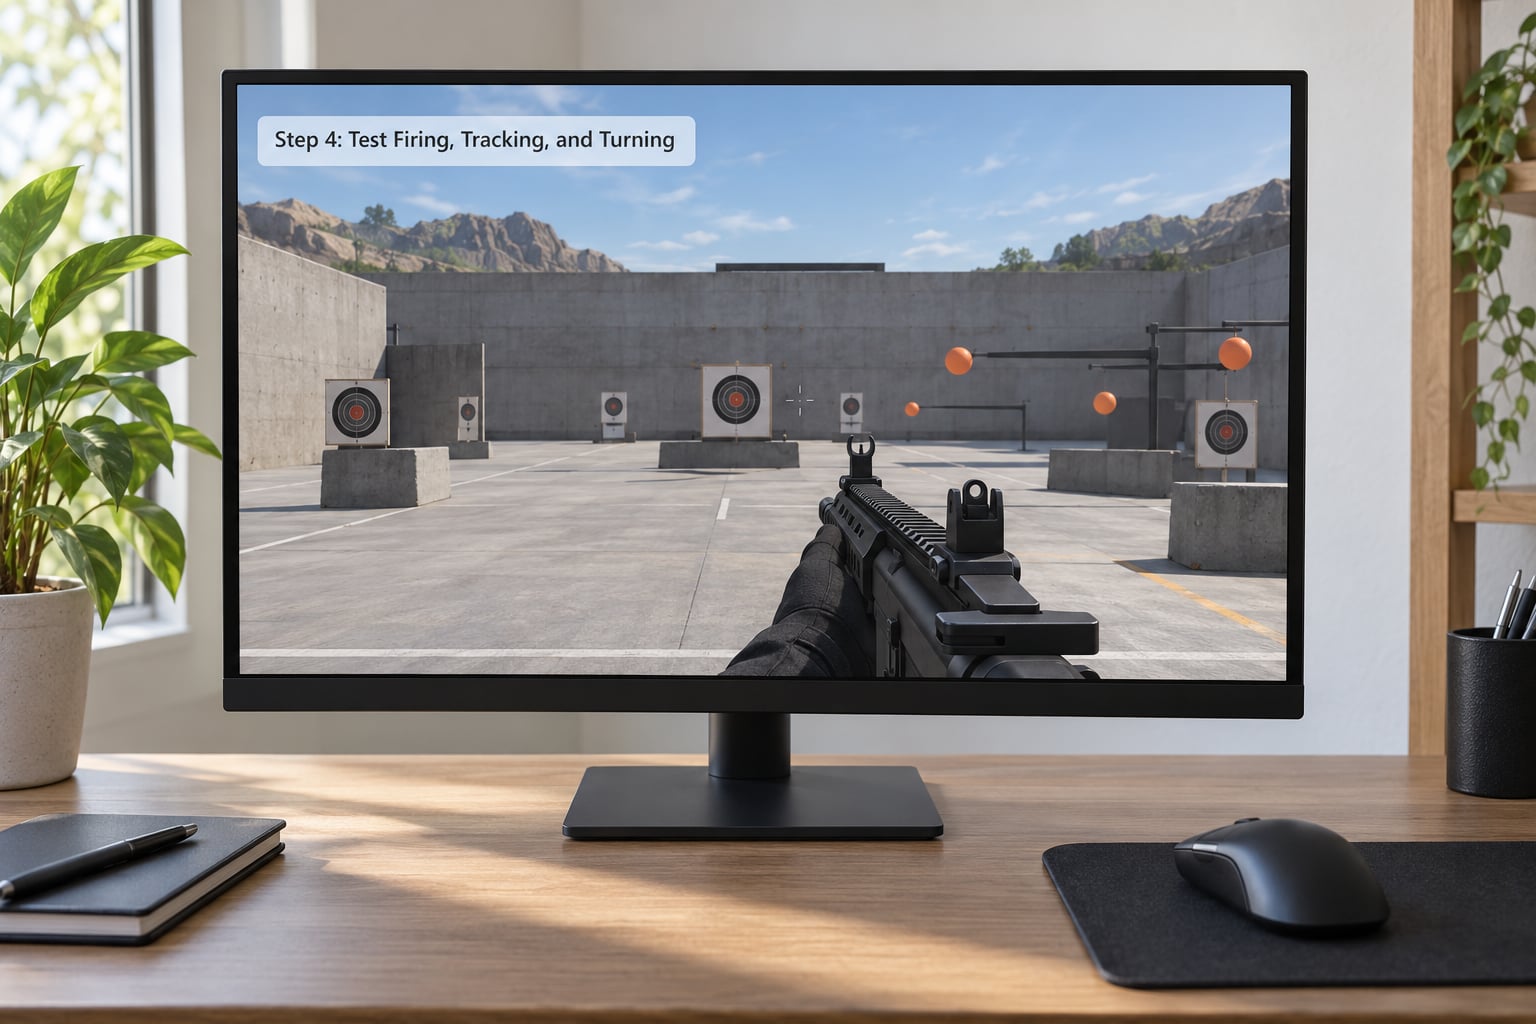
Run the same four drills every time you change anything, in the same order, for about fifteen minutes. Consistency is what makes the results readable.
- Stationary clicks. Put your crosshair on a fixed target and click it ten times without moving the mouse. If you have to re-aim after each shot, your sensitivity is too fast for fine work.
- Crosshair-lock tracking. Put the crosshair on a moving target’s head, then strafe left and right while keeping it locked. If you keep losing the target in the same direction, your sensitivity is fighting your hand.
- Flicks to wider targets. Snap to targets placed about 30 degrees apart. Overshoot means go slower, undershoot and long corrections mean go faster.
- Wide turns. Turn 180 degrees both ways and check you can complete the turn within one comfortable pad swipe.
Standardise the conditions: same map, same weapon, same time of day, same monitor distance. Testing right after a death, or in a different session with a different lighting setup, gives you noise instead of data.
Step 5: Adjust in Small Percentages
Change one thing and change it by roughly 3 to 5 percent. A 2.0 sensitivity becoming 1.90 is a 5 percent decrease, which is enough to feel and small enough that your aim is not reset.
Match the symptom to the direction of the fix.
| What you noticed | What it usually means | What to do |
|---|---|---|
| Consistent overshoot on flicks | Sensitivity too fast for your hand speed | Lower by 3 to 5 percent |
| Undershoot and slow corrections | Sensitivity too slow to reach targets | Raise by 3 to 5 percent |
| Lifting or re-centring the mouse constantly | Sensitivity too slow for your pad space | Raise slightly, or get a larger pad |
| Crosshair drifts past the target in tracking | Micro-adjustment control is poor | Lower by 3 to 5 percent |
| Fine aim at close range is fine, long turns are not | Scoped or ADS multiplier is off | Fix the multiplier, not the base value |
Repeat the drill set after each change. Keep the setting if accuracy and control both held or improved; reverse it if either one dropped. One good session is not proof, because a good session can just as easily be a warm-up streak.
Step 6: Validate the Setting Across Real Matches
The practice range tells you about control. Live matches tell you about pressure. Play several full sessions on your candidate setting, on more than one map, and include both advantage play at range and close-quarters fights.
Do not change your mouse DPI, polling rate, grip, or mousepad during this trial. Each of those resets the calibration you just built. If you do need to switch pads mid-test, expect to re-measure rather than re-tune.
Give it a full two weeks. Aiming on a new sensitivity feels terrible for several days because your muscle memory is built on the old movement distance, and most people abandon the change right in that window. Weeks two and three are where the improvement shows up.
Step 7: Record and Maintain Your Final Sensitivity
Write the whole configuration down, not just the sensitivity number: game, mouse model, mouse DPI, in-game sensitivity, ADS or scope multiplier, centimetres per 360, Windows pointer speed, monitor resolution, and the date. When your aim feels off in three weeks, that record tells you whether something changed or nothing did.
Change it again only when something real changes. New game, new mouse at a different DPI, new field of view, a different monitor distance, or a deliberate shift from arm to wrist aiming all justify retesting. Boredom does not.
Common Mistakes
Copying a pro’s sensitivity number directly. The number means nothing without their DPI, their field of view and their mousepad. Copy the physical measurement, not the slider value.
Changing several variables at once. New sensitivity, new DPI, new pad and new mouse in the same week gives you no way to tell what helped.
Making large adjustments. Dropping from 1.0 to 0.5 is not a tuning change, it is a new sensitivity. Any change above about 10 percent needs a fresh two-week adaptation.
Testing for five minutes. Warm-up noise and adaptation noise are both larger than the effect you are trying to measure.
Blaming sensitivity for a tracking problem. If the crosshair sits still on a stationary target but loses moving ones, the fix is practice, not a slower number.
Leaving mouse acceleration on. Windows scales your movement based on speed, so the same physical swipe sends different counts depending on how fast you flick. Turn it off before you measure anything, or every measurement you take is wrong.
Retesting after every patch. Some updates change a small part of your input handling. Check whether anything measurably changed, and if not, keep your recorded value.
Fix Windows mouse acceleration before you measure anything
On Windows 11, open Settings, then Bluetooth and devices, then Mouse, then Additional mouse settings, and finally the Pointer Options tab. Set Pointer speed to 6 out of 11, which is the default and the correct value, and uncheck Enhance pointer precision. That checkbox is the built-in acceleration curve, and games that read raw input bypass most of it anyway, which is why inconsistent aim usually shows up in menus and overlays rather than inside the game.
If your sensitivity feels like it changes on its own, the culprit is usually this setting, a mouse software profile that resets on boot, or a mouse button bound to a DPI cycle. Rebind that button to something harmless before you start testing.
Frequently Asked Questions
What is the difference between mouse DPI and in-game sensitivity?
Mouse DPI is what your hardware reports: how many counts it sends per inch of movement. In-game sensitivity is a multiplier the game applies to those counts, and every game uses a different scale for it. Multiply the two together and you get eDPI, which is comparable across games with similar engines. Convert using centimetres per 360 when the engines differ.
Is a lower mouse sensitivity always better?
No. Lower sensitivity suits arm aiming and gives steadier micro-adjustments, but if your desk is small you will run out of space and start lifting the mouse, which hurts you more than the extra precision helps. Wrist and hybrid aiming need a faster setting to reach distant targets. Judge the number against your aim style and your available mousepad, not against a rule.
How do I convert my sensitivity to a different FPS game?
Find your current centimetres per 360, then solve for the new game’s sensitivity using its yaw multiplier. The formula is centimetres per 360 equals 360 times 2.54, divided by DPI times sensitivity times yaw. CS2 uses 0.022 and Valorant uses 0.07, so a CS2 sensitivity of 1.14 at 800 DPI converts to roughly 0.358 in Valorant. Scope multipliers convert separately.
How long should I test a new mouse sensitivity before judging it?
Give it at least two weeks of regular play. The first several days feel bad because your muscle memory is built for the old distance, and that discomfort is normal rather than a sign the setting is wrong. Judge it on accuracy and control at the end of the second week, not on how the first few sessions felt.
When should I change my sensitivity again?
Change it when something real changes: a new game, a new mouse at a different DPI, a different monitor or viewing distance, a new field of view, or a deliberate switch between arm and wrist aiming. Do not change it because a session felt bad or because a pro uses a different number. Record your settings so you can tell the difference later.
Should I use 800 or 1600 DPI for gaming?
Both work, and neither is more accurate on its own. What matters is the product of DPI and in-game sensitivity. If you want a consistent centimetres per 360 while switching mice, pick one DPI and stick to it: 800 is a safe default for most players, and 1600 lets you use a smaller in-game number for the same feel. Higher DPI paired with a lower sensitivity also reduces pixel skipping on fast flicks.
Conclusion
Write down your mouse DPI and your in-game sensitivity, then measure your centimetres per 360 with a ruler. From there, run the same four drills, adjust by 3 to 5 percent, and hold the setting for two weeks before you decide whether it works.
That is the whole method. It takes an hour to set up and saves you from months of guessing.