Reaction time is the gap between something happening on screen and your body responding to it, and a healthy adult usually lands somewhere between 200 and 300 milliseconds. You can improve that number for gaming, but not by moving your hand faster. The wins come from shortening the stages before movement, removing milliseconds your setup adds, and giving your brain enough recovery to run the whole pipeline cleanly. Most of the work is in three places: targeted drills, an honest look at your hardware latency, and physical habits like sleep.
Here is the honest version of what to expect. A consistent beginner usually shaves 10 to 30 milliseconds off a measured visual reaction score over six to eight weeks, not two days. Anything promising a 100ms score from a week of clicking is selling something, because most human reaction time is spent recognising and deciding, not reacting.
This guide is written for competitive and semi-competitive PC and console players who still ask how to improve reaction time for gaming, because they hesitate at the exact moment a decision is needed. It works for shooters, MOBAs, fighting games and racing, though the drills lean toward fast visual target work.
Last updated: October 2026
Table of Contents
- What You Need
- Step-by-Step
- 1. Warm Up Your Eyes, Hands, and Focus
- 2. How to Improve Reaction Time With Random Targets
- 3. Train Target Acquisition and Tracking
- 4. Anticipate In-Game Patterns
- 5. Build a Consistent Weekly Routine
- Common Mistakes
- Frequently Asked Questions
- How quickly can I improve my reaction time for gaming?
- Does reaction training transfer to actual games?
- How often should I train reaction time?
- Is 200ms reaction time slow for gaming?
- What should I do when my reaction time stops improving?
- Start With Two Things This Week
What You Need
Almost everything here works with what you already own. A free browser reaction test, a stopwatch, a wall with some space, and your game of choice cover the full routine. The rest is optional and only makes the numbers cleaner.
The essentials:
- A reaction test you trust. A browser-based visual reaction test is enough for a baseline, as long as you use the same one every time. Popular community picks include Aim Lab and Kovaack’s FPS Aim Trainer for target work, and rhythm titles like osu! or Super Hexagon when you want accuracy and decision speed under pressure rather than pure reaction.
- A quiet 20 to 30 minute block. Not five. Long enough to warm up, work, and cool down without rushing.
- Your game, with a known loadout. Change your sensitivity, DPI or resolution the week you are measuring and the results mean nothing.
- Sleep and a decent night before. A single poor night can flatten your score more than a week of drills adds to it.
Helpful, not required: a second monitor so the test runs next to the game you are learning, a mouse with a polling rate setting you can read in software, and a wired Ethernet connection if you play anything competitive online.
Before drilling anything, it is worth knowing where your milliseconds actually go. Total input-to-photon time is a stack, and only one layer on it is your brain.
| Layer | Typical range | What you can do about it |
|---|---|---|
| Your brain (visual reaction) | 200-300 ms for an untrained visual stimulus | Trainable, slowly, and partly by prediction |
| Display refresh | About 7 ms at 144Hz, 4 ms at 240Hz | Match your frame rate to the panel you own |
| Render and frame pacing | Roughly 8-25 ms, spiking when frames drop | Hold a stable frame rate, cap it if you prefer |
| Mouse polling and actuation | Under 1 ms polling at 1000Hz, plus switch travel | Raise polling rate, pick switches you like |
| Network ping | 20-60 ms on a good wired connection | Ethernet beats crowded Wi-Fi almost every time |
| Console TV processing | Often 50-100 ms on a living-room display | Turn off motion smoothing and game mode extras |
Read that again if you play on a TV. A 200ms score on a console setup is not a training failure, it is your television. Before you spend four weeks chasing a number, remove the layers you can actually control.
Step-by-Step
A good session is short, repeatable and slightly boring. Run it four to five times a week, keep each session under 30 minutes, and stop while you are still performing well. Long grinding sessions produce worse numbers, not better ones.
1. Warm Up Your Eyes, Hands, and Focus
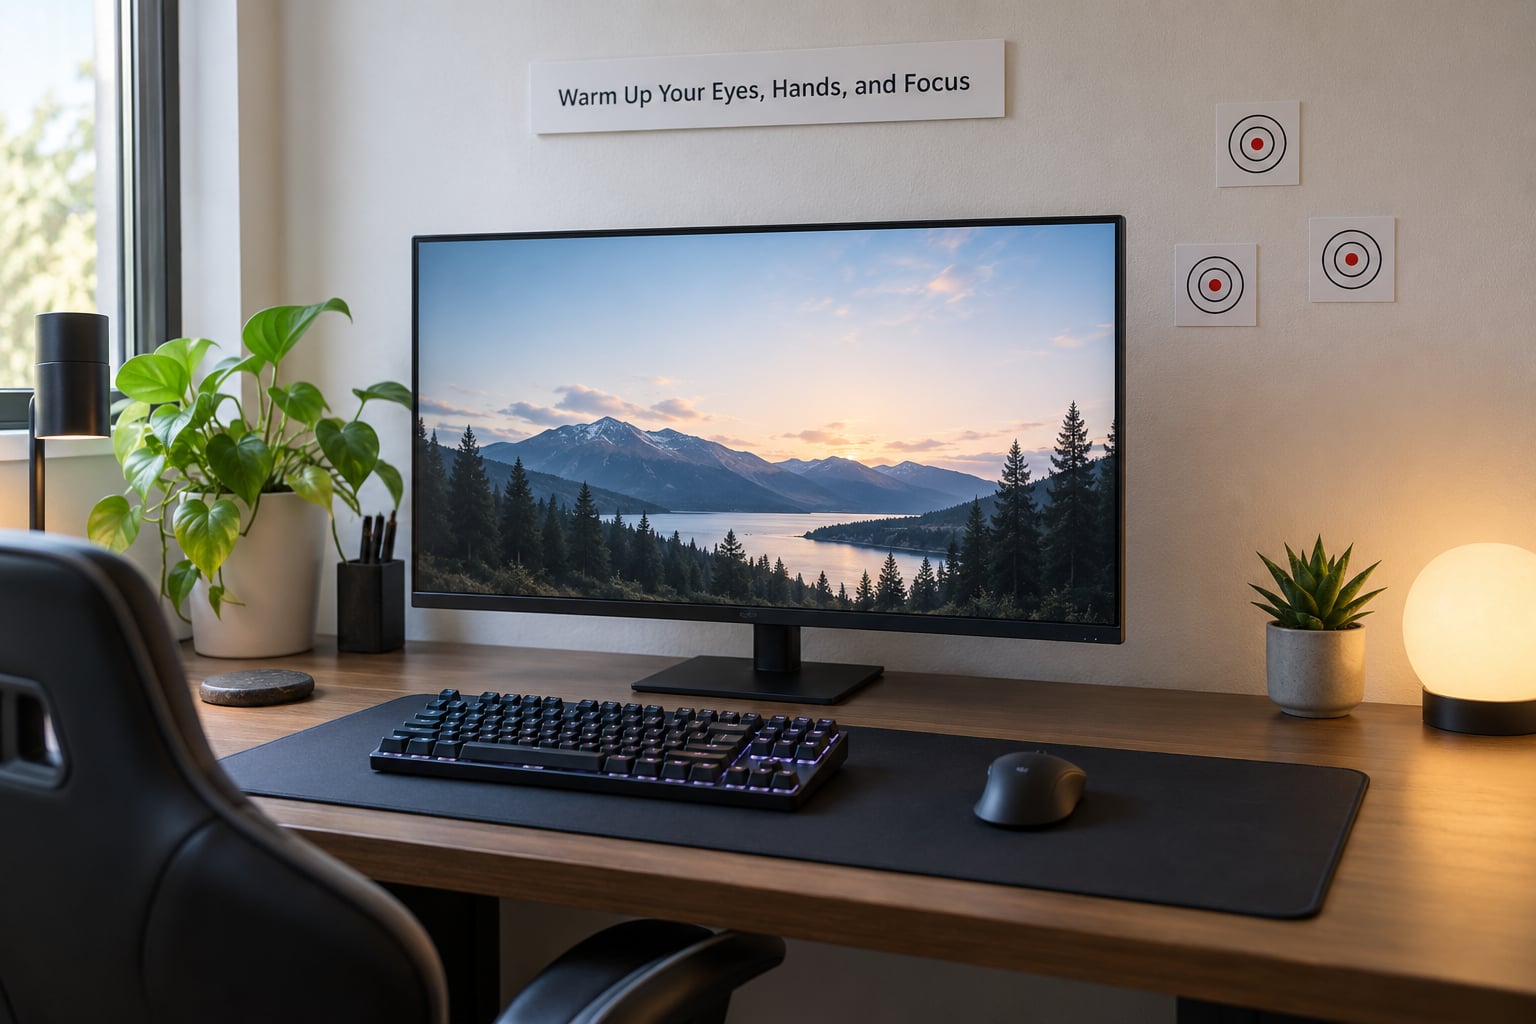
Five minutes of warm-up does more for your first match than most players expect. Your first ten minutes of the day are your slowest, and most people spend them anyway.
Start with your screen at arm’s length and glance at something far away, like a window, for twenty seconds, then bring your focus back to your monitor. Repeat that three times. It feels pointless and it is not; your focus depth tightens when you are switched on cold.
Then move your hands. Open and close them ten times, roll your wrists in both directions, and shake out your fingers. Tension in the forearm is one of the most common reasons a correct decision arrives late.
Finish with your actual mouse movements at low intensity. Twenty slow figure-eights across your pad, then twenty fast ones. You are waking up the pathway you are about to use, not stretching it.
How to tell it worked: your first ten target clicks of the session should be noticeably better than if you had skipped the warm-up. Do it every session and it becomes automatic.
2. How to Improve Reaction Time With Random Targets
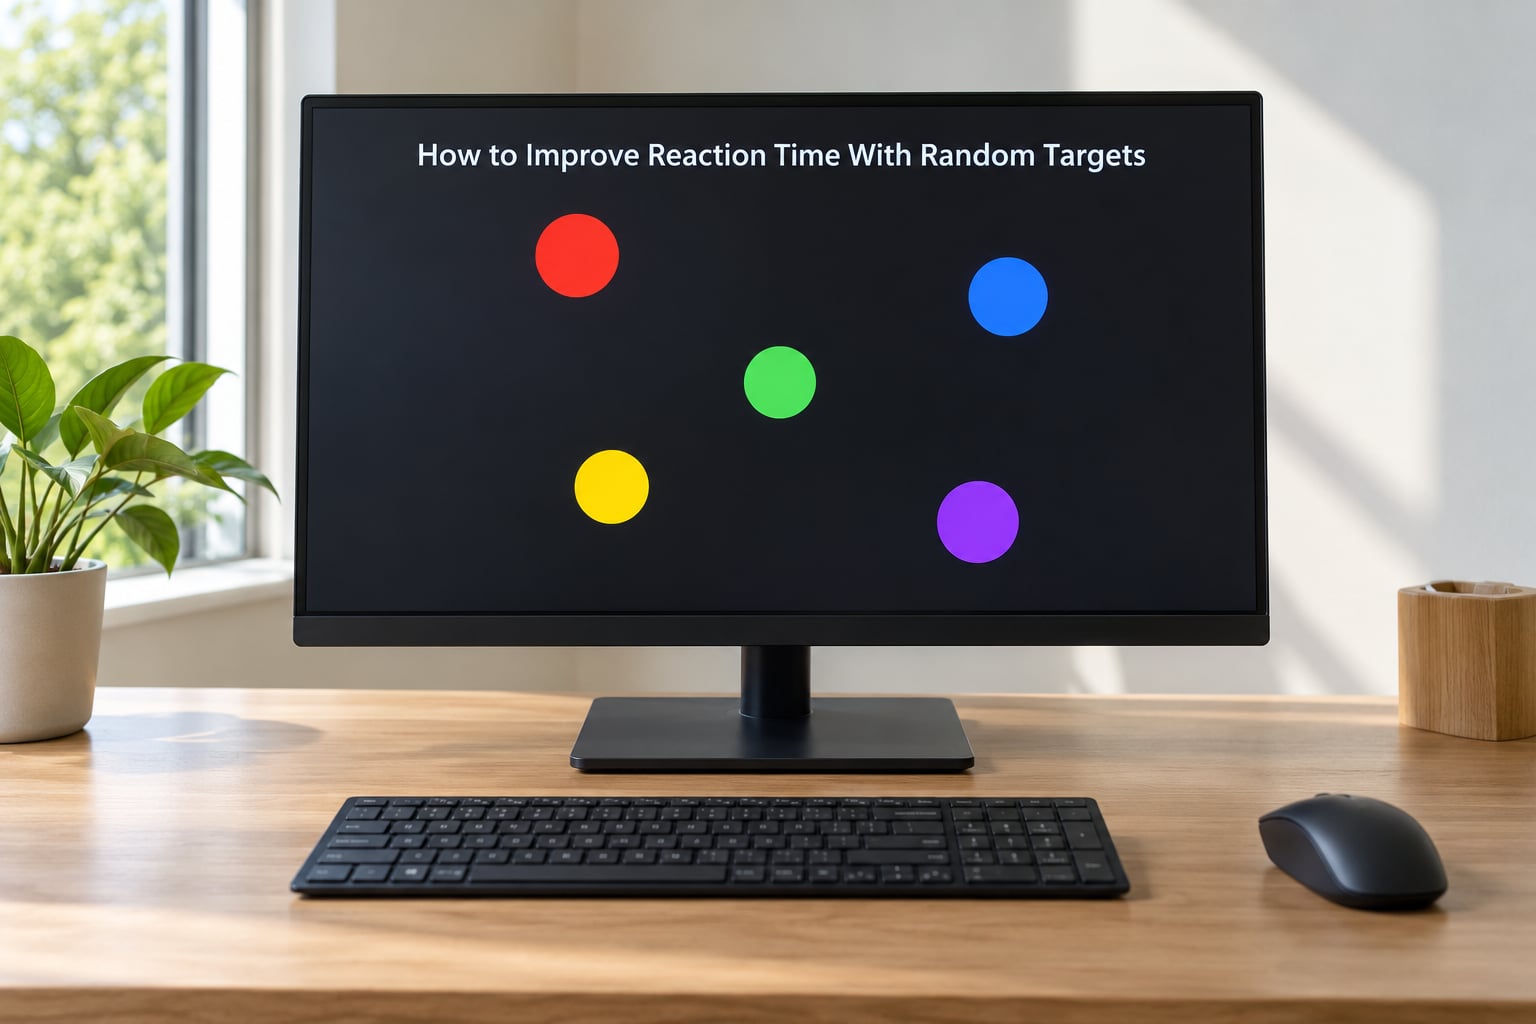
This is the drill most people mean when they ask for faster responses, and it is the one to get right before adding anything else.
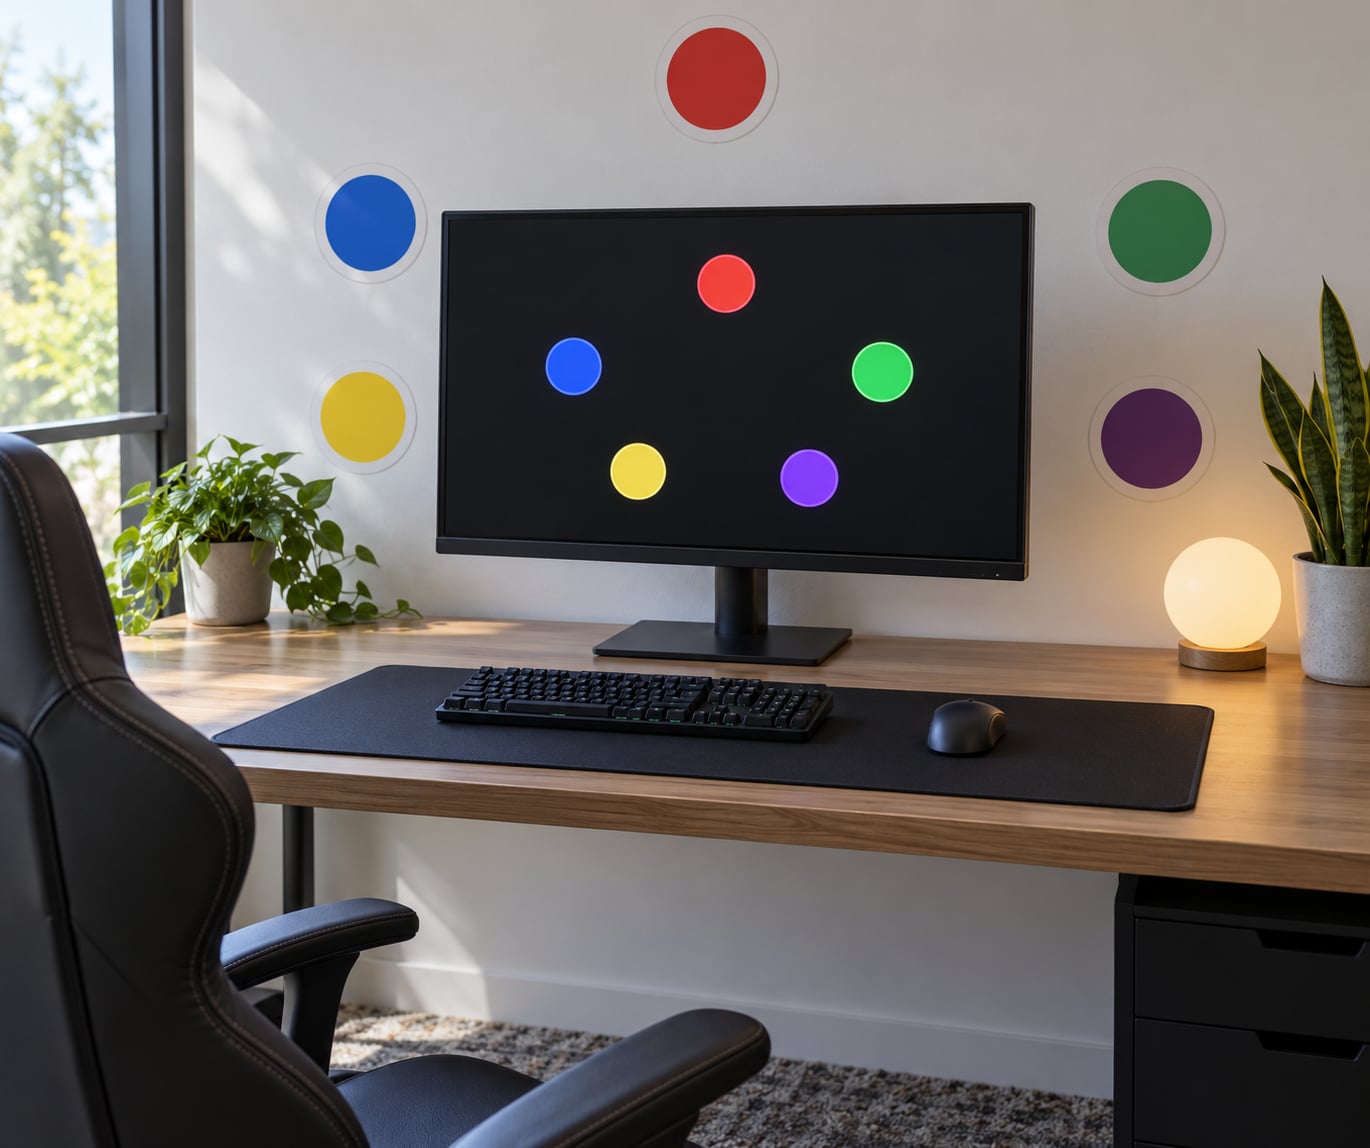
Open your reaction test and set it to simple visual mode first. A shape appears, you click, the clock stops. Run one block of ten trials, then rest fifteen seconds, then another ten.
Record two things, not one. Your fastest time matters far less than your average and your worst outlier, because the outlier is what happens in an actual gunfight. A player who clicks at 180ms and sometimes takes 400ms is worse off in practice than a consistent 240ms player, even though the 180 looks better on a scoreboard.
Now the part most guides skip. After two blocks, add mild pressure: play with your music on, or with a chat window open, so you are training to respond when your attention is shared. That is the state you will be in during a ranked match, and it is a different skill than clicking in a quiet room.
How to tell it worked: your worst time in block three is lower than your worst time in block one. If the average barely moves, that is normal. The variance is the part that trains first.
One honest warning before you go further. Bot targets move in patterns a real opponent never will. Random target work trains raw response and attention, and it does not teach you to fight a human. Treat it as preparation, not as the whole plan.
3. Train Target Acquisition and Tracking
Raw reaction is only useful if you can then do something with your hand. This step is about acquiring the target fast and settling on it without overshooting.
In Aim Lab or Kovaack’s, pick a target-switching scenario that resembles your game: small targets that appear in different screen areas, or a 1-to-1 scenario using the same sensitivity and field of view as your main game. Matching the loadout matters more than matching the mode.
Work in short blocks of eight to ten minutes with a fixed score you have to beat. Do not chase a personal best. When accuracy drops below roughly 80 percent on the scenario, stop the block, rest for a minute, and run another set. That accuracy floor is the whole discipline of the drill; without it you are training fast sloppy flicks, which feel great and transfer badly.
Then add a tracking block. Hold your crosshair on a moving target and stay with it for a full thirty seconds before you evaluate yourself. Tracking is a separate skill from flicking and most players are worse at it than their rank suggests.
How to tell it worked: time to first contact with a target drops while your accuracy holds steady. If accuracy falls as time improves, you trained too hard and need an easier scenario for a week.
4. Anticipate In-Game Patterns
This is where the biggest real-world gains live, and it is not reaction training at all. Every millisecond you do not spend reacting is a millisecond you saved.
You cannot react to information that has not arrived yet. What you can do is narrow where the information will come from, and that is a positioning problem more than a reflexes problem. Players in the community keep repeating the same line for a reason: the less you have to aim, the less you have to react.
Build the habit deliberately. Before every fight, decide where the first shot will land and put your crosshair there. Hold angles you have defended before. Listen for footsteps and reload audio as cues, because sound arrives before the visual does. When you lose a duel, ask which of those four steps was missing: detected late, recognised late, decided late, or moved late.
Two habits make this stick. First, review one of your own losses a week, looking only for the moment you could have known earlier. Second, learn the map well enough that common enemy routes are predictable, which turns a guessing problem into a knowledge problem.
How to tell it worked: you start more fights already holding an angle instead of swinging into open space. That shows up in your kill-death ratio long before it shows up in a test.
5. Build a Consistent Weekly Routine
Single sessions do very little. A weekly structure does most of the work, and the structure matters more than the total minutes.
A repeatable week looks like this:
- Monday, Wednesday, Friday: 25 minutes. Five-minute warm-up, two blocks of random target work, one accuracy-gated target acquisition block, one tracking block.
- Tuesday, Thursday: gameplay only, ideally with a focus on fights you would normally avoid. Volume beats drills here.
- Saturday: 40 minutes of the same structure plus a short loss review. Your longest session of the week.
- Sunday: rest, or a light aim session if you feel good. Full rest is fine too.
Then protect the part that is easy to skip. Seven to nine hours of sleep does more for your reaction time than most players expect, and a short night is the fastest way to undo a week of drilling. Eat regularly, drink water through the session rather than only coffee, and get some cardio in during the week. None of it feels like training. All of it shows up in the numbers.
Retest your reaction score once every two weeks, not every session, using the same tool, the same time of day and the same setup. Comparing weekly scores tells you almost nothing, because day-to-day noise is often larger than the improvement you are chasing.
How to tell it worked: after four to six weeks, your average across a two-week retest sits lower than your starting average, and your worst time has dropped more than your best time has.
Common Mistakes
Most stalled reaction training fails for one of these reasons.
Training only at maximum difficulty. If your accuracy craters every set, you are building flailing, not speed. Drop to a scenario you can hit 80 to 90 percent of the time and stay there until it feels easy.
Chasing peak scores. Your single fastest click is noise. Average and worst-case are the numbers that decide fights.
Changing sensitivity every few days. This is the most self-inflicted wound in the community. Muscle memory needs weeks at a fixed setting to form at all, and churning it resets the clock. Pick values you can live with for a season.
Overtraining. Beyond about 30 minutes, most players get slower, not faster, and accuracy drops with it. Fatigue destroys exactly the focus this training depends on.
Overfitting to aim trainers. Bot behaviour is predictable in ways human behaviour is not. If your test numbers climb but your match results stall, you have probably been training against patterns that do not exist in your game. Split your time so a healthy share goes to real fights, and use the community’s own advice: take more fights, chase people, and learn from each death rather than grinding a menu.
Skipping sleep and eating on a schedule built around the game. This one outranks most of the others combined. If you are sleeping five hours and skipping meals, a drill session is mostly a way to practise being tired.
Two smaller ones worth naming. Comparing yourself to the 100ms reaction content on video is comparing yourself to a measurement condition that does not exist in a match. And measuring while your machine is background-updating, streaming or running on a busy network adds noise that can be larger than the effect you are chasing.
Finally, remember that reaction time is one input among several. Aim, positioning, audio use and game knowledge each carry more weight than raw milliseconds in most matches, and improving one does not improve the others automatically.
Frequently Asked Questions
How quickly can I improve my reaction time for gaming?
Expect a first improvement in two to three weeks of consistent work, and a meaningful one around six to eight weeks. A realistic gain for a beginner is 10 to 30 milliseconds on a measured visual reaction test. Much larger claims come from conditions that do not match a real match, and the fastest early change is usually in your worst times rather than your best.
Does reaction training transfer to actual games?
Partly. Random target work and accuracy-gated aim drills transfer to raw response speed, but bots move predictably in ways opponents do not, so the transfer is incomplete. The habits that carry over best are pre-aiming, holding known angles, tracking targets smoothly and staying consistent. Pair drills with real fights rather than expecting a trainer to do the whole job.
How often should I train reaction time?
Four to five short sessions a week, 20 to 30 minutes each, beats one long session. Rest days matter because training stops helping once you are fatigued. Retest your score once every two weeks using the same tool, time of day and settings, since day-to-day noise is often bigger than the change you are measuring.
Is 200ms reaction time slow for gaming?
Two hundred milliseconds is around the normal range for an untrained visual reaction, so it is not a bad number. On a console with a television it may also include 50 to 100 milliseconds of display processing, which is not your reflexes at all. What matters more in a match is your consistency and your positioning, since well-placed players beat faster ones.
What should I do when my reaction time stops improving?
Check the easy causes first: sleep, hunger, dehydration, a busy network and a background-heavy machine. If those are fine, the drill has probably stopped being specific. Move to a different scenario type, add mild pressure like background noise, or shift your hours. Real plateaus usually mean the task is too easy, not that your body has hit a limit.
Start With Two Things This Week
If you take nothing else from this, do these first. Warm up for five minutes before every session, and run one accuracy-gated target acquisition block where you refuse to keep score below 80 percent. Everything else on this page is worth adding once those two are automatic.
Give it four weeks at four sessions a week, keep your settings fixed, get the sleep, and retest with the same tool. If you want to know how to improve reaction time for gaming properly, the boring version wins: short sessions, honest numbers, and more time in real fights than in a training menu.