How to edit gaming videos faster comes down to one change: capture the moment while it happens instead of hunting for it later. Most of the time lost in a gaming edit happens before you open a timeline, when you scrub through two hours of raw footage looking for the thirty seconds worth keeping. Fix that, and everything after it gets quicker too.
Here is the short version.
- Bind a hotkey to an instant replay buffer and save clips as they happen.
- Give each recording session its own folder before importing anything.
- Build the rough assembly before adding any transitions, music or effects.
- Cut dead air and empty gaps with jump cuts and silence detection.
- Balance game audio and commentary once, then leave that section alone.
- Keep caption, export and project settings in saved presets you reuse.
- Review the whole video once, at normal speed, before exporting.
That list works the same whether you edit in DaVinci Resolve, Premiere Pro, CapCut or anything else, because the speed comes from the order of operations and from how your files are set up, not from the app. The rest of this guide walks through each stage, names the exact menus where the settings live, and flags the mistakes that quietly add an hour to every video.
Table of Contents
- What You Need
- Step-by-Step
- 1. Organize the gameplay files before importing
- 2. Create a rough assembly first
- 3. Cut silence and dead time quickly
- 4. Add clear commentary and important sound
- 5. Add captions, framing, and visual details
- 6. Use editing templates and saved presets
- 7. Review once for pacing and export efficiently
- Common Mistakes
- Frequently Asked Questions
- How can I speed up video editing?
- How do I edit videos faster in DaVinci Resolve?
- What does Ctrl+B do in DaVinci Resolve?
- Is 32GB of RAM enough for 4K video editing?
- What is the best way to edit video for gaming?
- What is the 3:2:1 rule in video editing?
- Conclusion
What You Need
Four things decide whether an edit session is fast or painful: a capture setup that hands you short files, a predictable folder structure, an editor you already know, and storage that keeps up while playing back 4K.
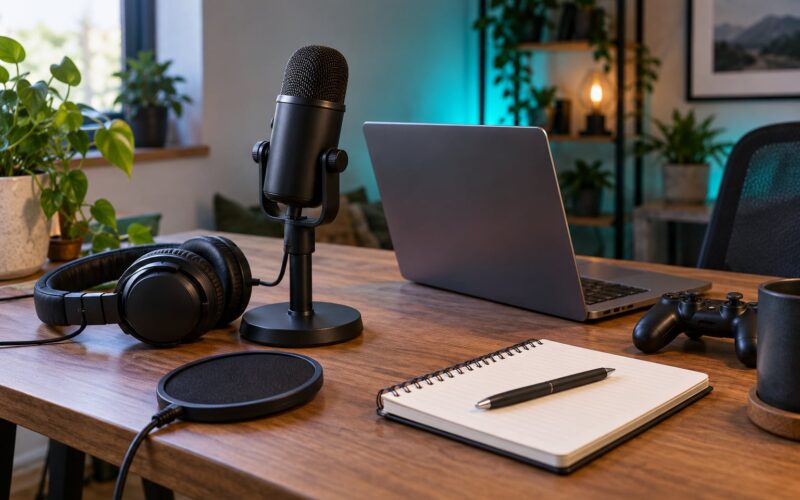
A capture tool with an instant replay buffer. This is the piece most beginners skip and it is the biggest time saver available. Instead of recording a full session and recovering footage later, your recorder keeps rolling in the background and dumps the last 30 seconds to a file when you hit a hotkey. Medal and SteelSeries Moments both work this way, and OBS can do it too. Creators on r/letsplay repeatedly name this as the fix for the worst part of the job: recovering a good moment from a two-hour file.
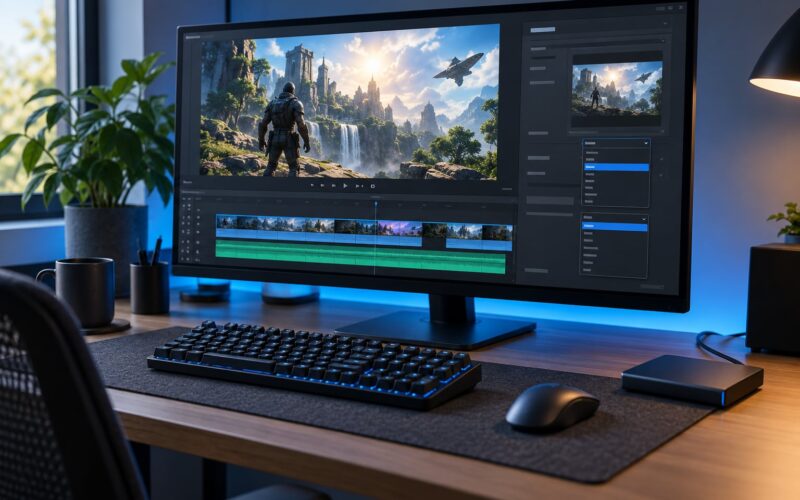
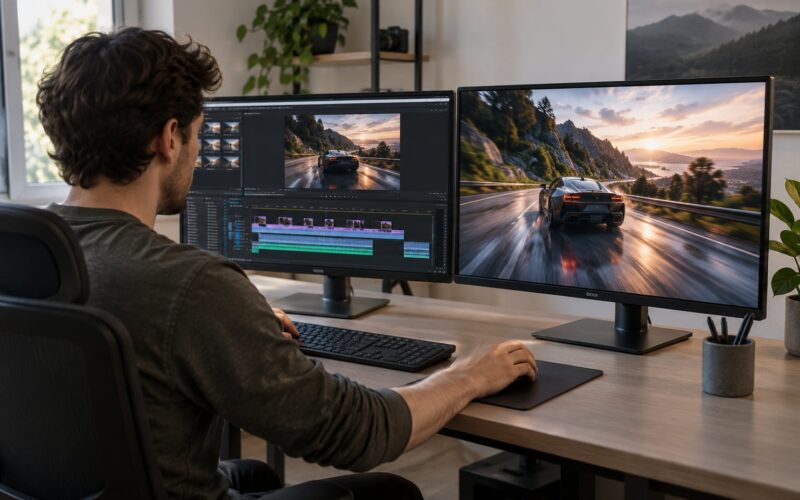
An editor you have muscle memory in. DaVinci Resolve’s free version handles most gaming edits, Premiere Pro is the subscription option, and CapCut is the fastest starting point if you are new. Switching editors costs you hours the first week, so pick one and stay put for a few months.
A folder layout that survives a busy week. One folder per session, dated, with gameplay, facecam and any separate audio inside it. This is boring and it saves twenty minutes every single edit.
An SSD and enough headroom. The forum consensus on editing speed is consistent: storage matters more than raw processing power. If your timeline stutters when you play a 4K clip back, that is a disk problem, not a GPU problem. Thirty-two gigabytes of RAM is comfortable for 1080p edits and workable for 4K on a single timeline, but memory only buys you headroom once the disk keeps up.
One more piece worth ten minutes of setup: a backup. Keep three copies of your raw footage on two kinds of storage, with one copy off-site. People lose a full recording to a dead drive and then have to re-record, which is the fastest way to lose an evening there is.
Step-by-Step
The workflow below runs from raw files to finished export. Each step explains what to do and how to check that it worked, so you can tell whether the stage is actually finished or just looks finished.
1. Organize the gameplay files before importing
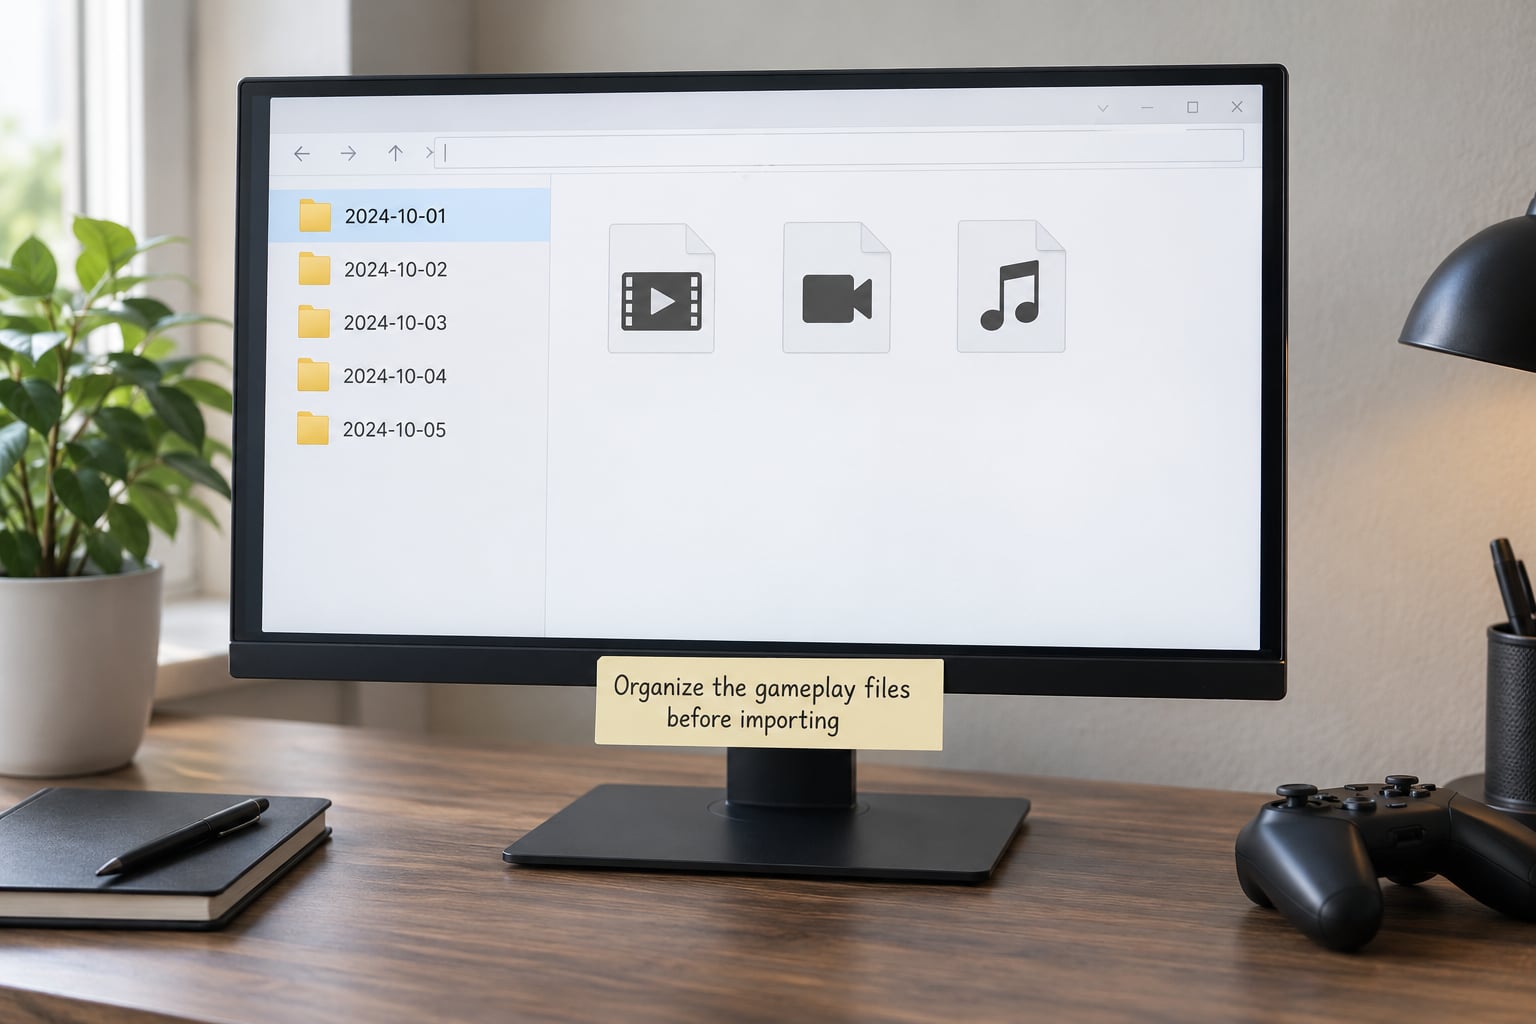
Sort the footage before your editor ever touches it. Create one folder per session named with the date and the game, then drop the gameplay capture, the facecam recording and any standalone audio inside it.
Give each file a name you can search later. Something like october-night-one-elden-ring.mp4 tells you everything you need at a glance in a file browser, while capture_final_FINAL_2.mp4 tells you nothing. Renaming takes two minutes and saves you a lot of guessing once you have a dozen sessions.
How you know it worked: you can open the folder, pick a session, and find all four kinds of footage for it without touching a single subfolder. If you have to search, the structure is not finished.
2. Create a rough assembly first
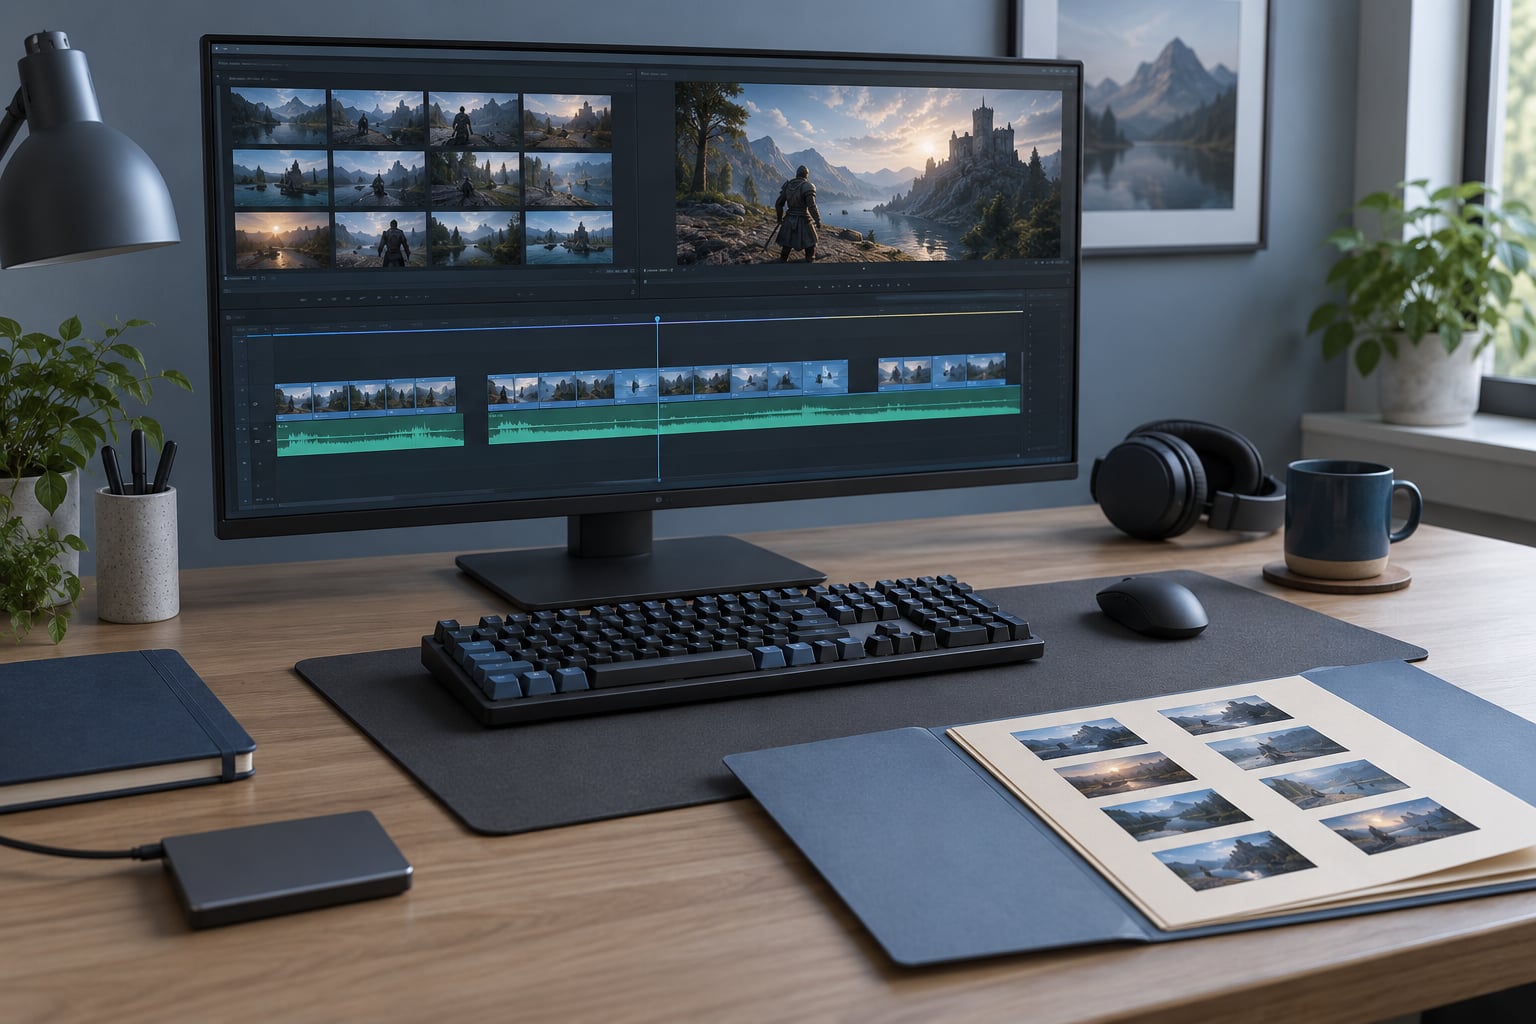
Drag only your best gameplay moments onto the timeline first. Nothing else. No music, no effects, no transitions, no text. Your job at this stage is to answer one question: does the sequence of clips tell a story in the order I have them?
For a short gaming clip, most creators land on 15 to 30 seconds with the hook in the first second, because a clip posted today beats a better clip posted next week. Long-form Let’s Play is a different job: there the rough assembly is chapter markers, not highlight reels. Deciding which one you are making before you start keeps you from building one thing and shipping another.
Watch the rough assembly from the start with the sound off, then with the sound on. If it does not work without audio, no amount of music will save it.
How you know it worked: you can play the whole sequence once and describe the video out loud in one sentence.
3. Cut silence and dead time quickly
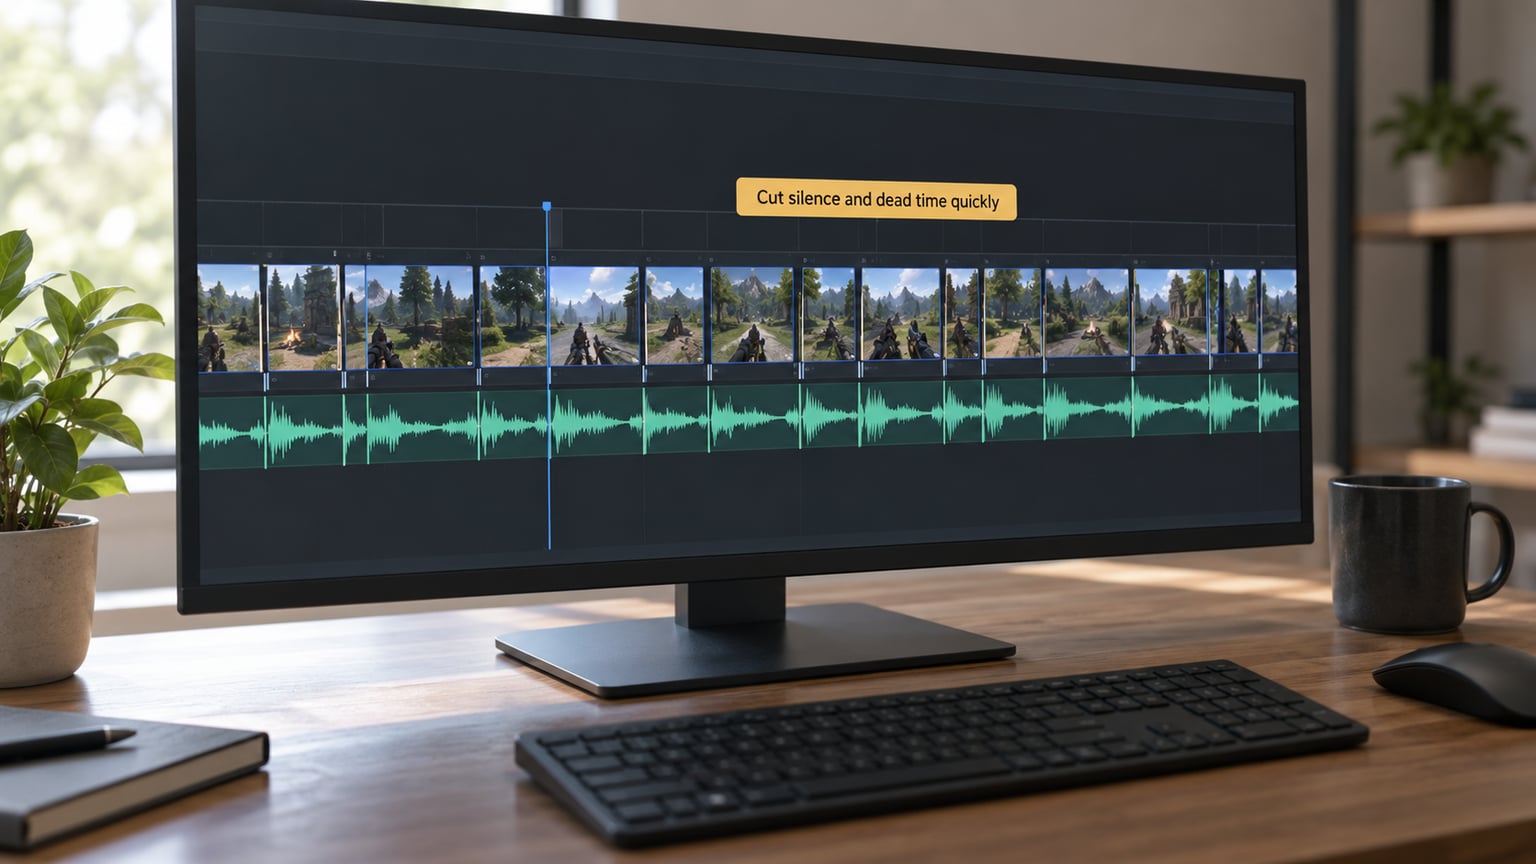
Dead time is what makes a gaming video drag, and removing it is pure mechanical work. Two tools do most of it.
First, silence detection. In DaVinci Resolve, right-click a clip and choose Auto Audio Processing to find and remove silence. Premiere Pro has an equivalent under Edit > Detect Silence, and CapCut has Remove Silence on the clip menu. Review what it catches rather than accepting everything, because game audio is quiet enough that automatic detection sometimes clips the audio in on its own.
Second, jump cuts. Wherever you cut away to something else, a jump cut hides the seam. Press the shortcut for the razor tool, click the point, press the same shortcut again to remove the frame and close the gap. In DaVinci Resolve that is Ctrl+B, and in Premiere Pro it is Ctrl+K. Cut on movement, never on a still frame, because a cut mid-motion hides itself completely.
How you know it worked: no gap in the timeline is longer than about half a second, and you never linger on the same shot for longer than it takes the viewer to understand what changed.
4. Add clear commentary and important sound
Commentary is the reason people watch a gaming clip instead of scrolling past it, so it deserves one careful pass rather than constant adjustment.
Set levels once and move on. Apply loudness normalization to your voice track, set the game audio to sit clearly under it, and add a gentle limiter on the master so peaks do not clip. In Resolve the audio page uses level meters, Fairlight effects and a normalization pass; Premiere uses Essential Sound and the Loudness Match dialog. Do the same job in whatever your editor offers.
Then let the game breathe. Duck the game audio slightly under your commentary and lift it back up when you stop talking, rather than riding the fader manually clip by clip. If you want to repair a noisy recording, a high-pass filter on your voice track removes the low rumble that most cheap microphones pick up, and it takes about ten seconds to apply.
How you know it worked: watch one clip on your phone speaker. If you can follow the story without reading captions, the mix is done. Touch it again and you will make it worse.
5. Add captions, framing, and visual details
Captions are now the difference between a clip people finish and a clip they drop. Every major editor generates them automatically from your audio: Subtitle > Auto Generate Subtitles in Resolve, Text > Auto Transcript in Premiere, and the Auto Captions button in CapCut. Generate them, then read them once and fix names, slang and anything the software got wrong.
Facecam placement is a five-second decision that changes the whole video. Put it where it covers nothing important, size it so the expression still reads on a phone, and check that it never sits on top of your subtitles. Many creators keep one saved facecam layout and paste it into every clip, which is why their feeds look consistent.
Add visual detail only where it earns its place: a zoom on a decisive moment, a callout label on a weapon or a character, a cutaway to a still. Editors feel busy when every second carries a transition, and cutting fast makes that worse rather than better. A clip with fifteen cuts in thirty seconds will read as noise. Five to eight is usually plenty.
How you know it worked: watch it on a small screen, muted, with captions off. If it still makes sense, the visuals are doing their job.
6. Use editing templates and saved presets
This is where the time savings compound. Anything you do more than twice should be saved once and reused forever.
Save your project settings as a template: timeline resolution, frame rate, color management and proxy codec all set the way you want them, so a new project starts ready instead of defaulting to something you have to change. In Resolve, save your project settings as a preset from the Project Settings dialog; in Premiere, save a sequence preset from Settings > Sequence Presets.
Save your export settings too. A YouTube landscape export and a vertical 9:16 export for Shorts, Reels and TikTok are two different presets, and rebuilding them by hand each time is pure waste. Save an intro, a lower third, a caption style and a typical outro as separate assets in one library folder so a single drag places them correctly.
How you know it worked: opening a blank project and exporting a finished video takes no more than two decisions, not two dozen.
7. Review once for pacing and export efficiently
One review pass, at normal speed, is enough if you watched the rough assembly honestly. Check four things in order: the order of the story, the audio levels, the captions, then the export settings.
Watch it once without touching anything and only note problems. If you find yourself pausing constantly, the problem is structure, not polish. A rough assembly that never worked will not start working because you added a transition to it.
On export, close other heavy applications first, confirm the resolution, frame rate and bitrate match your saved preset, and check where the file lands. Exporting from a drive that is also serving media during the encode is one of the quiet reasons an export takes twice as long as it should.
How you know it worked: the finished file matches your preset on resolution, frame rate and audio, and you did not re-export it more than once.
Common Mistakes
Detailing the timeline before the rough cut is finished. Trimming a single frame on a clip that may not survive the edit is wasted motion. Finish the assembly, then polish. This one habit accounts for more lost time than any shortcut.
Effects before structure. If the sequence of clips does not work, transitions cannot rescue it. Leave the effects panel closed until the assembly is done.
Editing with no backup. A project file corrupted by a crash can cost more than the session itself. Keep three copies of raw footage on two types of storage with one off-site, and never edit the only copy.
Skipping the audio pass and then over-correcting it later. Bad levels are the most common reason a video feels amateur. Normalize once, listen on a phone speaker, and move on.
Leaving captions off. Plenty of viewers watch with the sound off. Auto-generated captions take a minute and fix the biggest accessibility gap in most gaming uploads.
Trusting automatic highlight tools completely. AI clipping tools are useful as a first pass over a long recording, but players on Reddit report the same thing repeatedly: the tool picks a moment that only makes sense with thirty seconds of prior context. Use its output as a list of places to check, not as a finished edit.
Recording with no buffer. The slowest part of gaming editing is hunting, and the cheapest fix is a hotkey that saves the last thirty seconds as you play. Set it up once and the problem largely disappears.
Frequently Asked Questions
How can I speed up video editing?
Speed comes from removing the slowest parts of the job rather than working faster with your mouse. Capture highlights as you play with an instant replay buffer and a hotkey, organize sessions into dated folders before importing, finish the rough assembly before any effects, and run silence detection instead of trimming by hand. Templates and saved export presets remove repeated setup entirely.
How do I edit videos faster in DaVinci Resolve?
Rebind the keys you use constantly in Resolve’s Keyboard Shortcuts panel under Preferences, then work with them. J, K and L give you back, pause and forward playback. Q and W set and trim edit points, Ctrl+B cuts at the playhead, and S does a slip trim. Save your project settings as a preset and use proxy media plus optimized media so playback stays smooth on long 4K files.
What does Ctrl+B do in DaVinci Resolve?
Ctrl+B is the razor cut shortcut in DaVinci Resolve. It cuts the clip under your playhead at the current position, and pressing it again removes the frame and closes the gap. Use it constantly when cutting silence and empty space out of gameplay footage. Premiere Pro uses Ctrl+K for the same razor cut.
Is 32GB of RAM enough for 4K video editing?
For gaming edits, 32GB is comfortable on a single 1080p or 4K timeline, provided your drive can feed playback. Editors stuttering while you scrub almost always means the storage is the bottleneck, not the memory, and an SSD fixes more stutter than extra RAM does. Go beyond 32GB mainly for multiple 4K streams, heavy grading or long timelines.
What is the best way to edit video for gaming?
Cut short, cut often and finish. For highlights, aim for 15 to 30 seconds with the hook in the first second, because posting speed beats polish on short-form platforms. For long-form Let’s Play, chapter the content instead of hunting for highlights. In both cases, use jump cuts on movement, normalize audio once and rely on auto captions with a quick proofread.
What is the 3:2:1 rule in video editing?
Keep three copies of your footage on two different kinds of storage, with one copy somewhere off-site. In practice that means your editing drive, an external drive or cloud storage, and a copy at another location. It protects raw captures you cannot recreate, and it takes ten minutes to set up once before you lose a session to a failed drive.
Conclusion
Start with the capture side, because it is where the time goes. Bind a hotkey to a thirty-second replay buffer and use it the next time you play, then build the rest of the workflow around files that are already short.
After that, work one stage at a time. Save a project template, then an export preset, then a caption style. Each one you add takes a minute to build and removes a decision from every future edit. Keep the rough cut blunt, fix audio once, and post the clip.
None of that depends on faster hardware or a fancier editor. It depends on the boring setup work you do once so the next edit takes half as long.