Controller drift is usually fixable in under an hour. Start by taking the controller apart just far enough to clean under the thumbstick cap with 90% or higher isopropyl alcohol, then reset and recalibrate it on your platform. If the stick still creeps after that, the fix is a dead zone adjustment or, in the worst cases, replacing the joystick module.
Drift is what gamers call the movement where a character walks on its own, the camera creeps in a shooter, or the menu cursor slides by itself with nothing touched. Almost every case traces back to one of two things: debris under the thumbstick cap, or a worn sensor inside the module.
Knowing how to fix controller drift saves you from opening a controller you did not need to open. The process below works whether the stick drifts constantly, only creeps toward one direction, or only misbehaves in one particular game. Work the steps in order and stop as soon as the behavior goes away, because every extra stage past cleaning adds risk to the controller.
Table of Contents
- What You Need
- Step-by-Step
- Step 1: Confirm That the Stick Is Drifting
- Step 2: Restart and Reconnect the Controller
- Step 3: Clean Around the Thumbstick
- Step 4: Recalibrate the Analog Sticks
- Step 5: Update Controller Software and Firmware
- Step 6: Test for a Hardware or Connection Fault
- Step 7: Repair or Replace the Controller
- Common Mistakes
- Frequently Asked Questions
- Does resetting a controller actually fix stick drift?
- Can I fix controller drift without opening the controller?
- Is stick drift permanent?
- Does WD-40 get rid of controller drift?
- Why does my controller stick drift, and can it be fixed after the warranty expires?
What You Need
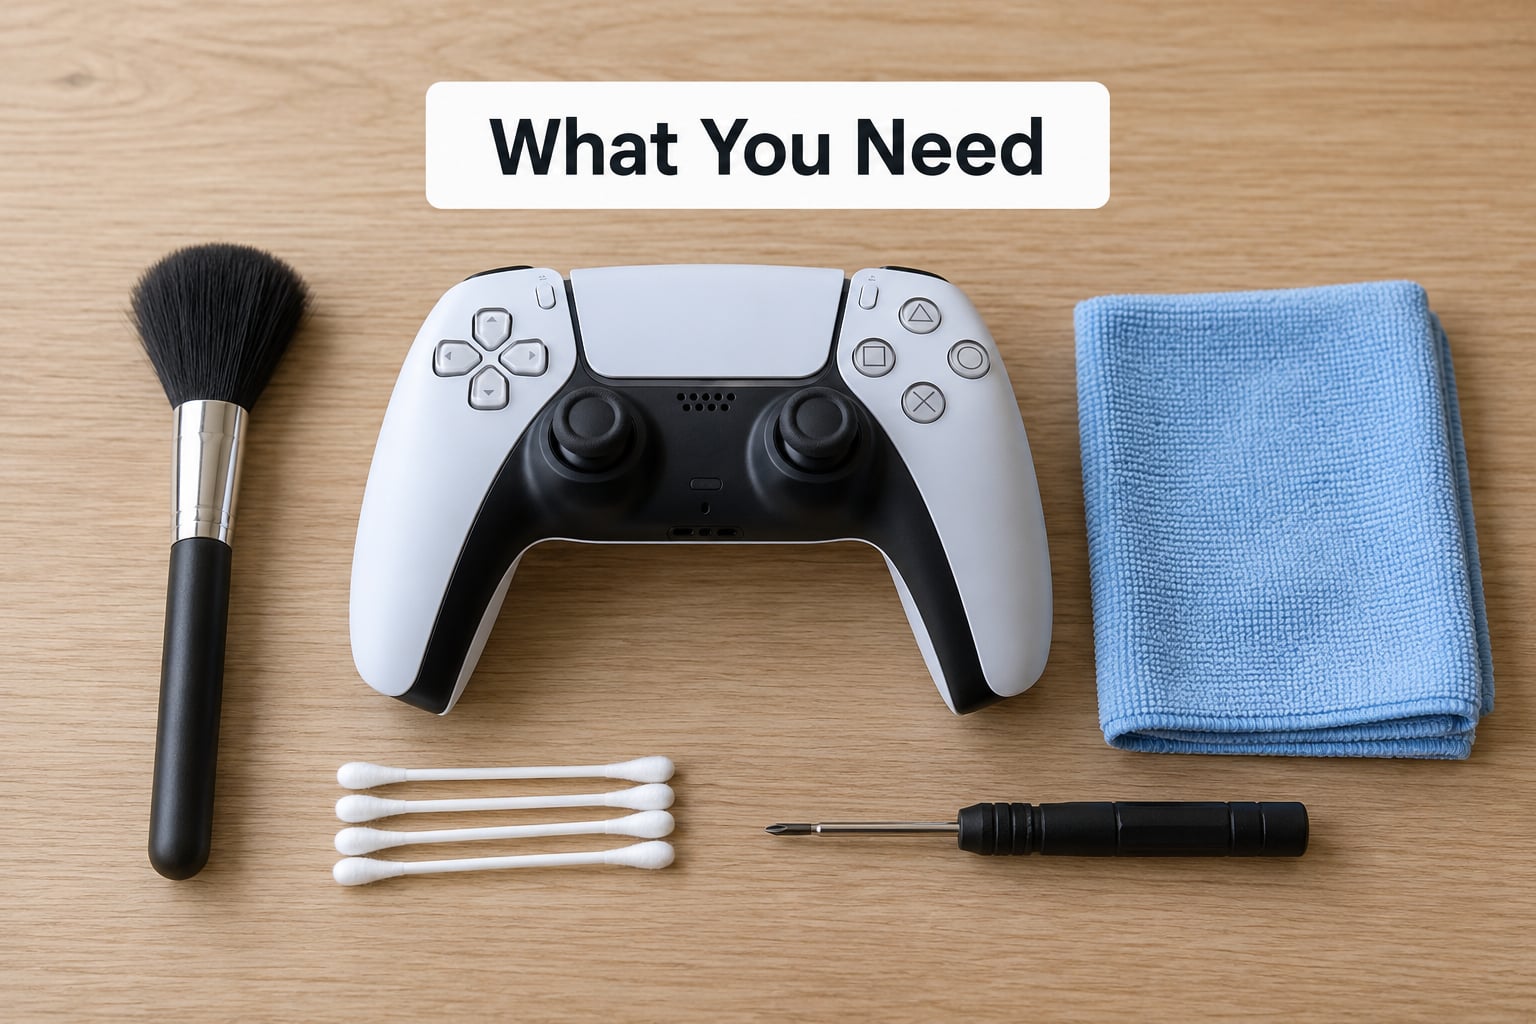
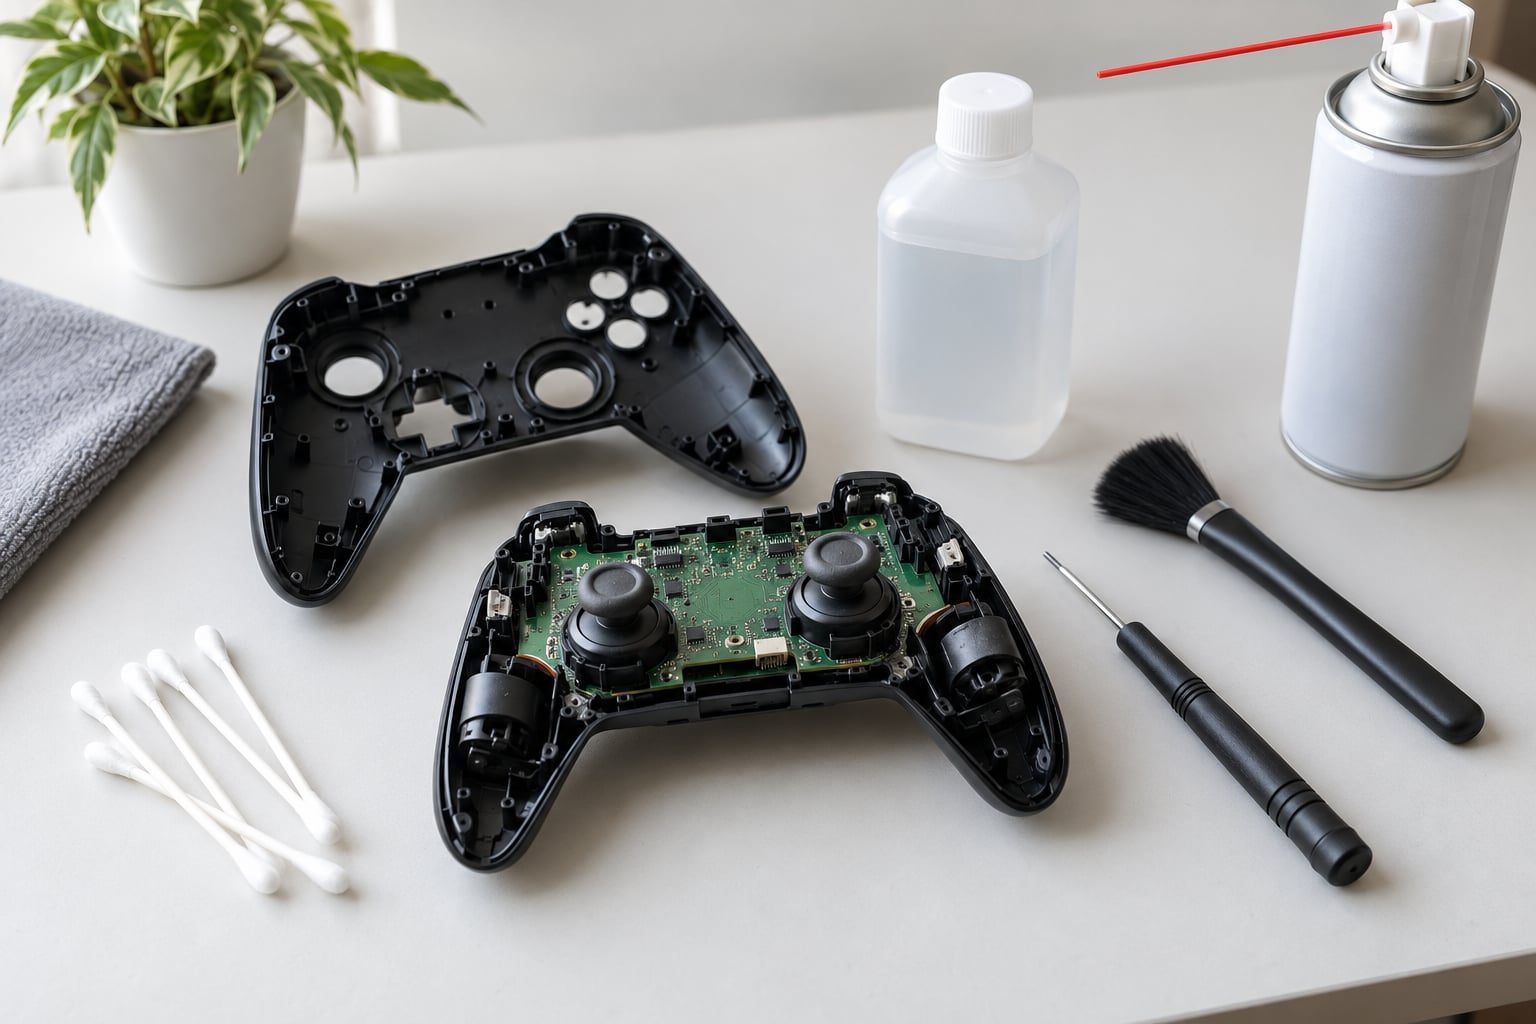
You need less than most people expect. A plastic opening tool, a soft brush or an old toothbrush, cotton swabs, 90% or higher isopropyl alcohol, and a dry microfiber cloth cover every step that does not involve opening the shell.
Add a precision Phillips screwdriver and a plastic spudger if you plan to go past step 3. A can of compressed air is useful but optional, since blowing dust out of a controller is one of the fastest ways to push debris deeper into the module.
You also need a charging cable, because half the “drift” reports I have seen were a controller with a dead battery reporting phantom input. A USB-C cable that carries data, not just power, matters for PC testing later.
Step-by-Step
The order below runs from least to most invasive. If you can learn how to fix controller drift by only cleaning and resetting, you avoid opening anything at all, which is the goal for most people reading this.
Step 1: Confirm That the Stick Is Drifting
Do not start cleaning until you know the stick is actually drifting. Leave the controller flat on a desk, untouched, for two full minutes, then check whether the on-screen stick position has moved off center.
On Xbox, open the Xbox Accessories app, pick your controller, and use the test buttons to watch the stick indicator. On PlayStation, the PS5 control center shows a live stick readout you can watch. On PC, Steam Input has a configuration test screen that plots the stick position as a dot, and Steam Deck users can find the same thing in Settings.
Write down which stick moves and in which direction. Drift that shows up on every surface and every game is almost certainly debris or a worn potentiometer. Drift that only appears in one game, or only when the stick is pushed forward, usually means something different and needs its own approach.
Also rule out sticky-but-not-drifting behavior. A stick that resists, sits crooked, or jumps back slowly is a mechanical or spring problem, and cleaning will not help it.
Step 2: Restart and Reconnect the Controller
Turn the controller off, wait thirty seconds, and power it back on. On PlayStation, hold the Create button while pressing the PS button to power down, then pair again from Settings, Network, Bluetooth, and Accessories. On Xbox, hold the Xbox button until the light flashes rapidly, then press it again to reconnect. On Switch, press the minus button four times on the HOME screen to close and reopen software.
Charge the controller fully before you judge anything. A weak battery on some models produces ghost input that looks exactly like drift.
If the controller has a user profile or assigned slot on your console, check that the assignment is still intact after reconnecting. A controller assigned to the wrong profile sometimes reads inputs oddly in that specific account’s menus.
Step 3: Clean Around the Thumbstick
This is the step that fixes the most cases, and it is the step most people do badly. Push the thumbstick up and hold it there so you can see the rubber ring around the base, then run compressed air or a stiff dry brush around the gap between the cap and the housing to blow debris out.
Next, put a drop of 90% or higher isopropyl alcohol on a cotton swab and wipe around the base ring while slowly rotating the stick through its full range, ten to twenty turns. Repeat on every gap you can reach. Let it sit ten to fifteen minutes to fully dry before you power it up.
Use 90% or higher rather than 70% because the water content in 70% is what leaves residue behind, and residue is exactly what causes the problem you are trying to remove. Isopropyl alcohol will not damage the plastic or the printed markings, so there is no reason to fear it here.
Keep liquid out of the controller. Apply alcohol to the swab rather than pouring it, and never run the swab wet under the thumbstick cap. If you go further and lift the cap off, do it with a plastic spudger, handle the part by its edges so you leave no fingerprints on the sensor, and clean the exposed sensor disc with the same swab.
Step 4: Recalibrate the Analog Sticks
On PS5, power the controller off, press and hold the Create button, then press the PS button. Release Create and press the PS button again to reinitialize the sticks. PS4 DualShock 4 controllers have the small recessed reset pinhole on the back; insert a paperclip and hold it for three to five seconds until the light flashes.
On Xbox, open the Xbox Accessories app, select the controller, and use the calibration option there. On PC, Windows has Set up USB game controllers in Control Panel, where Properties shows a live stick trace and lets you set a dead zone slider. On Switch, the recalibrate screen is reached from HOME, then Change Grip/Order, then Joy-Con, then Calibrate, and you press each stick and D-pad direction in turn.
Set your inner dead zone to about 5% as a starting point if the platform offers one. That masks light drift without the sluggish first few percent of stick travel that bigger values cause.
PC players have the most control here. In Steam, Settings, Controller, General Controller Settings, then Configuration Support gives you a full calibration wizard, and each game can be tuned separately. For games outside Steam, right-click the executable in your library, choose Controller Options, and raise Dead Zone Inner per game. One long-running Reddit thread in r/pcgaming reported that a value of 0.157 eliminated their drift completely.
Step 5: Update Controller Software and Firmware
Firmware updates fix recalibration bugs more often than people expect. On PS5, any controller update happens during a system update, so check Settings, System, System Software Update. On Xbox, the same applies through the console’s Update settings, and the Xbox Accessories app handles controller-specific updates. On Switch, controllers update automatically when docked and charged, though you can force a check from HOME, Controllers, and Change Grip/Order.
Restart the controller after any update. On PC, a firmware mismatch between the wireless adapter and the pad shows up as phantom input rather than a clean error message.
If an update fails or the controller keeps dropping out, reset the controller’s network pairing before you reinstall anything. Repeatedly reinstalling firmware on a controller that is not pairing correctly simply fails the same way.
Step 6: Test for a Hardware or Connection Fault
Plug the controller into a different device and see whether the drift travels with it. A controller that drifts on a console and on a laptop, over both USB and Bluetooth, has the problem in its hardware. A controller that behaves on one device and not another is telling you the fault belongs to the first device, usually its port, its wireless band, or its battery.
Try a different USB port, a different cable, and move the console away from anything else broadcasting on the 2.4GHz band, such as a wireless keyboard or a phone hotspot. Wireless interference produces input that looks like drift and disappears when you go wired.
Check the battery too. Swapping in a charged controller or a fresh battery and watching the drift vanish tells you the stick was never the problem.
Step 7: Repair or Replace the Controller
If cleaning, resetting and recalibration all failed, you are dealing with hardware. Check the manufacturer’s warranty first. Sony and Microsoft both treat stick drift as wear, so claims beyond the standard one-year period are usually declined, and Nintendo runs a repair program specifically for Joy-Con stick problems.
Before you open the controller, know what you are getting into. Most joystick module replacements require soldering, which is why so many players stop here. The repair service at the manufacturer handles it, and many third-party repair shops will do it for a flat fee that is usually well under replacing the whole controller.
There is a middle path that needs no soldering. On iFixit, users document bending the plastic tab on the thumbstick cap twenty to thirty degrees to lift the inner sensor part out without a full teardown, clean it with alcohol, dry it, and reinstall it without touching the sensor surface with your fingers. Community reports call this a like-new result on controllers that dead zone settings could not fix, and they are honest that it is a short-term fix on genuinely worn parts.
When the drift comes back within weeks regardless of what you do, the module itself is worn out. Replacing the controller, or moving to a Hall Effect stick module that senses position magnetically with no metal wiper touching a resistive track, is the only fix that addresses the cause rather than the symptom.
Common Mistakes
Pouring alcohol into the controller. Liquid reaches the board and the battery contacts and causes far worse problems than drift. Apply alcohol to a swab instead.
Twisting the thumbstick hard while trying to scrub it clean. The cap can pop off or crack, and the ring underneath takes the damage. Rotate it gently, twenty turns is plenty.
Using WD-40 or a household lubricant. WD-40 is a petroleum solvent and leaves an oily film that attracts more dust than before, and lubricants gum up the mechanism. There is no version of WD-40 that fixes drift.
Treating the reset pinhole as a repair. Forum users report resetting constantly and still seeing drift, because the pinhole reinitializes the stick’s center value and does nothing to the debris or the worn contact underneath it.
Pushing the dead zone up until the stick feels dead. This makes the first five to ten percent of travel unresponsive and can still fail to stop drift entirely. Five percent first, then test.
Replacing the battery before testing the original device. The battery is one of the cheapest things to check and one of the most common causes of phantom input.
Skipping the cross-device test. If you never check the controller on a second machine, you cannot tell a broken stick from a broken port, and you may replace a controller that was never the problem.
Frequently Asked Questions
Does resetting a controller actually fix stick drift?
No. The reset pinhole or power-button reset only re-zeroes the stick’s center position in the controller’s memory. It does not remove debris under the cap or repair a worn potentiometer contact, which is why users who reset repeatedly still see the same drift. Treat a reset as a cheap first test, then move on to cleaning and recalibration.
Can I fix controller drift without opening the controller?
Often, yes. Compressed air and a cotton swab with 90% isopropyl alcohol will fix debris-related drift without any disassembly, and raising the inner dead zone to about five percent handles light residual creep. PC players can go further with per-game dead zone settings in Steam Input. What you cannot avoid is that worn internal hardware eventually needs opening or replacement.
Is stick drift permanent?
It depends entirely on the cause. Debris under the thumbstick cap is not permanent at all and cleaning usually clears it for months or longer. A worn potentiometer contact or wiper is closer to permanent, and cleaning only buys time there. Controllers with Hall Effect stick modules do not develop this kind of drift at all, because there is no metal contact to wear.
Does WD-40 get rid of controller drift?
No, and it makes things worse. WD-40 is a solvent and light lubricant, so it dissolves grime briefly and then leaves an oily film that pulls in dust faster than before. The same goes for sprays labelled contact cleaner on consumer shelves and for any household lubricant. Stick with 90% or higher isopropyl alcohol, which evaporates clean and leaves no residue.
Why does my controller stick drift, and can it be fixed after the warranty expires?
Most drift comes from dust and skin oil on the stick’s sensor or from a worn resistive track and metal wiper inside the module. Once the warranty is over, your options are cleaning, dead zone adjustments, a paid module replacement that usually involves soldering, or replacing the controller. Community repair guides document a no-solder partial disassembly that cleans the sensor without opening the shell, which is the most popular middle option.
Start at step 3. Compressed air, a swab with 90% isopropyl alcohol and twenty slow rotations fixes more drifting controllers than anything else on this list, and it costs nothing and risks nothing. If the stick still creeps after that, add a reset, then a five percent dead zone, and only then consider opening the shell or replacing the controller.