To overclock a GPU safely, raise the power limit and core clock in small steps inside MSI Afterburner, keep the core voltage slider untouched, watch temperature in HWiNFO64, and stress test after every single change. If any test fails, roll back one step. That whole routine takes about an hour for a first run.
The reason people get into trouble is rarely the overclock itself. It is changing four sliders at once, watching one ten-minute benchmark, and never testing an actual game.
Preparation and safety rules:
- Leave the core voltage slider at zero. Modern cards throttle themselves before damage happens.
- Keep core temperature under 80-85C in a long test, and stay well below the card’s throttle point.
- Raise the core clock in 15-25 MHz steps. One change, one test.
- Raise the memory clock in 50-100 MHz steps, and treat it as optional.
- Test for 10-15 minutes per change. Run a 30-60 minute soak before you keep any setting.
- Save a profile the moment something works, so a crash never costs you the whole session.
- Stop immediately if you see flicker, colored blocks, or a card that smells hot.
Table of Contents
- What You Need
- Step-by-Step
- How to Overclock a GPU Safely: Establish a Stable Baseline
- Set Conservative Power and Temperature Limits
- Increase the Core Clock Gradually
- Tune Memory and Fan Settings if Supported
- Stress-Test Every Adjustment
- Keep the Best Stable Settings
- Know When to Stop and Restore Defaults
- Common Mistakes
- Frequently Asked Questions
- Does overclocking a GPU reduce its lifespan?
- What is the safest power limit for overclocking a GPU?
- Can you safely overclock a laptop GPU?
- Which software can overclock NVIDIA and AMD GPUs?
- How do I know if my GPU overclock is unstable?
- Does GPU overclocking void the warranty?
- Conclusion
What You Need
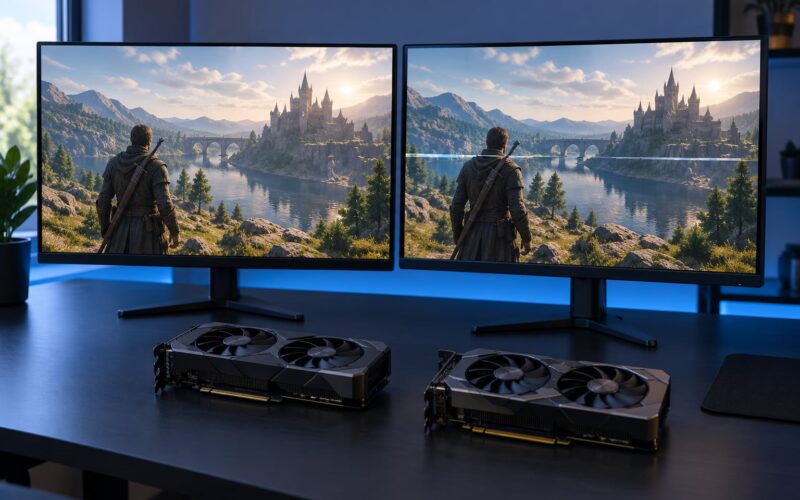
You need five things, and most desktop gaming PCs already have two of them. A clean monitor setup and some free time matter more than expensive hardware.
- A supported desktop graphics card. Full-size cards from the last several generations expose clock and power controls in software. Some entry-level and laptop cards do not.
- Current graphics drivers. Install the newest stable Game Ready or Adrenalin release for your card before you start.
- MSI Afterburner. This is the tuning utility the rest of this guide uses. It handles NVIDIA and AMD cards alike, and its OC Scanner can suggest a starting point if you want one.
- HWiNFO64. A hardware monitor that shows the sensors Afterburner hides, including hotspot or junction temperature.
- A ten-minute test program and a benchmark. 3DMark or Unigine Superposition for scoring, OCCT or FurMark for longer stability runs.
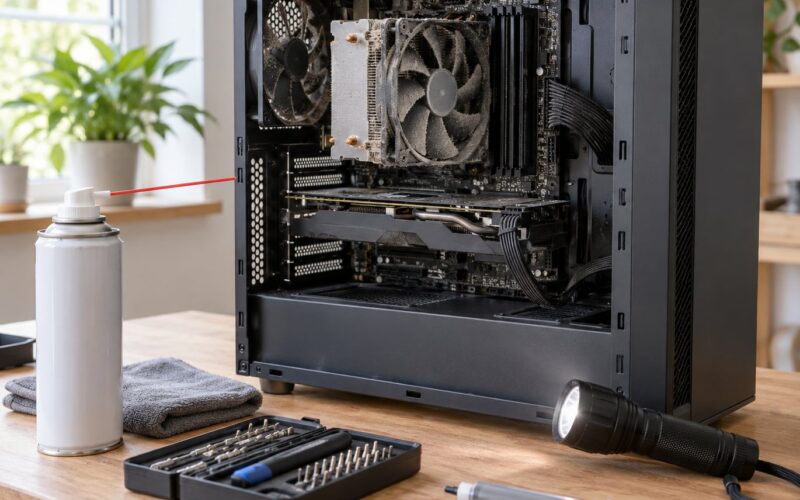
Also worth having: two or three demanding games you already know well, case airflow that isn’t obviously blocked, and a power supply sized comfortably above what your card pulls. Under a power-limited desktop, an overclock throttles no matter what the sliders say.
Laptop GPUs are a separate story. Overclocking controls on laptops are frequently disabled at the BIOS level, and the shared CPU and GPU cooling in a thin chassis throttles almost immediately. Skip this guide if that’s your setup.
Step-by-Step
How to Overclock a GPU Safely: Establish a Stable Baseline
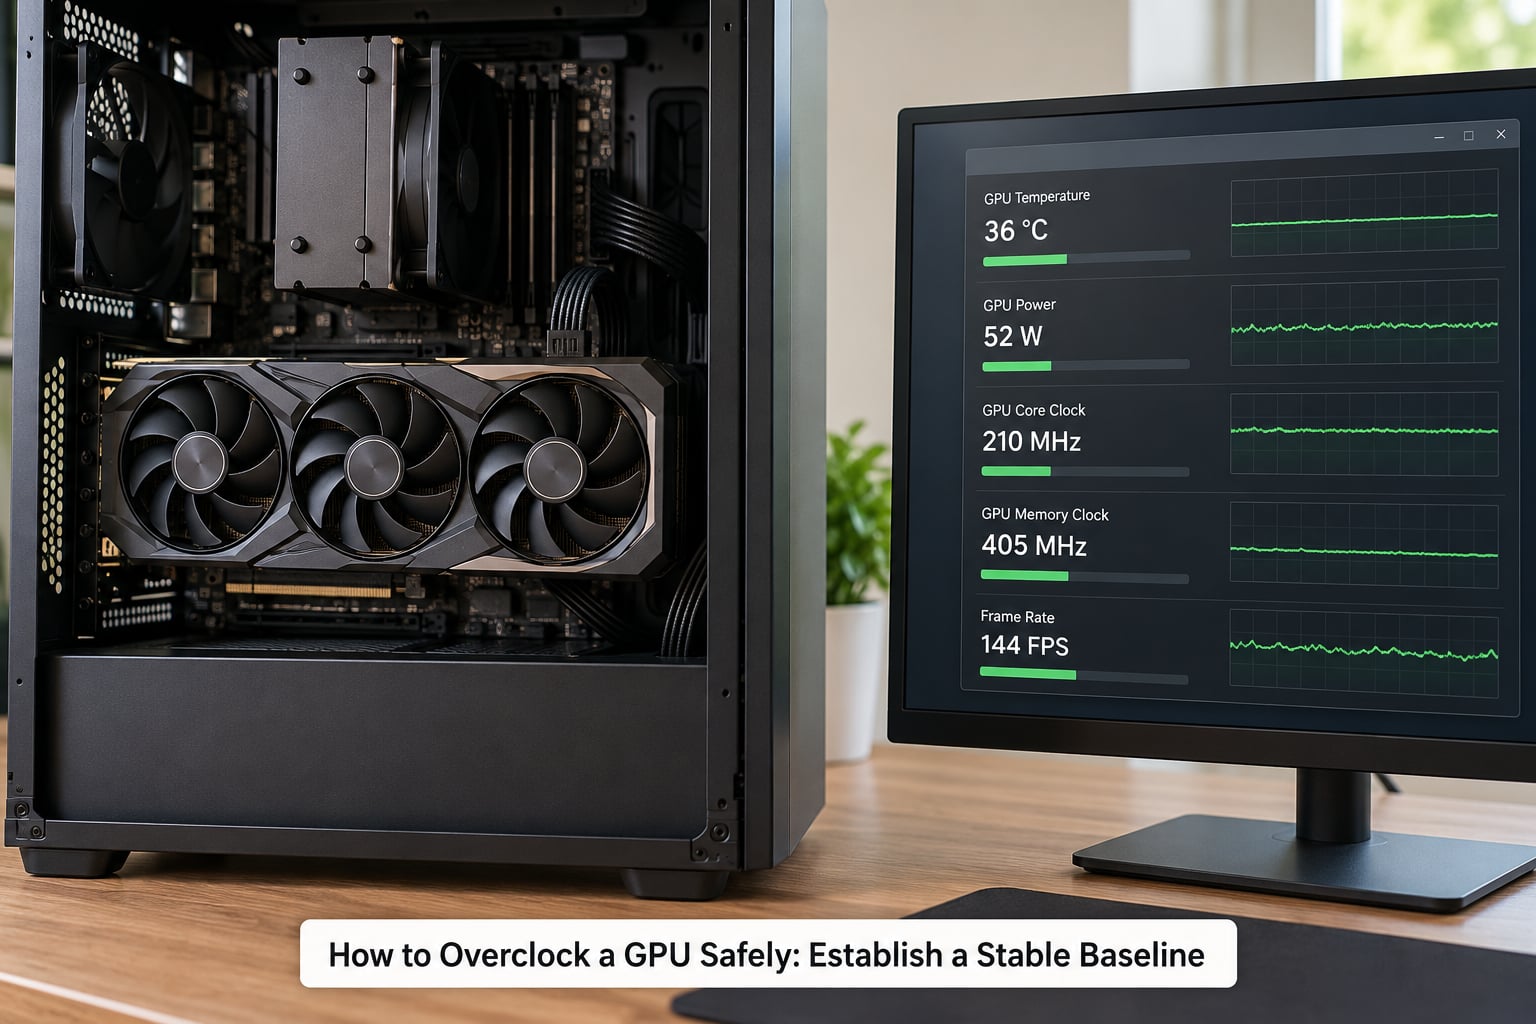
Before touching a slider, you need to know what your card does untouched. Otherwise you can’t tell an improvement from noise, and you have no reference for “too hot.”
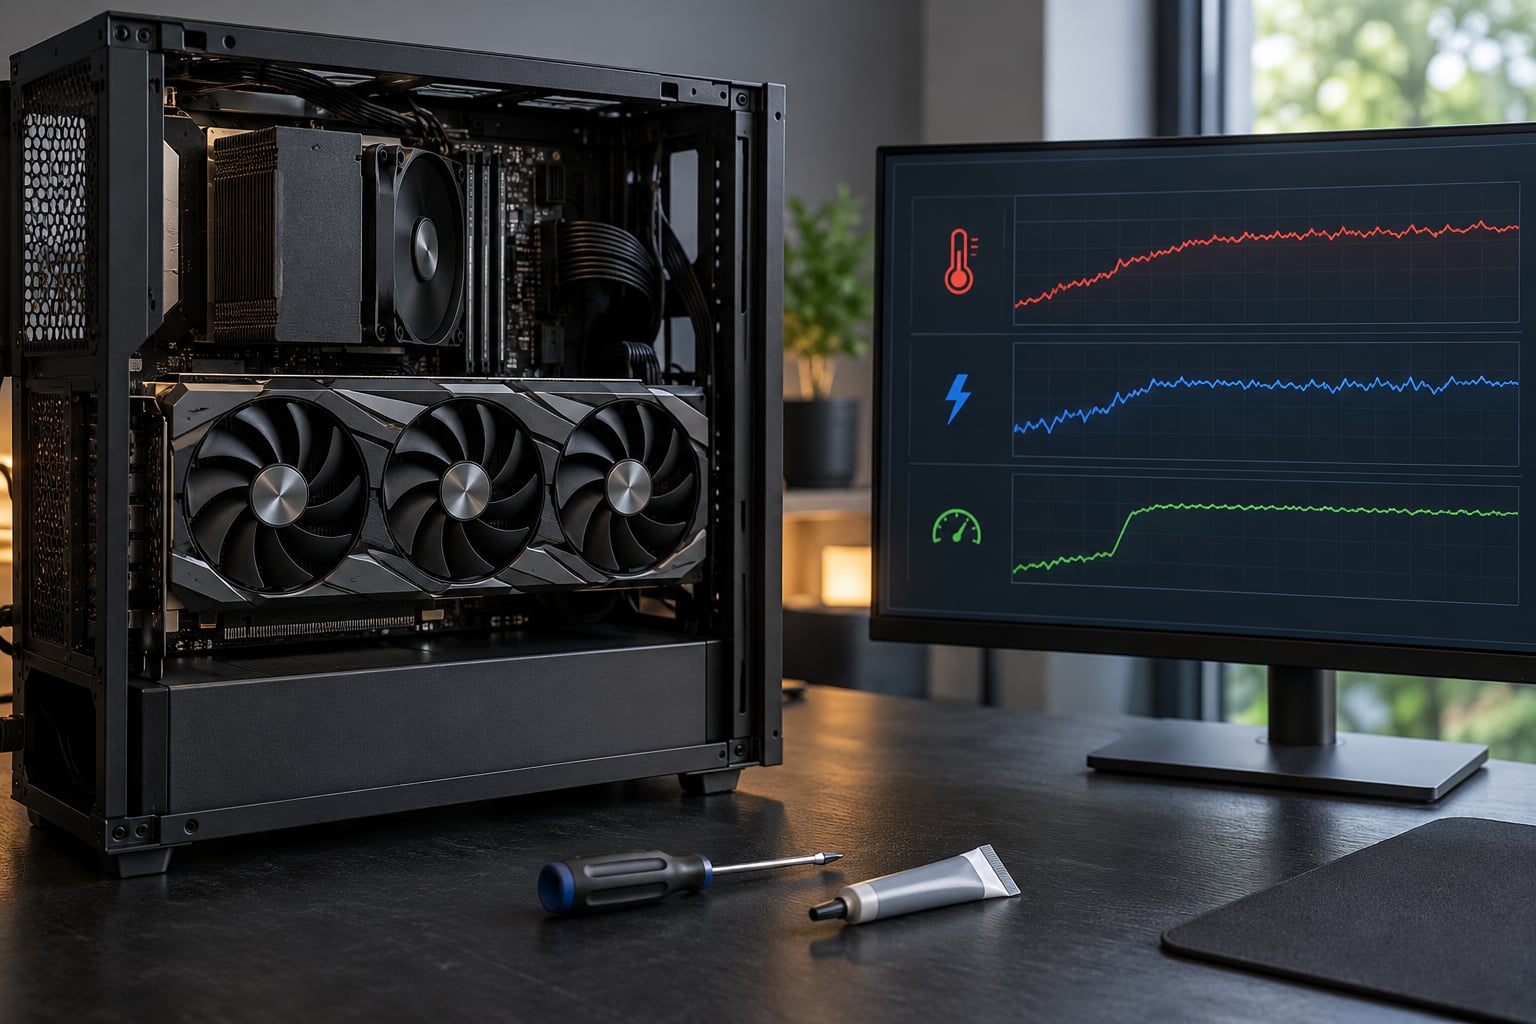
Open HWiNFO64, start the sensor view, and let the card idle for a few minutes. Then run your benchmark and note five numbers: sustained core temperature, peak hotspot temperature, power draw, core clock, and frame rate. Write them down.
A short baseline checklist:
- Default core clock and memory clock as reported in Afterburner
- Core and hotspot temperature after a ten-minute run
- Peak power draw in watts
- Fan behaviour at idle and under load, including whether it stops spinning
- Benchmark score and average frame rate
- Frame pacing in a game you know, measured before any change
Clean install of the driver matters here. Old tuning profiles and an old driver can leave a card that feels unstable before you even start. Do a clean install, then launch Afterburner and click Reset so everything sits at factory values.
Only after the baseline is recorded does the real work of learning how to overclock a GPU safely begin.
Set Conservative Power and Temperature Limits
The power limit and temperature limit sliders are your safety margin, so set them first. In Afterburner, the power limit slider sits on the left of the main window and is expressed as a percentage of the card’s default power target.
Start at or slightly below default, somewhere around 100 percent. Raising it is generally safe on modern cards because it mainly unlocks headroom the card’s own firmware already allowed. Sliding it to 140 percent on your first day removes every margin you had and is the single most common beginner mistake.
Next set the temperature limit below the card’s throttle point. Staying under 80-85C for core temperature during a long run leaves room for a hotter room or a dustier card. Leave real headroom, because the throttle point isn’t a warning, it is a wall.
Set the fan curve too. A curve that holds low speeds until temperatures climb, then ramps hard, keeps the card cool without turning your desktop into a hairdryer. Set it before you raise clocks, not after something goes wrong.
Apply those three limits, run a test, and confirm the card still behaves. Only then start moving clocks.
Increase the Core Clock Gradually
With limits in place, use the Core Clock slider and move it up in 15-25 MHz increments. The exact step size varies by card; if Afterburner jumps in larger increments, take what it gives you.
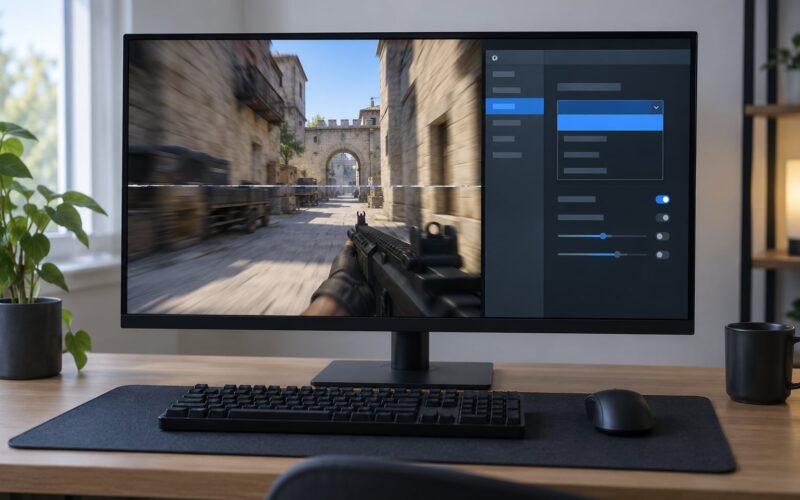
After each step, run your test and watch three things. Frame-time consistency is the one that matters most for how the card actually feels. A stable run holds the same average frame time start to finish. An unstable one shows frame-time spikes and stutter even when the average FPS looks fine.
Stop at the first sign of trouble. That means colored blocks or flashing pixels, a test that ends early, a driver reset, or a game that hangs on the loading screen. When a step fails, go back one increment and retest.
A successful benchmark launch proves very little. Plenty of unstable settings sail through a ten-minute score run and fail an hour into a game. Change one thing, test, and only then move on.
Tune Memory and Fan Settings if Supported
Memory tuning produces a different kind of gain. On a card with VRAM headroom, a memory clock increase often helps more in texture-heavy games than a core clock increase does, but it fails differently. Memory errors show up as texture flicker, shadow blocks, or a black screen rather than smooth stutter.
Raise the memory clock in 50-100 MHz steps, testing after each one, and stop well before you reach whatever you think the number should be. Memory frequency numbers are effective speeds, so a figure around 7000 MHz may simply be normal for that card rather than a sign of headroom. Compare it to your baseline, not to somebody else’s.
Memory overclocking is optional and unsupported on some cards, where the slider sits greyed out. That is fine, and it is not a defect.
Whatever you tune, do not raise voltage to reach a higher clock. If a higher clock needs more voltage to hold, that is the card telling you it has reached its limit.
Stress-Test Every Adjustment
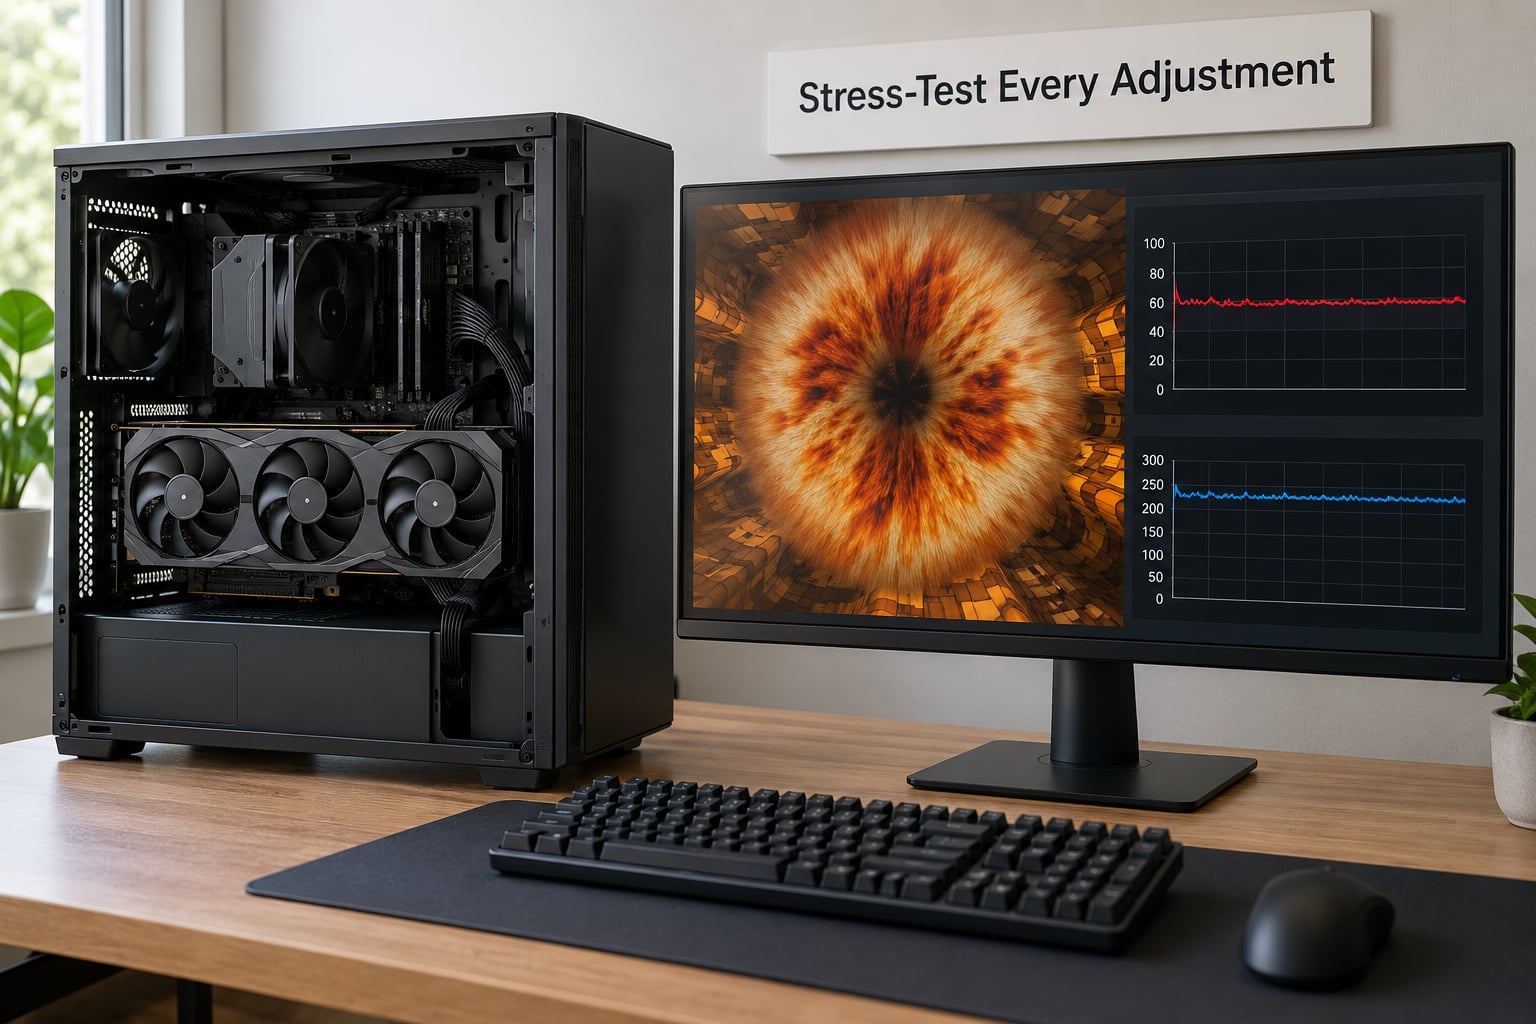
Testing is the part people cut short, and it’s the part that decides whether your overclock survives contact with a real game.
Use a repeatable routine. Run a benchmark for scoring, then a dedicated stress test such as OCCT or FurMark for 10-15 minutes, then two or three demanding games for a session each. HWiNFO64 runs the whole time, recording to a log file so you can look back at peak temperatures instead of guessing.
What to monitor: frame-time consistency, core and hotspot temperature, power draw, and any driver reset message. A test that survives 15 minutes is a promising result, not a finished one. Once a setting looks solid, run a 30-60 minute soak, ideally on a different day, before you keep it.
Long tests matter more for memory than for core clock. Memory errors that appear once every twenty minutes will happily sit hidden through a short benchmark.
Keep the Best Stable Settings
Keep a simple log as you go: power limit, core offset, memory offset, fan curve, test duration, and result. A single line per attempt is enough.
Restore the previous known-good settings after every failure rather than starting from defaults again. That keeps you one step from a working card instead of rebuilding from nothing.
When a pass survives the full routine, save a profile in Afterburner straight away and give it a name you will recognise. Enable start with Windows if you want the settings to persist, and keep a copy of the profile file somewhere outside your drivers folder. A driver reinstall or a Windows update can wipe a tuning profile, and re-finding that setting is tedious.
Accept the highest repeatable gain, not the highest number you saw once. Learning how to overclock a GPU safely means finishing with a setting you never have to think about, not one that works when it feels like working.
Know When to Stop and Restore Defaults
Rollback triggers are simple and non-negotiable: flickering or colored artifacts, frame-time spikes that come and go, a failed stress test, a driver reset, a black screen, or a shutdown under load.
To back out, click the Reset button in MSI Afterburner. Everything returns to factory values. Then confirm the card is back to normal by checking that baseline temperature and frame rate from your first session. If they match, the card is healthy and the settings were the problem.
If you get artifacts but the card feels hot, back off the power limit and fan curve first. If artifacts appear on an otherwise cool card, back off clocks. Hot but artifact-free is a cooling problem. Cool but unstable is a clock problem. People mix these two up constantly.
Stop and power down the PC immediately if you notice physical damage, exposed or displaced components, unusual odor, or a connector that is discolored. Software sliders cannot cause that. Physical problems need a technician.
Common Mistakes
Nearly every bad overclocking story traces back to one of these. Each has a straightforward fix.
- Changing several sliders at once. Fix: one change per test. If a step fails you cannot tell which slider caused it, and you lose more time than you would have saved.
- Increasing core voltage. Fix: leave the voltage slider at zero. It buys a small clock gain for a large rise in heat and power, and it is the setting most likely to shorten a card’s life.
- Chasing peak FPS instead of frame pacing. Fix: judge stability by frame time, not average frame rate. A stuttering 60 is worse than a steady 55.
- Relying on a single short benchmark. Fix: benchmark plus a dedicated stress test plus real games. Memory faults in particular hide from short runs.
- Running fans flat out all the time. Fix: use a fan curve. Constant maximum speed adds noise and wear without making the card faster.
- Ignoring memory errors. Fix: treat flicker, shadow blocks, and black screens as memory faults until proven otherwise. Back off the memory clock first, not the core clock.
- Never testing the games you actually play. Fix: test your own library. Different engines stress different parts of the card, and your game is the one that has to survive.
- Keeping a setting that only worked before a driver update. Fix: retest after every major driver release. Limits and boost behaviour can shift, and a previously stable offset can become an unstable one.
Three habits keep the whole process boring, which is the goal. Record the desktop’s baseline numbers and compare every attempt against them. Repeat each promising setting on a second day rather than trusting one session. And check your card maker’s warranty terms and model-specific specifications before you start, because some manufacturers treat modified clock behaviour differently from physical damage.
Frequently Asked Questions
Does overclocking a GPU reduce its lifespan?
Done conservatively, it has a small effect rather than a dramatic one. Raising clocks and power limits raises steady-state heat and power draw, and heat is what ages electronics over time. Leave the voltage slider alone, keep core temperature comfortably below 85C, and use a sensible fan curve, and the extra stress is modest for a card that was already designed to sit near those temperatures.
What is the safest power limit for overclocking a GPU?
Start at 100 percent, meaning your card’s default power target, and only move above it after your baseline and limits are set. Modern cards allow a useful power headroom because their firmware already permits certain voltage ranges, so a modest raise is usually fine. Sliding it to 140 percent on a first session is the common beginner mistake, and it strips away the margin that keeps a failed step harmless.
Can you safely overclock a laptop GPU?
Usually not, and the limitation is mostly physical. Laptop cards often have clock controls disabled at the BIOS level, so the tuning utility shows no sliders at all. Where controls exist, the shared CPU and GPU cooling in a thin chassis throttles within a minute, and owners report crashes almost immediately regardless of temperature. Raising the power ceiling on a laptop costs you battery life for settings that will not hold.
Which software can overclock NVIDIA and AMD GPUs?
MSI Afterburner handles both brands and is the default choice for good reason: it exposes power limit, temperature limit, core clock, memory clock, and fan curve in one window. ASUS GPU Tweak III and EVGA Precision X1 do the same job with different layouts. AMD users can also use the performance tuning controls in Adrenalin. NVIDIA Profile Inspector is for per-game settings rather than overclocking the card itself.
How do I know if my GPU overclock is unstable?
Watch for colored blocks, flashing pixels, texture flicker, frame-time spikes, a stress test that ends early, a driver reset, or a game that hangs or blacks out. The absence of artifacts is encouraging but not proof, since memory faults can appear once every twenty minutes. The only reliable answer is time: benchmark, dedicated stress test, and several real games, followed by a longer soak on a different day.
Does GPU overclocking void the warranty?
Usually no. Manufacturers generally cover defects and failures, and clock tuning through vendor software is not treated as physical damage. Terms vary, so read your card maker’s warranty wording before you start, and keep the card’s physical condition unchanged, including the factory vBIOS. If you ever flash a custom BIOS or modify hardware directly, that is a different conversation with a different answer.
Conclusion
Start by recording your baseline: default clocks, core and hotspot temperature, power draw, fan behaviour, and frame rate. Then set conservative power and temperature limits, leave the voltage slider alone, and make exactly one small change at a time.
Test each change with a benchmark, a dedicated stress test, and the games you actually play. Roll back immediately when something fails, save a profile the moment a setting holds up, and keep only results that repeat on a second day. In 2026, the point of learning how to overclock a GPU safely is that you finish with a card that feels the same every session, which takes modest power, temperature, and fan limits rather than a heroic voltage bump.