If you want to know how to improve airflow in a PC case, start with this: cool air enters through the front and bottom, warm air leaves through the rear and top, and you want slightly more intake capacity than exhaust capacity. Most builds that run hot are not missing a fan. They have a clogged filter, a cable bundle sitting across the intake, or fans spinning the wrong way.
Every fix below is reversible and takes minutes. Work through them in order rather than buying parts first, because the free fixes surprise people more often than not.
Table of Contents
- What You Need
- Step-by-Step: How to Improve Airflow in a PC Case
- 1. Confirm the Intakes and Exhausts Are Working
- 2. Remove Dust and Clean the Filter
- 3. Reroute Cables and Clear the Front Panel
- 4. Balance the Fan Configuration
- 5. Upgrade the Weakest Airflow Component
- Common Mistakes
- Frequently Asked Questions
- Do more fans always improve PC case airflow?
- Should a top-mounted fan blow up or out?
- How do I tell if a PC case filter is clogged?
- Which direction should front intake fans face?
- Does cable management really affect temperatures?
- Is it worth adding fans to an older prebuilt PC?
What You Need
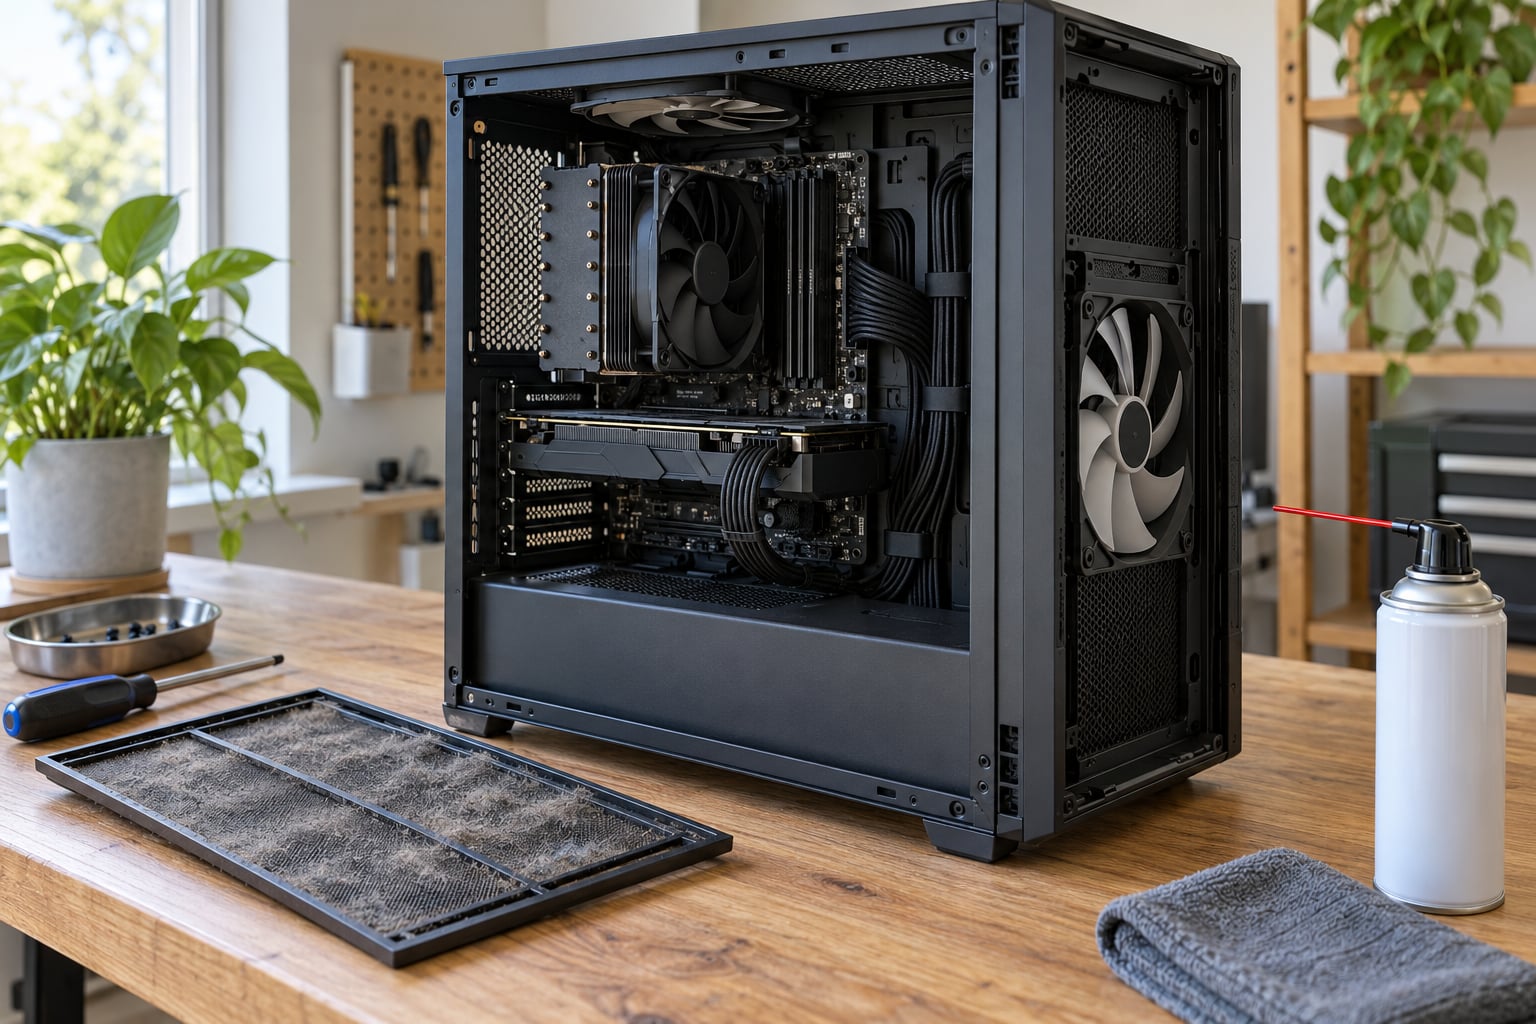
You do not need much. Grab a flashlight, since the inside of a case is mostly shadow and the blockages hiding in front of intake fans are never where you expect them. A can of compressed air handles the dust, and a Phillips screwdriver plus a few cable ties handle the panels and cable management.
Have the case manual nearby if your case has a removable filter, because the removal direction differs between brands and forcing it bends the frame. If a fan needs replacing, pick up one that matches your mounting pattern and thickness before you start.
Shut down Windows fully, switch off the power supply, and unplug the system before touching anything inside. Hold the power button for a few seconds to drain residual power.
Step-by-Step: How to Improve Airflow in a PC Case
1. Confirm the Intakes and Exhausts Are Working
The first thing to check is whether air is moving through the case at all, and in the right direction. A fan blows air from the low-pressure side to the high-pressure side, so the label and the arrows on the frame tell you which way it pushes.
Front and bottom fans should push air into the case. Rear and top fans should pull air out of it. Hold a thin strip of tissue near each opening: it should lift away from an intake and get sucked toward an exhaust.
If a fan spins the wrong way, flip it in its frame so the label faces inward on an intake, or fit a reverse-direction fan. Fans wired backwards fight each other, recirculate the same pocket of air and add noise without moving fresh air anywhere.
2. Remove Dust and Clean the Filter
Dust is the most common reason a clean-looking build starts throttling a year later. Blowing through a fan never feels blocked while you are doing it, yet dust on the blades and in the vents drops the airflow noticeably.
Hold the compressed air can at an angle and use short bursts. Never spin the fan blades with the can, since that can generate a small voltage and damage the board. Clean the dust filter separately, outdoors or over a bin, and let it dry fully before reinstalling it.
If the filter is a fine mesh and you are seeing dust every few months, replace it with a magnetic coarse-mesh filter you can rinse. A blocked filter is worse than no filter, because the case then works harder to pull air through a solid wall.
3. Reroute Cables and Clear the Front Panel
Cable management is the single biggest free improvement people leave undone. A thick bundle of power and data cables pushed into the front of the case forms a wall across the intake path, and the fan behind it moves air around instead of through the case.
Route everything behind the motherboard tray, using the cutouts rather than the open space, and bind it with cable ties or a Velcro strap every few centimetres. If your case has a drive cage or a power supply shroud that no longer holds drives, remove it so that opening becomes part of the intake path.
Close off unused expansion slots too. Small covers stop short-circuiting air between the front and rear of the case, which makes the path longer and quieter.
4. Balance the Fan Configuration
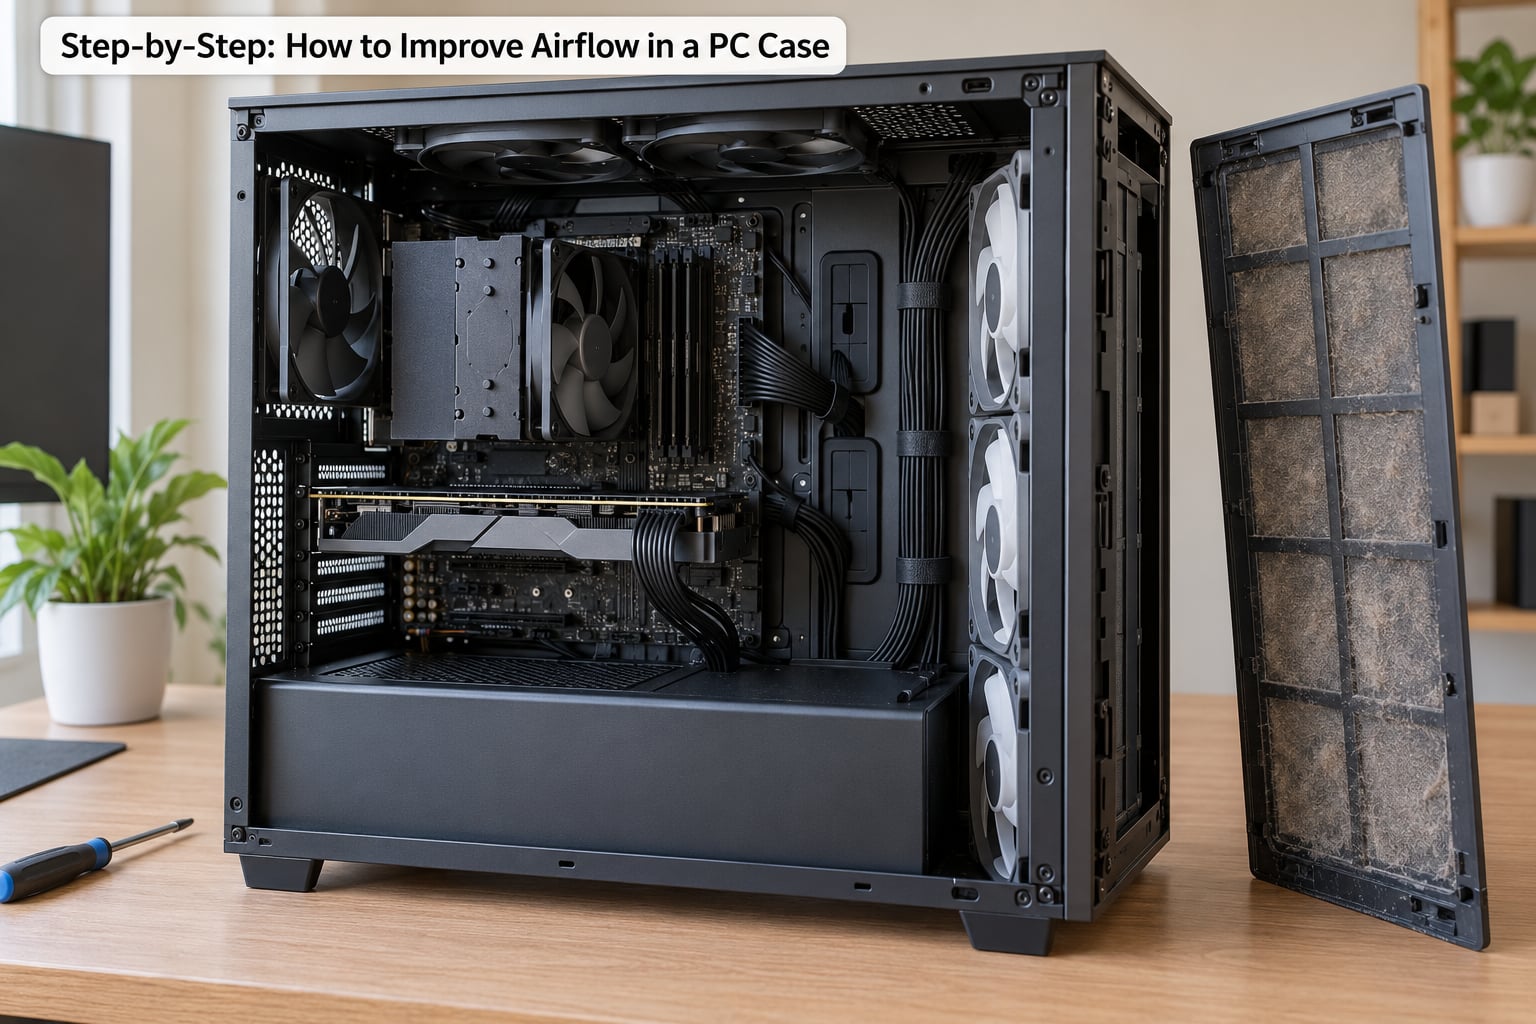
The goal is a front-to-back and bottom-to-top path with no dead ends. In a typical mid-tower that means two or three fans at the front as intake, one at the rear as exhaust, and one or two at the top as exhaust, which carries the rising heat straight out.
Keep total intake capacity slightly higher than total exhaust. The small difference in pressure keeps unfiltered gaps such as unused slot covers pushing air outward, so dust settles on surfaces instead of being drawn into fans. Building a negative-pressure case, where more air leaves than enters, is deliberate and valid in a dusty room, but it fights every gasket and vent you have.
Mount fans that sit behind filters or radiators where the surface is restrictive, since a fan that moves plenty of air through open space struggles to push through a dense screen. Check your fan hub for a reversible label before mounting, and note the depth: a standard fan is 25mm and a slim fan is 15mm.
5. Upgrade the Weakest Airflow Component
Replace a fan that rattles, buzzes at low speed or has stopped spinning entirely. Unscrew it, note the size, and match the replacement on airflow in cubic feet per minute and noise rather than on colour.
A larger fan moving the same air at a lower RPM is usually the quieter upgrade, since noise rises steeply with speed. Fins and frame thickness matter as well, because deeper frames push harder against resistance while shallow frames move more air freely.
Route the new fan to a header on the motherboard or to a powered hub, then set a fan curve so it idles quietly and ramps up only when temperature climbs. Fit it, boot the system, and watch the temperatures for ten minutes under the same load as before.
Common Mistakes
Every fan blowing inwards. More intake than exhaust with no way for the air to leave means it backs up and recirculates. Match the exhaust to the intake.
Every fan blowing outwards. This pulls air in through every unsealed gap, including the gaps you did not know existed, and drags dust straight past your components.
A clogged filter left in place. After a year or two it can cost more airflow than a missing fan. Clean it every three months in a normal room, more often if you have pets.
Fans mounted flush against a solid panel. A fan pulling from nothing just recycles the same hot air. Move it to an opening that actually feeds it fresh air.
A large front fan starving a smaller intake. If the exhaust cannot keep up, the extra intake makes pressure build and reverses flow at the rear. Add exhaust capacity rather than more intake.
Working on the case while it is powered. Shut down, switch off the PSU and unplug. It is the one mistake that turns a cooling job into a repair job.
Judging the result by a single temperature spike. Booting warm is normal. Check a steady figure under a ten-minute load before and after each change, otherwise you are reading noise.
Frequently Asked Questions
Do more fans always improve PC case airflow?
No. Adding intake fans without matching exhaust capacity raises internal pressure and makes air recirculate instead of flowing through. Fix the blocked paths and clean the filters first, then add fans so intake capacity stays slightly above exhaust. More fans mainly help once the airflow path is actually clear.
Should a top-mounted fan blow up or out?
Out, as exhaust in almost every standard build. Hot air rises, so a top exhaust carries that heat away from the case rather than trapping it. The exception is a top radiator on a liquid loop, where the radiator fan does the exhaust work and the top mount is best left free.
How do I tell if a PC case filter is clogged?
Hold a tissue against the filter while the intake fan runs: strong suction means air is moving through it, weak suction means it is blocked. You can also see it directly. A grey, matted mesh that has not been touched in months is clogged, and rinsing or blowing it out restores airflow immediately.
Which direction should front intake fans face?
They should blow into the case, with the label and airflow arrows facing inward so you push air from the front and bottom toward the rear and top. If your tissue test shows air pushing out of the front panel, flip the fan in its frame or fit a reverse-direction model.
Does cable management really affect temperatures?
Yes, because a bundle pushed into the front of the case sits directly across the intake path. Moving the cables behind the motherboard tray and strapping them down opens that path without spending anything, and it usually lowers fan speed for the same temperature.
Is it worth adding fans to an older prebuilt PC?
Usually yes. Prebuilt cases often ship with one slow fan and a blocked intake path, so cleaning the filter and rerouting the cables alone can drop load temperatures noticeably. Add two cheap front intake fans and one rear exhaust before considering a new case.
If you take one action tonight, pull the side panel off and hold a tissue against the front intake while the system runs. Whatever that test shows tells you whether your next move is a can of compressed air, a handful of cable ties, or a new fan, and that is how to improve airflow in a PC case without guessing.