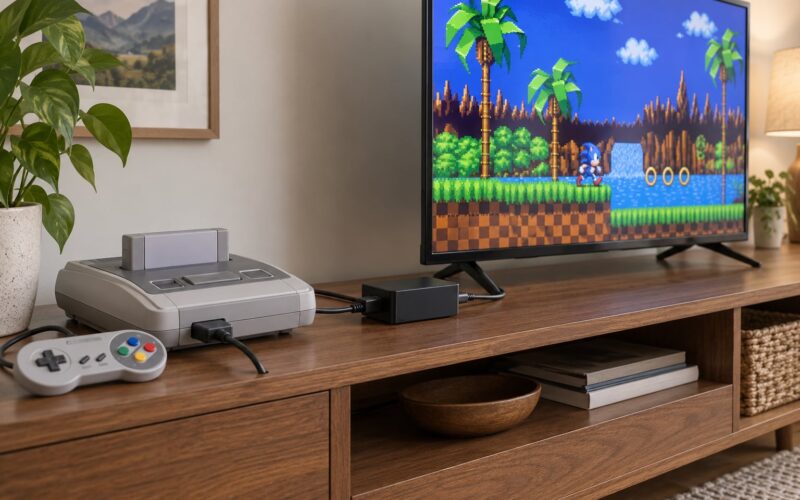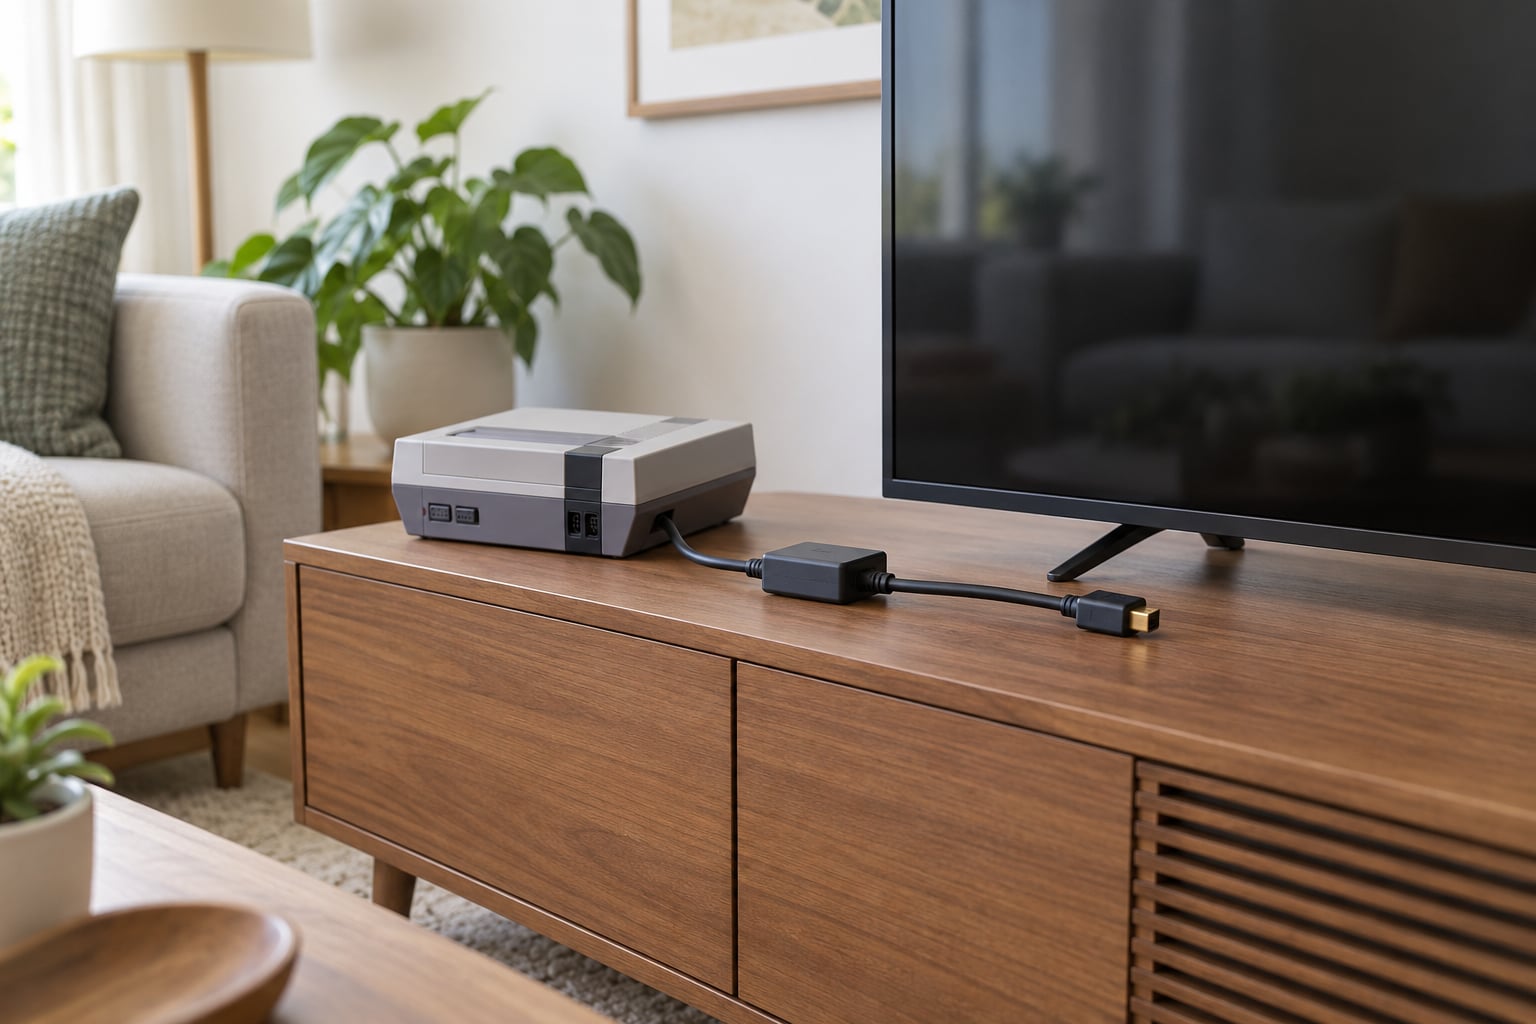
If you want to know how to connect a retro console to a 4K TV, the whole job is one matchup: find the video output your console actually has, then feed it into an input your television still accepts. Sets built after roughly 2018 dropped RF, composite, S-Video, SCART and component, so most people need one small box between the console and the panel. The good news is that the physical work takes about ten minutes, and most of the fiddling afterwards happens in the TV’s own picture menu rather than in the cable.
I have set up more of these than I care to admit, and the failures are always the same three: the wrong input, the wrong converter class, or an aspect-ratio setting fighting the picture. Fix those and a 240p signal looks better than most people expect on a big flat screen.
Table of Contents
- What You Need
- How to Connect a Retro Console to a 4K TV: Step-by-Step
- Identify Your Console’s Video Output
- Choose the Best Connection Method
- Connect the Console and Select the Correct Input
- Set the TV Picture and Console Display Options
- Test the Signal and Troubleshoot the First Startup
- Common Mistakes
- Tips for the Best Retro Console Picture
- Frequently Asked Questions
- What type of TV can play old consoles?
- How can I connect my NES to a modern TV?
- Why won’t my Super Nintendo connect to my TV?
- What is the best upscaler for retro gaming?
- Do I need an upscaler if my console already has HDMI?
- How do I fix no video available on my TV?
- What to Do First
What You Need
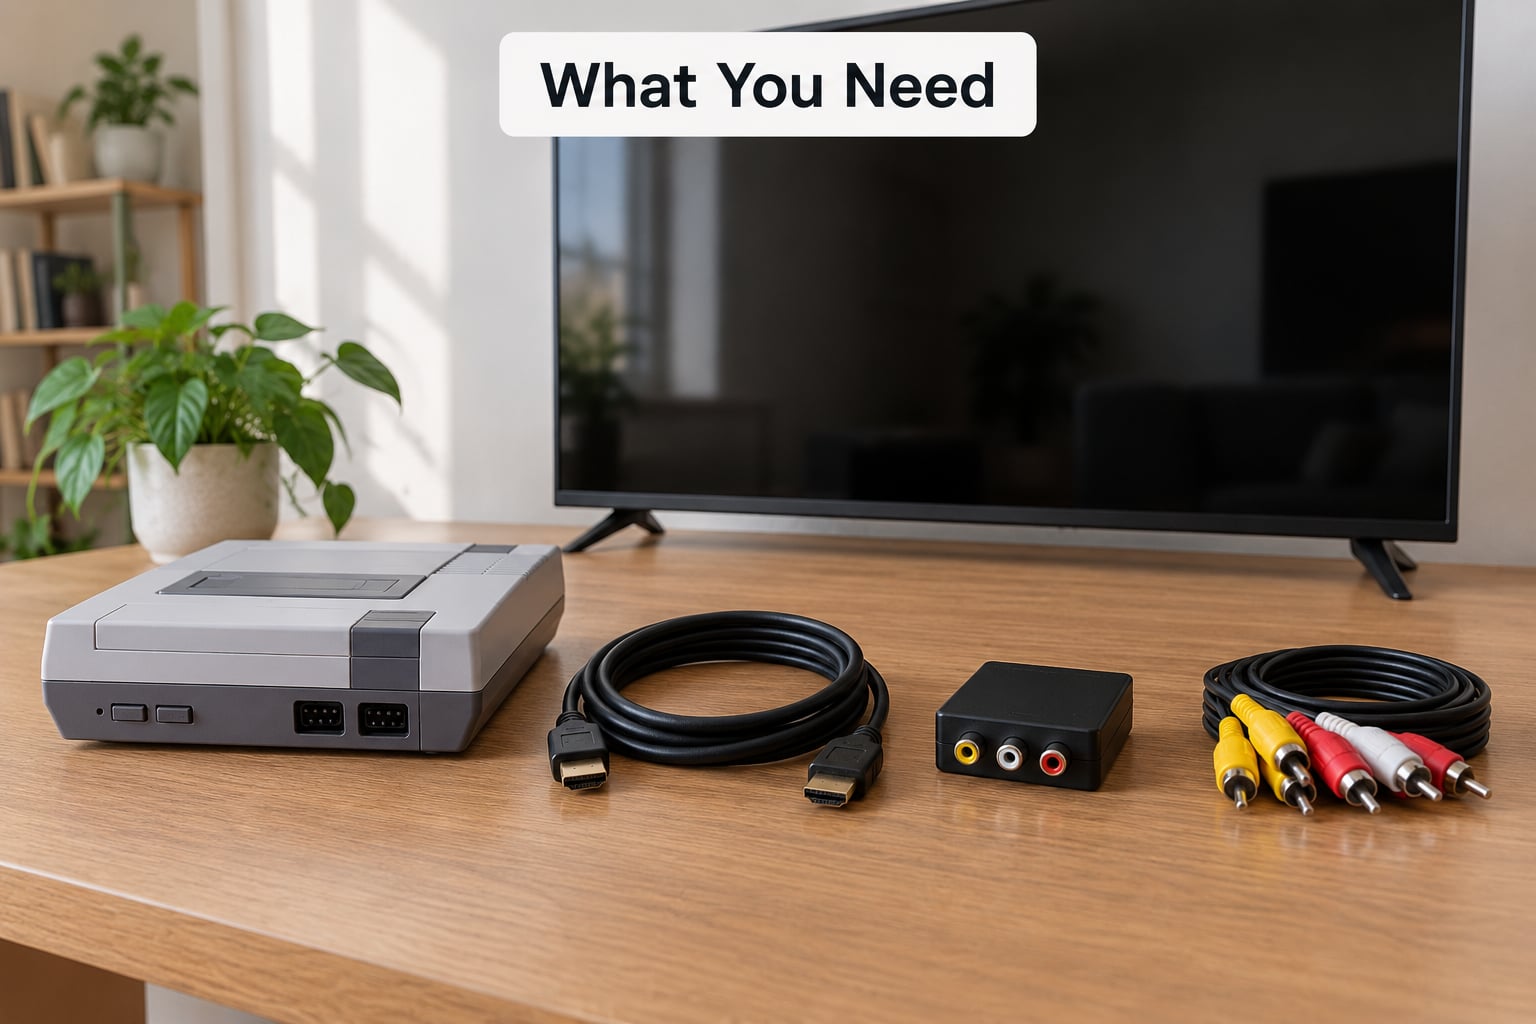
Gather these before you start, and the connection itself takes one cable each way:
- The console. Check the back panel and the manual, not the front. The front says brand, the back says output type.
- A 4K TV with at least one HDMI input. Every modern set has several; nearly none have legacy jacks.
- The original cable, or the best cable the console can physically use.
- A converter or upscaler, only if the TV lacks the matching analogue input.
- Power for the converter. Most take USB from a TV port or a phone charger. This is the number one reason a box shows no signal.
- Optional but handy: an HDMI switcher if you have more consoles than HDMI ports, a SCART switch box for a rack of European hardware, and a 3.5mm-to-RCA audio lead for boxes that drop sound.
The reason for all the extra equipment is that video signals changed shape twice. RF is one modulated channel carried down a coax lead. Composite puts brightness and colour on one yellow wire. S-Video splits them across its own connector. RGB SCART carries the three colour signals separately with no lossy encoding at all, which is why it is the enthusiast favourite. Component splits them further and runs at 480i. HDMI is digital end to end, which is what the TV wants.
| Port | Signal | Signal rank (low to high) | Still found on a 4K TV? | Adapter needed? |
|---|---|---|---|---|
| RF / coax | One modulated channel | 1 (worst) | Rarely | Yes, RF-to-HDMI |
| Composite | Yellow RCA, luma and chroma combined | 2 | Occasionally | Yes, composite-to-HDMI |
| S-Video | Round 4-pin, luma and chroma split | 3 | Almost never | Yes, S-Video-to-HDMI |
| RGB SCART | 21-pin, separate R, G, B plus sync | 4 | No | Yes, SCART-to-HDMI |
| Component | Green, blue, red RCA at 480i | 5 | Occasionally | Yes, component-to-HDMI |
| HDMI | Digital | 6 (best) | Always | No |
Rank matters most on a large panel. On a 25-inch CRT a composite signal looks charming. On a 65-inch 4K set the panel stretches every one of those composite pixels across 15 times the area, and the smearing that follows colour is exactly the washed-out complaint people post about in forums.
How to Connect a Retro Console to a 4K TV: Step-by-Step
Identify Your Console’s Video Output
Look at the back panel and count the connectors. One round coax socket means RF. A cluster of yellow, white and red RCA sockets usually means composite, and if a second red one joins the set you also have component. A round four-pin socket next to the yellow one is S-Video. A 21-pin Euro SCART socket is the wide one with the flat top. A flat HDMI port means somebody already modded that console, and you can skip everything else in this guide.
This cheat sheet covers the consoles people ask about most:
| Console | Original output | Best possible output | Recommended route to a 4K TV |
|---|---|---|---|
| NES / Famicom | RF or composite depending on model | RGB SCART via mod | Composite-to-HDMI, or a clone with SCART built in |
| SNES / Super Famicom | Composite and S-Video | RGB SCART via mod; PAL boxes shipped with SCART | S-Video-to-HDMI converter |
| Nintendo 64 | Composite and S-Video | RGB via mod | S-Video-to-HDMI converter, RGB mod for the sharpest image |
| GameCube | Composite and component | Component at 480i | Component-to-HDMI adapter |
| Master System | RF | Composite via a transcoder | Console transcoder, then composite-to-HDMI |
| Mega Drive / Genesis | Composite and S-Video | RGB SCART on PAL models | SCART-to-HDMI converter, or S-Video-to-HDMI |
| PlayStation | Composite and S-Video | S-Video | S-Video-to-HDMI converter |
| PlayStation 2 | Composite and component | Component at 480i | Component-to-HDMI adapter |
| Atari 2600 | RF only | Composite via transcoder or newer clones | RF-to-HDMI adapter, or a recreated console with HDMI |
Never force a plug. Component’s green, blue and red RCA sockets look identical to the audio pair on most consoles, and plugging a video cable into audio, or the reverse, is the fastest way to a blank screen and an afternoon of regret.
Choose the Best Connection Method
There are four routes, and they are worth ranking before you shop.
1. Direct analogue. If your TV still has a composite, component or SCART jack, plug straight in. It costs nothing, adds no delay, and it is the route to test with when a secondhand set is on offer. Some 40-inch sets from the early 2020s kept component on one input; older 4K sets and anything smaller than about 50 inches usually did not.
2. Converter. A simple composite-to-HDMI box contains a DAC, which stands for digital-to-analogue converter in reverse: it takes the analogue video, generates a sync signal most TVs will lock to, and outputs a digital signal. Cheap boxes do this badly. A very good box does it acceptably. The tell is the resolution it outputs and whether it passes sync cleanly.
3. Line doubler or scaler. A line doubler reads the 240p or 480i signal and outputs every line twice at 480p or 720p, which stops a panel from inventing its own guesswork. A scaler goes further and outputs 1080p. The OSSC is the well-known line doubler in this category, and the RetroTINK 5X is the scaler most people point to. Both add a frame of delay or so; neither is instant, though both stay well inside what most players notice.
4. Mod, recreation or emulation. An RGB mod installs inside the console and outputs SCART or HDMI at source quality, which beats every external box because nothing is re-encoded. Recreated hardware such as the Atari 2600+, Analogue 3D or the Hyperkin Retron GX outputs HDMI from the factory, so there is nothing to convert at all. Emulation on a MiSTer or similar device follows the same logic: no analogue signal exists in the chain.
RGB SCART is worth defining once: a 21-pin Euro connector that carries separate red, green and blue signals plus sync, with no colour encoding step to soften. That is why SCART beats component for 240p consoles even though component has a higher nominal resolution.
And if you see “1080p” advertised on a converter, ask what went in. A 240p composite signal stretched to 1080p is still the same 240p composite signal, now with every flaw magnified. GamesRadar’s hardware editor puts it plainly: forcing composite to 1080p only highlights the problems already there.
Connect the Console and Select the Correct Input
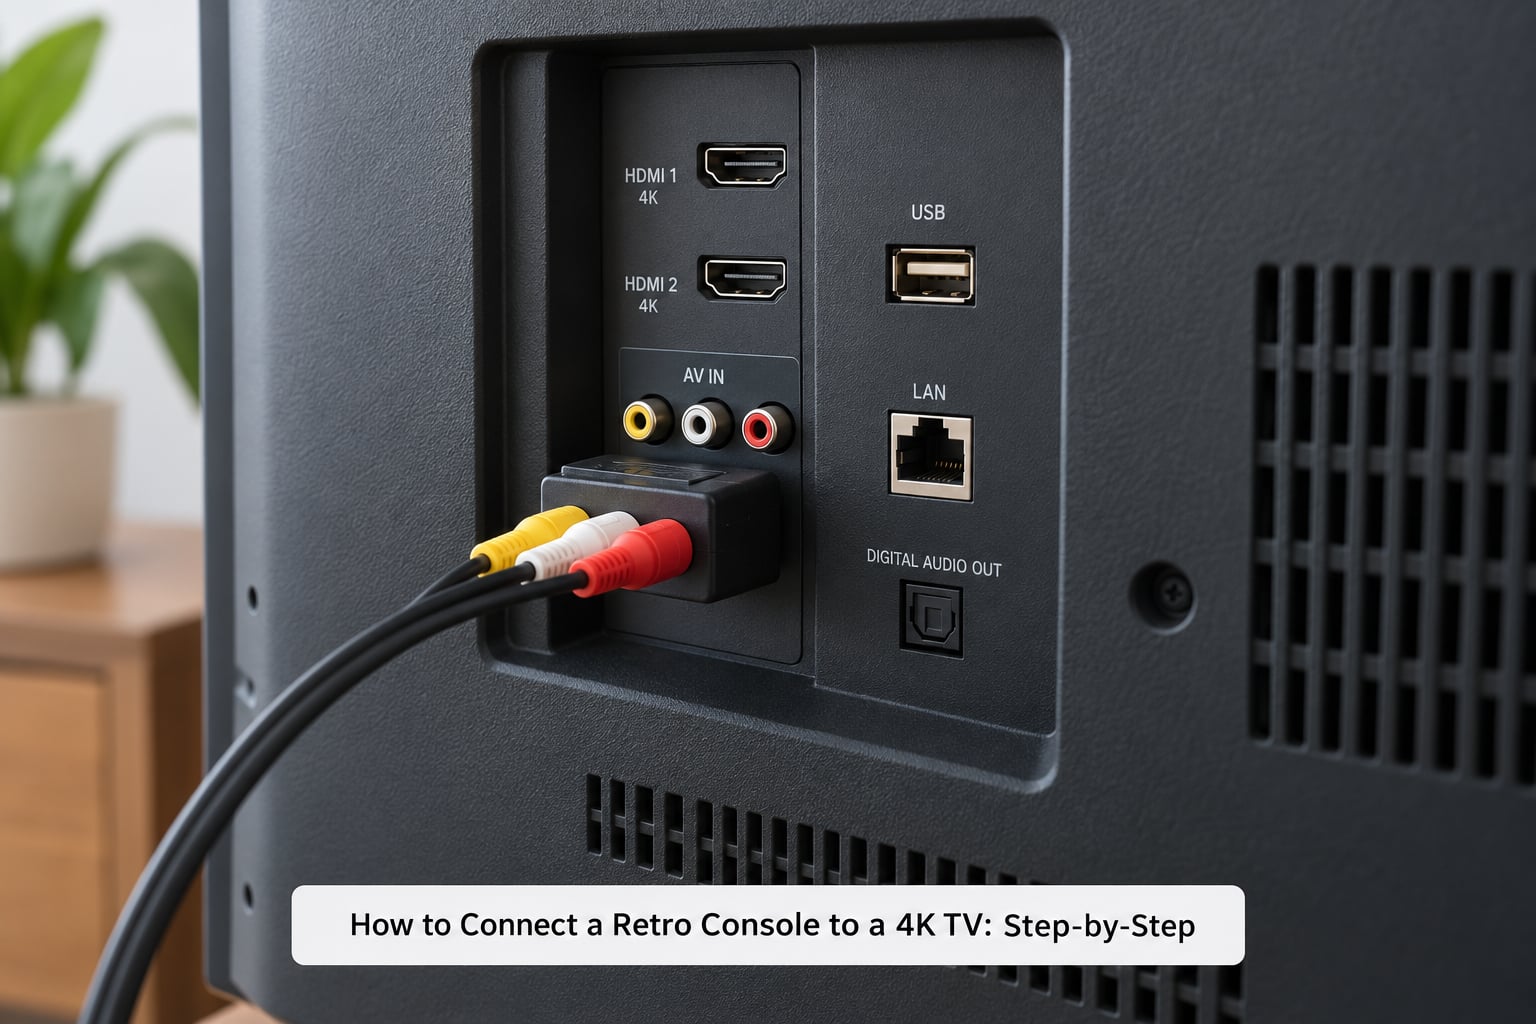
Plug the console into the adapter, then the adapter into the TV’s HDMI port you intend to use. Count from the TV’s side: most sets number HDMI 1, 2, 3 along one row, though some put HDMI 1 on its own and the rest on another edge.
Turn the TV on first, then the console. Use the remote’s Input or Source button, cycle down to HDMI 1, and if you get nothing move to HDMI 2. It feels obvious, but it accounts for a startling share of failed setups, especially with two or three consoles fighting over the same ports.
If your converter has an audio out or a 3.5mm jack and the sound is missing, run that separately: one lead from the console’s white and red audio pair, or a 3.5mm-to-RCA cable from a headphone socket. Plenty of the cheap boxes carry video only and expect the TV to make the noise, which it cannot do from HDMI if the converter never sent audio.
Set the TV Picture and Console Display Options
Now the part people skip, and the part that makes the biggest difference. Open the TV’s picture menu and look for three things: aspect ratio, overscan, and a game or low-latency picture mode.
Set aspect ratio to Original, Just Scan, Pixel Aspect or 4:3, depending on the brand. Some sets call it Screen Format, some Picture Aspect, some Stretch. Whatever the label, the goal is square pixels and a centred image, not a picture stretched edge to edge with a fat black bar down each side. A 4:3 console on a 16:9 panel left on 16:9 looks horizontally squashed; stretch it manually and the sprites fatten.
Turn overscan handling off or down. Overscan is the black border early TVs drew around the image. Modern panels have no overscan, so a TV that “corrects” for it will crop the top and bottom of your picture, and on some games you will lose part of the status display.
Set the picture mode to Game if the set has one. It disables motion smoothing, which otherwise smears sprites, and usually switches off the processing chain that adds input lag. This is the single biggest quality jump available to you without touching the console.
Consoles from the PS1 and PS2 era have their own display options worth checking. Aspect ratio can be 4:3 or 16:9, and 16:9 was designed for a widescreen tube, so 4:3 is the honest setting for retro projects on a 4K panel. If your PS2 offers a progressive or 480p mode and you are using a component cable, enable it. Anything from before that era has no such menu, which is normal.
Test the Signal and Troubleshoot the First Startup
Power on, select the input, and look for three things in turn: picture, sound, and whether the controllers respond.
If you get picture, switch to a second input and back. A converter that works reliably stays locked; one that only shows an image sometimes is usually starved of power or running out of sync tolerance.
If the picture is there but the console sits on a menu when you expect a game, or the console does not boot at all, that is a different fault. Some PS2-to-HDMI adapters boot a PS1 disc and then drop to black on a modern set. Power-cycle the console with the TV already on its input, and if it persists, the adapter is the problem rather than the television.
If you get sound but no picture, the converter is probably set to a resolution the TV will not lock to. Force its output to 1080p, or drop it to 480p on units that offer the choice, and retest.
PAL hardware deserves its own note. A 50Hz PAL console on a 60Hz panel can show rolling bars or an unstable image, and that is a refresh mismatch, not a broken cable. Converters with a 50/60Hz switch handle it, and a region mod plus such a switch handles it permanently. Check this before blaming the adapter.
Common Mistakes
| Symptom | Likely cause | Fix |
|---|---|---|
| No signal message on the HDMI input | Converter has no power, or the TV is on the wrong HDMI port | Power the converter from USB, confirm the port number on the TV, cycle every input |
| Black screen, menus visible | Converter output resolution the TV will not accept | Force 1080p, or 480p where offered |
| Green or magenta picture | Sync not being stripped from an analogue signal | Try S-Video instead of composite, or use a converter with a sync-stripper setting |
| Rolling bars or unstable image | PAL 50Hz console on a 60Hz panel | Use a 50/60Hz switch or converter, or a region mod |
| Washed-out, smeared colours | Composite signal stretched across a large 4K panel | Move up to S-Video, component or RGB SCART |
| No sound | Adapter carries video only, or the RCA audio pins were left out | Run audio separately from the console or the converter headphone jack |
| Image squeezed or stretched | Aspect ratio left on the TV default | Set Original, Just Scan, Pixel Aspect or 4:3 |
| Edges of the picture cut off | Overscan correction still enabled | Set overscan to off or low |
| Console boots then drops to black | Adapter compatibility, common with PS2-to-HDMI units | Power-cycle with the TV already on the input, then change adapter |
| Everything looks worse than expected | A cheap composite-to-HDMI converter amplifying artefacts | Replace it with an S-Video or SCART input device, or mod the console |
Two mistakes are worth calling out because they are so common and so avoidable. The first is buying a converter that only accepts composite when your console can already do S-Video, which is free clarity thrown away. The second is unshielded SCART leads from a marketplace listing. Forum regulars are blunt about these: the pinout on cheap leads is often wrong, and the picture breaks in ways that send you hunting through TV settings that were never the problem. A properly shielded SCART lead costs a few pounds more and removes the variable.
The other one is expectations. A 4K television cannot invent detail that a 1994 console never sent. Upscaling makes the pixels bigger and cleaner-edged, not richer. Knowing that stops an afternoon of menu tweaking.
Tips for the Best Retro Console Picture
Use the highest output your console has, for free. Before spending on anything, check whether S-Video, component or SCART is already present. PS2 and GameCube owners get 480i component at no cost and see a clear jump over composite.
Set the picture mode before you blame the adapter. Game mode plus correct aspect ratio sometimes transforms a mediocre signal. It costs zero.
Keep overscan correction minimal. A TV that crops edges to “fill the screen” makes the console worse, not better.
Use a switcher when ports run out. An HDMI switcher with a remote button solves the two-console-one-port problem in a way that swapping cables never will. A SCART switch box does the same job for a rack of European hardware.
Do not open the console unless you have decided to. A mod is a soldering job with a real risk of breaking a rare original. Recreated hardware or a clone with the output you want costs nothing in originality and often nothing in picture.
Consider the CRT route honestly. If you play one console heavily and want the intended look, a good used CRT gives you a picture no upscaler replicates. Enthusiasts report playing original hardware on one has been far more satisfying than fighting a flat panel. The trade-offs are size, weight and no streaming, so it complements a modern set rather than replacing it.
Expect about a frame of delay from a scaler. Direct connection and a plain converter are effectively instant. A line doubler or scaler adds roughly 16ms. Nobody playing a 240p game notices, but it is worth knowing before you blame the setup.
Frequently Asked Questions
What type of TV can play old consoles?
Any TV works, as long as it has a matching input or an HDMI input for a converter. Most sets made after 2018 removed RF, composite, S-Video, SCART and component, so older consoles need a converter or upscaler. A 4K TV is not a problem in itself. It exposes the console’s low resolution honestly, which a CRT hid behind soft tubes and overscan.
How can I connect my NES to a modern TV?
The NES outputs RF on some models and composite on others, so check the back panel first. Plug the original cable into a composite-to-HDMI converter, power the converter from USB, then select the matching HDMI input on the television. If your NES has been fitted with an RGB SCART mod, use a SCART-to-HDMI converter instead for a noticeably sharper picture.
Why won’t my Super Nintendo connect to my TV?
Most likely you are using the yellow composite lead when the SNES also has S-Video. Move up to S-Video and a matching converter. If the screen stays black, check the converter has power, confirm the console’s own video switch is set to the output you plugged into, and try the next HDMI port on the television. PAL units can also need a 50Hz refresh option.
What is the best upscaler for retro gaming?
For a single console feeding a decent analogue signal, the OSSC is the usual answer because it doubles lines to 480p or 720p with very low delay. If you want more inputs, a scanline filter, or 1080p output, the RetroTINK 5X covers more use cases. Avoid anything advertised only as composite-to-HDMI at 1080p, because it magnifies artefacts rather than fixing them.
Do I need an upscaler if my console already has HDMI?
No. An HDMI mod inside the console already delivers a clean digital signal at a fixed resolution, and adding a scaler after it can only re-encode what you already have. Use the console’s HDMI output directly, then correct aspect ratio and picture mode in the television’s own settings. Only add hardware when the console’s native output is analogue.
How do I fix no video available on my TV?
Work through it in order: confirm the console is powered, confirm the converter has power, count the HDMI ports from the television’s side, and select that exact input with the remote. Then swap the HDMI port and reseat both ends. If the console boots and drops to black, the adapter is usually the culprit rather than the set. Change the converter’s output resolution next, and only then move to TV picture settings.
What to Do First
Start by reading the back of the console and matching it to the highest output available, not the cable that happened to be in the box. Connect that to the correct input, switch the TV picture mode to Game, and set aspect ratio to Original or 4:3. Only if the picture still disappoints should you spend on a converter, and then buy one that accepts S-Video or RGB SCART rather than composite alone.
That order matters. It means you only buy hardware once you know exactly what signal you are dealing with, which is the fastest way to a good picture on a 4K TV. Updated for October 2026.