An upscaler improves a retro console on a modern TV by taking the console’s low-resolution analog picture, rebuilding it line by line into a clean progressive digital signal, and handing the television something it already understands how to display. That single change removes the smearing, wrong colours and extra delay most people blame on their console or their TV picture mode.
The confusing part is that the box sits between devices that all look like they should just work together. They don’t, because a 1993 signal and a 2026 television were built on opposite assumptions about what video looks like. Here’s what actually happens to the picture, what changes when you put a scaler in the middle, and how to wire and tune it.
Table of Contents
- What Is a Video Upscaler for Retro Consoles?
- How Upscalers Improve Retro Consoles on Modern TVs
- What Improvements Can You Expect?
- Which Type of Upscaler Should You Choose?
- How to Connect an Upscaler to Your Console and TV
- How to Set the Resolution and Aspect Ratio
- How to Reduce Lag and Get the Sharpest Picture
- Common Upscaler Problems and Quick Fixes
- Frequently Asked Questions
- Do I need an upscaler to play retro consoles on a modern TV?
- Will a video upscaler add input lag?
- Is a modern TV better than an upscaler for retro games?
- What output resolution should I use for an upscaler?
- Why do retro games look stretched on my widescreen television?
- Should I use scanlines or smoothing lines with an upscaler?
What Is a Video Upscaler for Retro Consoles?
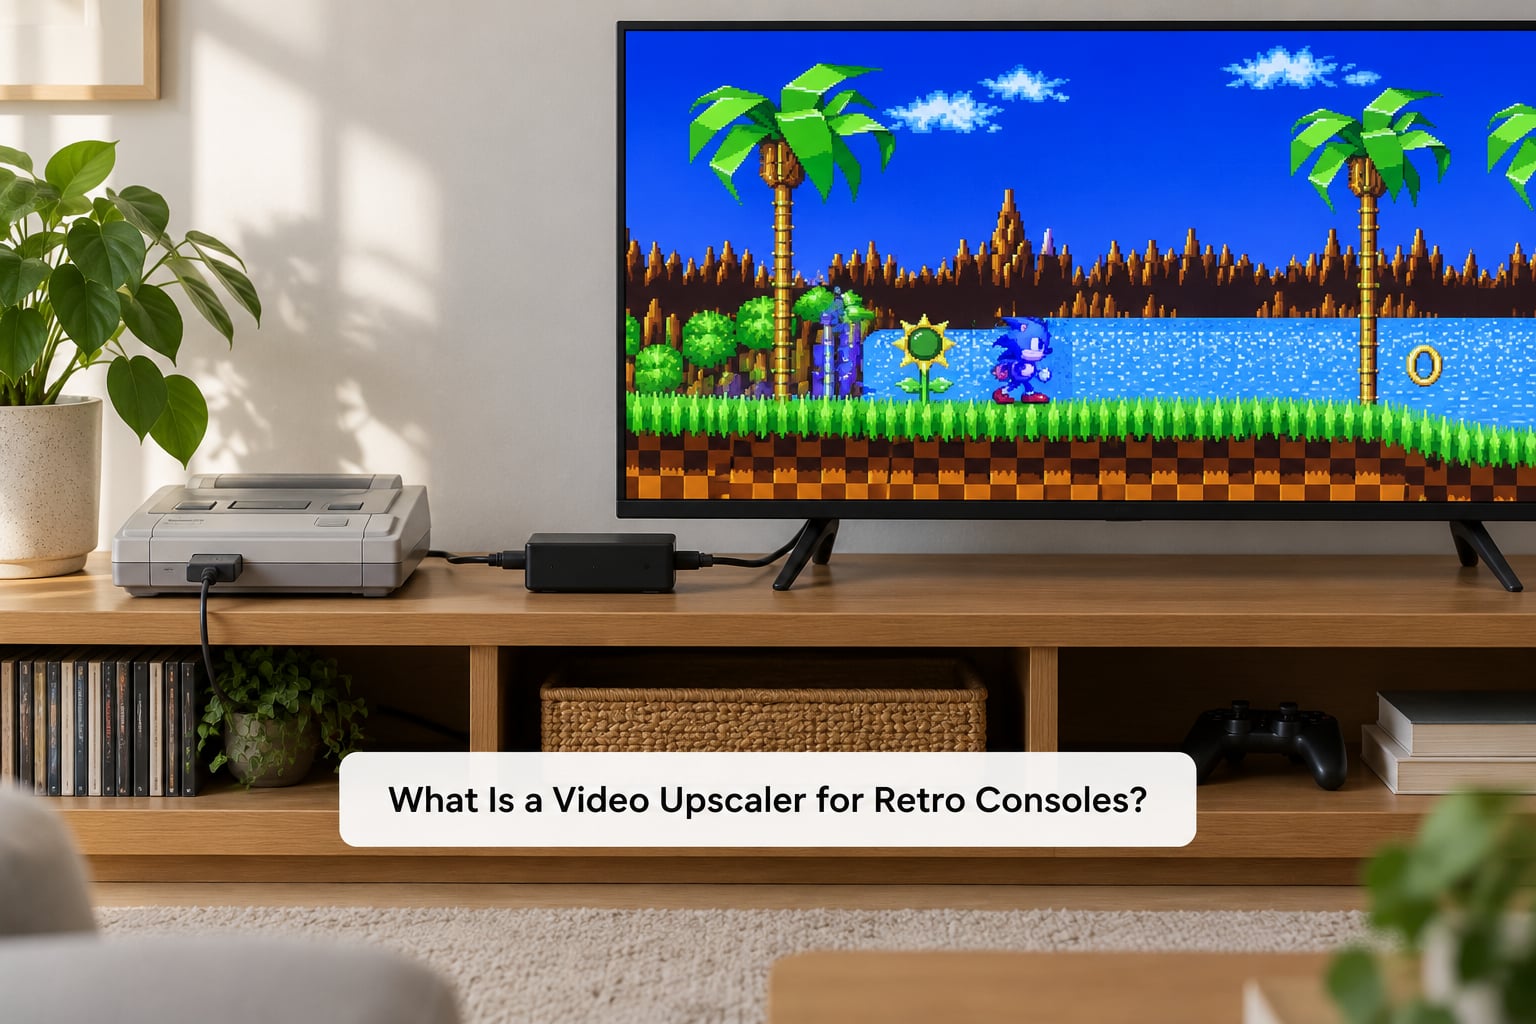
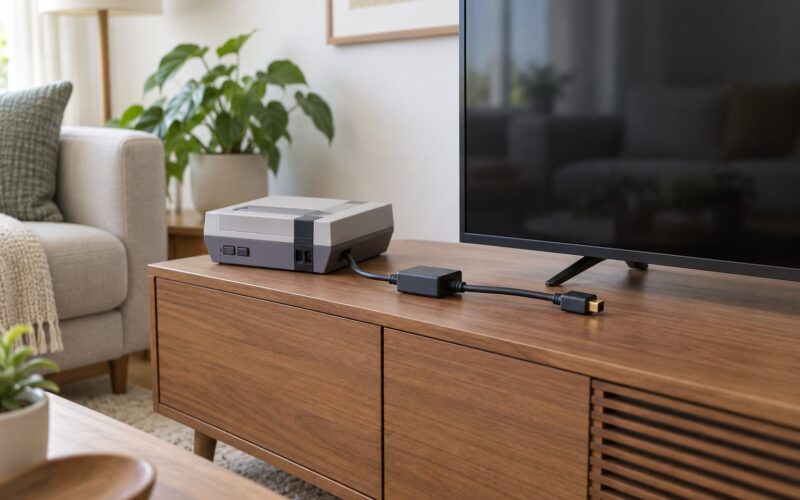
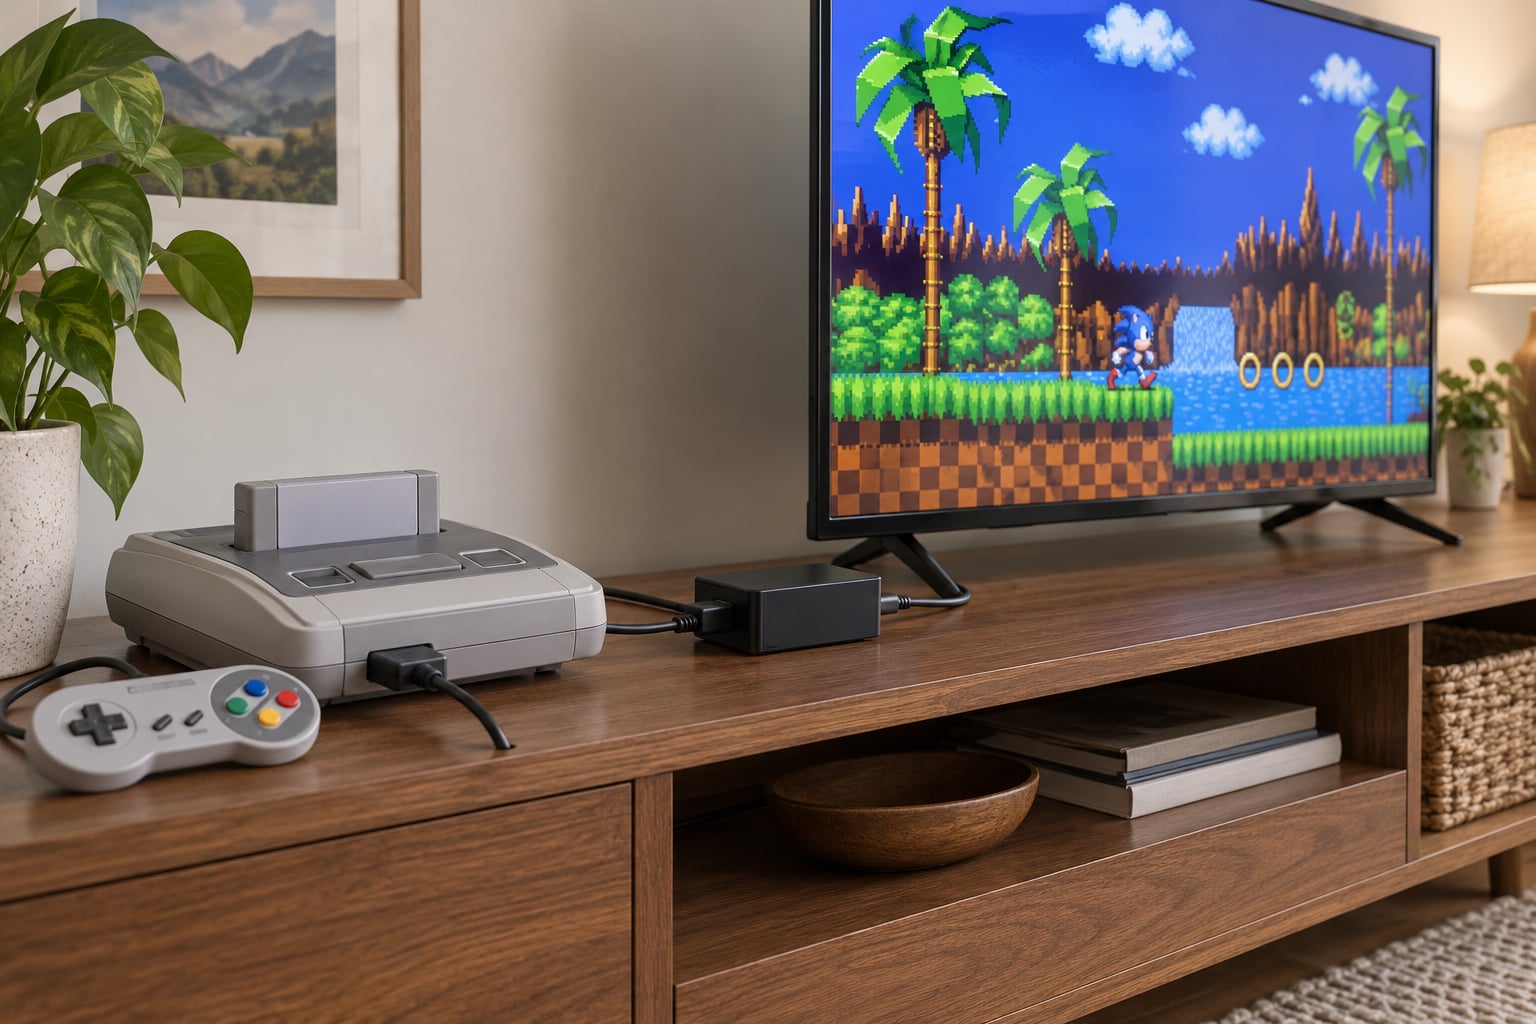
A retro console upscaler is a small box with video inputs on one side and an HDMI output on the other. It takes a low-resolution analog signal, usually 240p or 480i, and turns it into a progressive digital picture at a resolution your television can show properly.
In practice, five things change when one goes between the console and the screen. The picture becomes progressive, so there are no combing artifacts across moving sprites. Each scanline gets recreated at a predictable size, so pixels land on the panel grid evenly instead of being stretched by the TV’s own scaler. Colour information survives the trip, which matters most on composite and S-Video sources. Latency drops, because the box does its work in under a frame. And 4:3 games finally get shown at 4:3 instead of being pulled to 16:9.
That is worth understanding in plain terms: the console is not sending you a worse picture than the hardware is capable of. It is sending a picture designed for a tube television, and the television is guessing at what to do with it. The scaler’s job is to take that guess away.
How Upscalers Improve Retro Consoles on Modern TVs
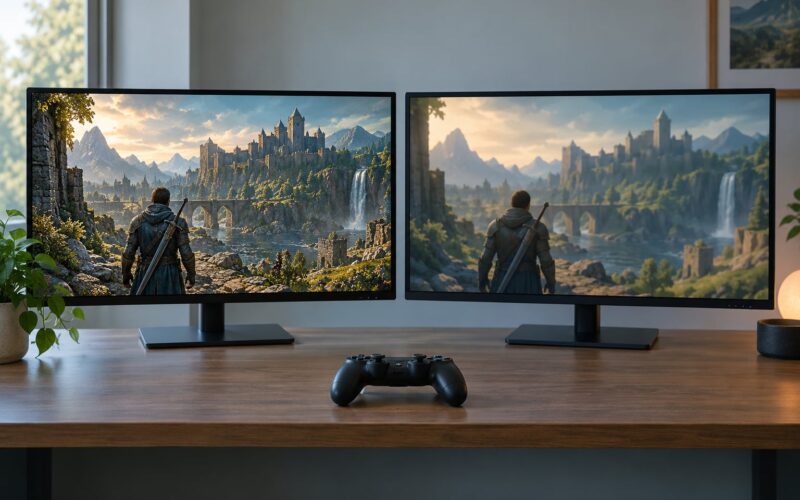
Most modern televisions struggle with retro console output for one specific reason: a 240p signal does not look like anything else they receive. Broadcast standards gave them 480i, not 240p. So the TV usually reads a progressive 240p source as interlaced 480i, splits the lines apart and then puts them back together with a de-interlacing algorithm built for moving broadcast footage.
That algorithm was never designed to reconstruct a sprite sheet. On still images it looks fine, which is why people often think the console is working until they load a game with a scrolling background. Then you get combing, wobbling detail and a picture that seems soft even though nothing was blurred on the way out.
The full signal chain runs in six stages, and each one is a place where quality can be gained or lost:
- The console. It outputs analog video at roughly 240 lines, either as composite, S-Video, component or RGB SCART. Higher-quality output types carry more of the original image.
- The cable. Carries the signal to the scaler. A poor cable loses detail before any electronics see it.
- The scaler input stage. Samples the analog signal, separates luma from chroma, and reads the sync information.
- The scaler processing stage. Recreates the missing lines, multiplies the image by a set factor, corrects geometry and aspect ratio, and applies any filtering you selected.
- The HDMI output. Sends a progressive digital signal the television has no reason to guess about.
- The TV’s own scaler and panel. Now performing a straightforward, well-defined resize instead of an archaeological dig.
The important detail is step six. Your television still scales the picture, because no scaler outputs at your panel’s native resolution. What changes is that the job handed to the TV is a normal one, and normal resizing looks dramatically better than reconstructing a signal that was never interlaced in the first place.
What Improvements Can You Expect?
Once you have seen a properly scaled signal, the gains are obvious on any decent panel. Sharp horizontal edges on text and sprites, because scanlines are recreated at even intervals. No combing on moving sprites. Colours that stay saturated instead of the washed-out look composite cables produce. Input lag measured in single-digit milliseconds at the controller.
Geometry stabilises too. A TV asked to guess at an unknown resolution will often drift, crop or jitter. A scaler outputs a signal the TV recognises, and the picture sits still.
Here is what an upscaler cannot repair. It cannot add detail your console never generated, so 240p sprites are still simple shapes. It cannot undo a bad RGB mod or damaged console output. It cannot fix geometry error baked into the signal. And if your cable is already degrading the picture before it reaches the box, no amount of processing downstream will bring the lost detail back.
Players on r/crtgaming make that last point constantly: cheap unshielded leads are the reason a picture looks bad, and blaming the scaler for it wastes money. Feed the box a clean signal or accept what arrives.
Which Type of Upscaler Should You Choose?
There are three families, and they suit very different situations.
Cheap AV-to-HDMI converters are built for VHS decks and set-top boxes. They force a 16:9 frame, apply bob-style de-interlacing designed for film transfers, and add delay. r/retrogaming threads describe exactly these symptoms after purchase. They are the wrong tool for games.
Plug-and-play line doublers take HDMI in and HDMI out, do a fixed doubling and hand you a picture with almost nothing to configure. They are menu-free, so there is no on-screen overlay stealing a frame. For one console and one screen, they are usually enough.
Configurable scan converters give you line multiplication factors, resolution choices, de-interlacing options and filter controls. They cost more and take an evening to learn, but they cover component, RGB SCART and arcade boards as well as HDMI.
| Type | Typical inputs | Output options | Added lag | Setup difficulty |
|---|---|---|---|---|
| AV-to-HDMI converter | Composite, S-Video | Fixed 720p or 1080p | Noticeable, varies widely | None |
| Plug-and-play line doubler | HDMI | 480p or 1080p | Under one frame | None |
| Configurable scan converter | HDMI, component, RGB SCART, S-Video | 480p through 4K, selectable | Under one frame | Evening of menu reading |
| Frame multiplier | Usually HDMI | Same as input | One to two frames | Moderate |
If you own more than one console or plan to route an arcade board or a Supergun, the configurable route is the one that scales with your setup. One user in an AVForums thread described stacking a converter into an OSSC just to get RGB SCART accepted, and regretted the extra box rather than the picture.
Also worth saying plainly: a second-hand CRT can cost less than a good scaler, and owners on gaminglatest argue the tube wins for anyone with several consoles and a room to put it in. The scaler case is about flexibility and about not owning a 30-kilo television.
How to Connect an Upscaler to Your Console and TV
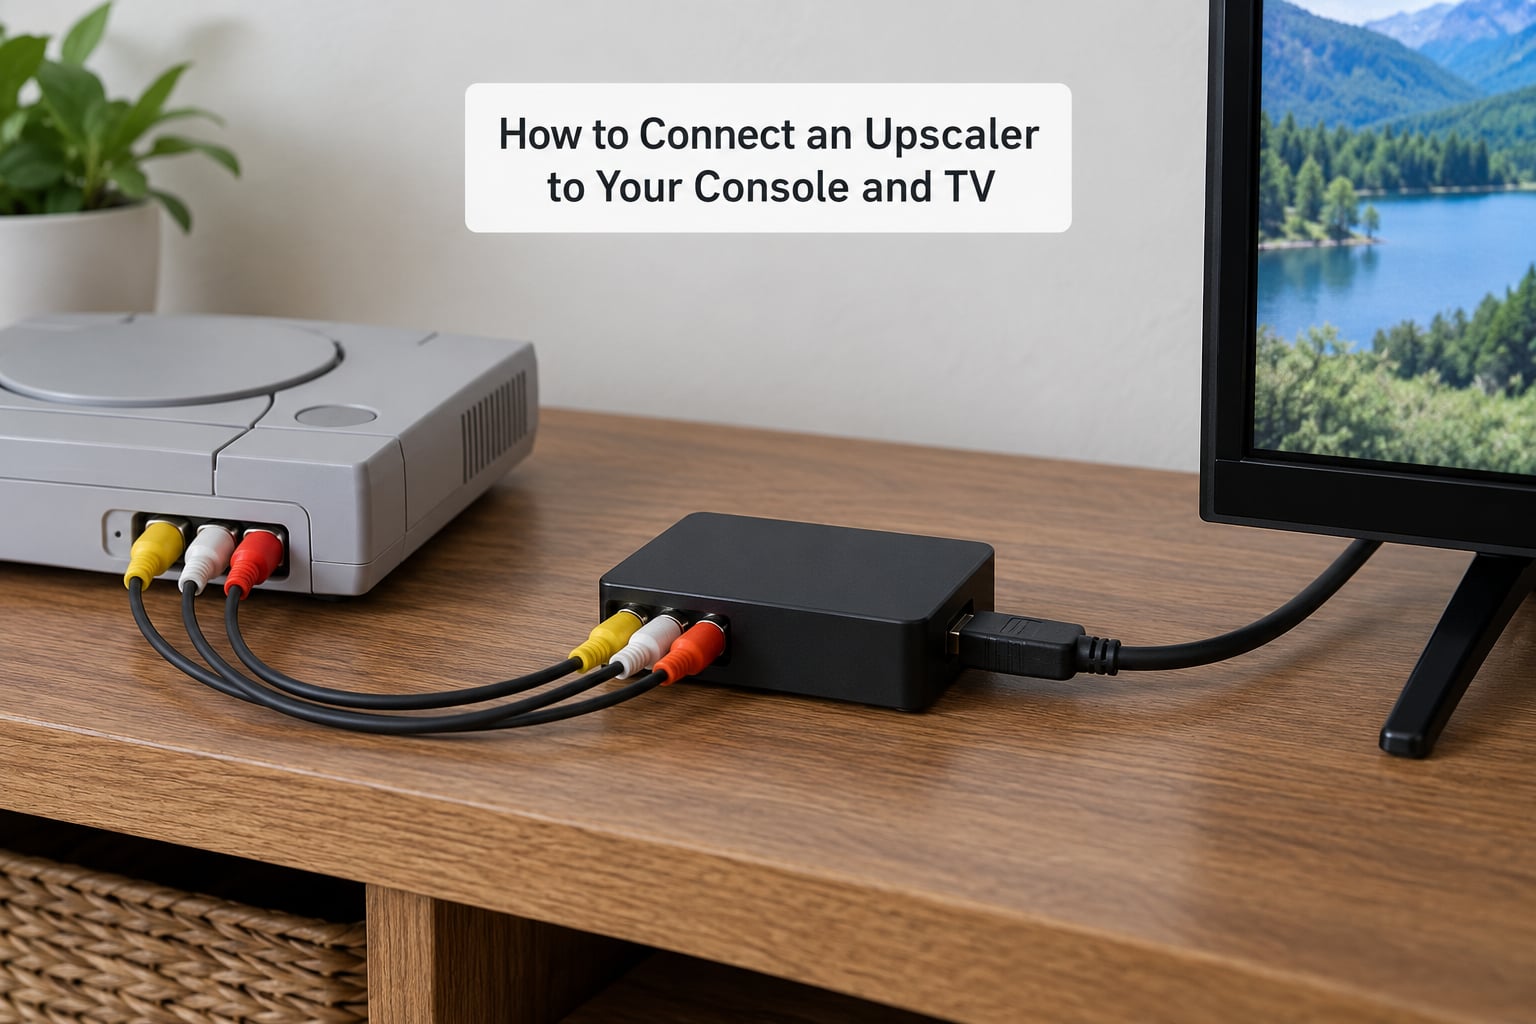
Work from the console outwards, and confirm each stage before moving on. Power everything off first; plugging a live signal into a scaler input is how people end up with dead channels.
- Find the best output your console has. Native hardware beats a cheap adapter. RGB SCART beats component, component beats S-Video, and S-Video beats composite.
- Connect the console to the scaler input with a cable that matches that output. A SCART lead for a SCART socket, a component lead for component.
- Set the scaler input match to the format you just connected. Getting this wrong is the single most common cause of a black screen.
- Run the HDMI output into the television on any open HDMI port.
- Turn the television on first, then select that HDMI input from its source menu, then power the console and scaler.
- Check the picture before changing anything. A clean image at this stage means the chain works and every later change is just tuning.
Per-console reference, based on what each machine natively outputs:
| Console | Native output | Best cable to the scaler | Suggested scaler mode |
|---|---|---|---|
| NES / SNES | Composite and S-Video | S-Video | 240p line doubling |
| Mega Drive / Genesis | Composite, S-Video, some RGB | S-Video | 240p line doubling |
| Nintendo 64 | Composite, S-Video | S-Video, RGB with a mod | 240p or 480i depending on output |
| PlayStation | Composite, S-Video | S-Video | 240p line doubling |
| Saturn | Composite, S-Video | S-Video | 240p line doubling |
| PlayStation 2 | Composite, S-Video, component | Component | 480i de-interlacing, then scaling |
| Dreamcast | Composite, S-Video, component | Component | 480i de-interlacing, then scaling |
| GameCube / Wii | Composite, S-Video, component | Component | 480i de-interlacing, then scaling |
One practical note about N64 and GameCube owners: an RGB mod is worth it on a large screen, but it is not the first thing to buy. Get the console connected through S-Video with a proper scaler, see how it looks in your room, and decide afterwards. The decision depends on screen size more than anything else.
How to Set the Resolution and Aspect Ratio
Start at a resolution the television is known to accept. 720p and 1080p at 60Hz are safe on almost any modern set, and 1080p is the sensible default because it works well on everything from a bedroom television to a large panel.
For 4:3 games on a 16:9 screen, switch on the override in the scaler or the TV’s aspect menu and choose 4:3. Native support varies, so picture frames with black bars are perfectly normal. Do not leave a 4:3 game stretched across a widescreen panel; the character proportions are wrong and everything looks worse, not better.
Then think about integer scaling. It means each source pixel maps to a whole number of screen pixels, so the picture stays perfectly square with no uneven softness. For 240p source, 480p is a 2x multiple and 1080p is not clean, while 720p and 1440p are. On a 4K panel, 2160p gives you a clean 9x and 4320p a clean 18x if your scaler goes that high. A scaler topping out at 1440p on a 4K set is a common worry on r/retrogaming, and the answer is that it is fine, just slightly softer than a clean 2160p multiply.
For 480i sources such as PlayStation 2, Saturn and Dreamcast output, de-interlacing choice matters more than resolution. A bob de-interlace preserves every line but makes the picture jiggle. Motion-adaptive de-interlacing keeps static screens perfectly sharp and only intervenes when it detects movement, which is why it is the better default for most games.
How to Reduce Lag and Get the Sharpest Picture
This is the part most people get wrong. Almost all input lag in a retro setup comes from the television, not the scaler.
| Stage | Typical added delay | Can you remove it? |
|---|---|---|
| Console output | One frame | No |
| Quality cable | Negligible | Nothing to remove |
| Scaler processing | Well under one frame on modern hardware | Already minimal |
| TV with motion processing active | 50 to 100 milliseconds | Turn the processing off |
| TV game mode or low-latency mode | Typically 10 to 25 milliseconds on a modern set | Already applied |
Turn off motion smoothing, motion compensation and any dynamic contrast feature on the television, then enable game mode or low-latency setting. On many sets game mode also switches off the processing you just disabled, which is why it is the single biggest improvement available.
For sharpness, start conservative. Hard sharpening on a low-resolution source creates halos around sprites and makes text shimmer. If the scaler offers a dedicated detail or edge enhancement control, add a small amount and stop as soon as edges look crisp rather than crunchy.
Scanlines are where taste splits. On an OLED they can look wrong quickly, because the panel’s pixel structure fights the pattern and you can end up with a moire pattern instead of the CRT look you wanted. On a large LED television at a comfortable viewing distance they read well. Try them at a low intensity, and if the picture shimmers, either reduce them or match the output resolution to the panel so the pattern lines up.
Common Upscaler Problems and Quick Fixes
Black screen or no signal. Almost always an input format mismatch. Check the scaler’s input setting against the cable you actually plugged in, and confirm the console is powered before the scaler. Some scalers also need a moment after power-up before they lock a signal.
Wrong colours, pink or green tint. A composite cable in an S-Video socket, or RGB and luminance swapped in a SCART lead. Cheap unshielded SCART cables are a frequent cause, which is why forum advice keeps warning against them.
Unstable picture when you change input. The television is renegotiating the handshake each time. Power the television on first and select the input before starting the console, and give it a second to settle.
Image looks worse than before. Two usual causes. Either the scaler’s output exceeds the television’s comfortable range and the set is scaling it back down badly, or your cable was already losing detail. Try a lower output resolution, then try a better cable before anything else.
Cropped edges or a picture that sits too high. Overscan settings carried over from a previous device. Most scalers have a geometry or overscan adjustment; if yours does not, the television’s picture size menu will.
Scanlines disappear at the chosen output. The pattern only appears when the output resolution and the source multiplier line up. Switch output resolution or change the multiplier until the pattern reappears, or accept that the mode is not right for that panel.
Audio out of step with video. Upscalers commonly pass audio through untouched, so any drift comes from the console or the source format. Switch the console to a progressive mode where it has one, and check the television’s audio delay setting.
Frequently Asked Questions
Do I need an upscaler to play retro consoles on a modern TV?
Not strictly. Every modern television has a scaler inside it, and on a small screen at a normal viewing distance it does an acceptable job. You benefit from a dedicated box when the picture looks soft or combed, when input lag bothers you, when you play several consoles with different output types, or when you want correct 4:3 geometry on a large panel. The bigger the screen and the further back you sit, the more a dedicated scaler earns its place.
Will a video upscaler add input lag?
A good one adds well under a single frame, which most people cannot feel in play. Cheap AV-to-HDMI converters are the exception: they can add several frames because their processing was designed for VHS tape. Your television adds far more than any scaler does, often 50 to 100 milliseconds when motion processing is on. Turn that processing off and enable game mode before judging whether the scaler feels slow.
Is a modern TV better than an upscaler for retro games?
Neither is universally better, so the honest answer depends on the room. A tube television in good condition reproduces 240p more honestly than any flat panel and has essentially no processing delay. A modern television plus a scaler wins on size, convenience, price and the range of inputs you can route. If you already own a flat panel, the scaler route is usually the smaller jump. If space allows and you own several consoles, a used tube is worth serious consideration.
What output resolution should I use for an upscaler?
1080p at 60Hz is the safest default because every modern television accepts it and it scales well to any panel size. Use 720p if you want a clean integer multiple from 240p source, and try 1440p or 2160p on a 4K panel if your scaler supports them. Avoid exotic high-bandwidth modes, since some sets refuse them outright and you end up troubleshooting a handshake that will never succeed.
Why do retro games look stretched on my widescreen television?
Because a 16:9 display is showing a 4:3 image, and something has to fill the extra width. The wrong choice is horizontal stretching, which makes characters and circles look wide and makes sprite art read poorly. Fix it in the scaler or in the television’s aspect menu by choosing a 4:3 override. If your set has no native 4:3 mode, pillarboxing with black bars at the sides is the correct result, not a fault.
Should I use scanlines or smoothing lines with an upscaler?
Scanlines emulate the gaps between lines on a tube display and suit people who want that look. Smoothing lines soften the image instead, which helps on an OLED where the pixel structure can produce shimmer. Scanlines can fight an OLED panel and create a moire pattern, so lower the intensity or drop them if you see ripple. On a large LED set at a normal distance, scanlines at a low setting are usually the more convincing result.
Start with the cheapest step that could explain the problem: turn off your television’s motion processing, switch on game mode, and force 4:3. A surprising number of bad pictures disappear at that point, with no hardware at all. If the image is still soft or combed after that, connect your console’s best native output to a configurable scaler, set it to 1080p, and let the box do the line work.
Fix the cable before you fix anything else. Feed the scaler the cleanest signal your console can produce and everything downstream gets easier.