The fastest way to learn how to build a character for melee combat is to pick one job first — hold the front line, deal damage, control the field, or blend two of those — then spend your stats, gear, and abilities in that order. Pick your role before you touch a single stat, because a tank who spends like a damage dealer ends up neither. The whole process takes about 30 minutes at the character screen and a few sessions of play to settle properly.
This guide works across tabletop and video games. Where a stat is called Vigor in Elden Ring and Constitution in D&D, the underlying question is the same: what does this build need to survive long enough to matter? I’ve laid it out as seven steps so you can stop, test one change, and keep going.
Table of Contents
- What You Need
- Step-by-Step: How to Build a Character for Melee Combat
- 1. Choose a Melee Combat Role
- 2. Allocate Attributes for Your Melee Build
- 3. Learn the Damage and Defense Rules
- 4. Select a Weapon and Combat Style
- 5. Choose Skills and Abilities
- 6. Equip for Comfortable Survival
- 7. Test, Practice, and Fine-Tune the Build
- Common Mistakes
- Frequently Asked Questions
- What attributes should I prioritize for melee combat?
- Is a tank character better than a melee damage dealer?
- How do I choose the best weapon for my character?
- Should I spend skill points on offense or defense first?
- How can I test a melee build before upgrading my gear?
What You Need
Before you open the character creator, gather five things.
- A role. One sentence describing what the character does in a fight. If you can’t say it yet, you can’t spend points yet.
- Access to the stat menu. Every game has one, and most hide the tooltip text that explains what a stat actually does. Open it and read it.
- Unspent points and a respec option. Knowing you can reallocate later makes experimentation cheap instead of scary.
- A weapon and armor list. Browsing what’s available before you commit prevents the classic mistake of building a dexterity character around a strength-only weapon.
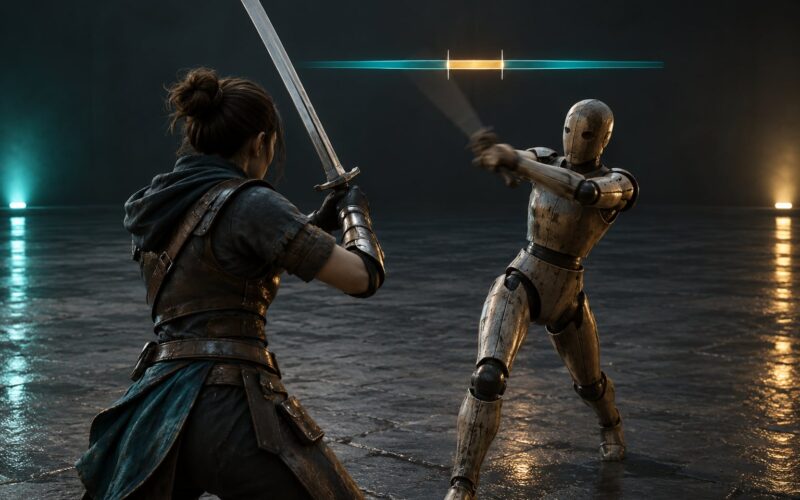
- A practice target. A training dummy, a beginner area, or the weakest enemy in the game. Measuring beats guessing.
The last one matters more than people expect. A build you have never tested is a theory, and theorycrafting has no idea what your dodge timing actually looks like.
Step-by-Step: How to Build a Character for Melee Combat
Seven stages, in this order. Each one depends on the one before it, so resist the urge to jump to gear.
1. Choose a Melee Combat Role
Melee roles split along two axes: how much punishment you can eat, and how much space you control. Most characters sit on one of four points.
| Role | What it looks like in combat | Build priority |
|---|---|---|
| Tank | Stands between enemies and the back line, holds ground, rarely kills anything | Hit points, defense, threat generation, area control |
| Damage dealer | Walks into the fight, hits hardest, disengages or dies | Weapon damage, crit or burst payoff, stamina management |
| Controller | Doesn’t kill quickly but decides where everyone stands | Reach, stagger, slows, knockback, reaction triggers |
| Hybrid | Takes a hit, then hits back hard enough to matter | A balance that you deliberately tune, not one you drift into |
A sturdy shield user is the classic tank: medium armor, a shield, reach or control abilities, and stats ordered so an unlucky hit doesn’t end them. A high-risk damage-focused fighter is the opposite shape — light armor, mobility, and a big single swing they save for the right opening.
Both are valid. The failure mode is a character who wants the tank’s safety and the damage dealer’s damage and lands in the middle of both.
2. Allocate Attributes for Your Melee Build
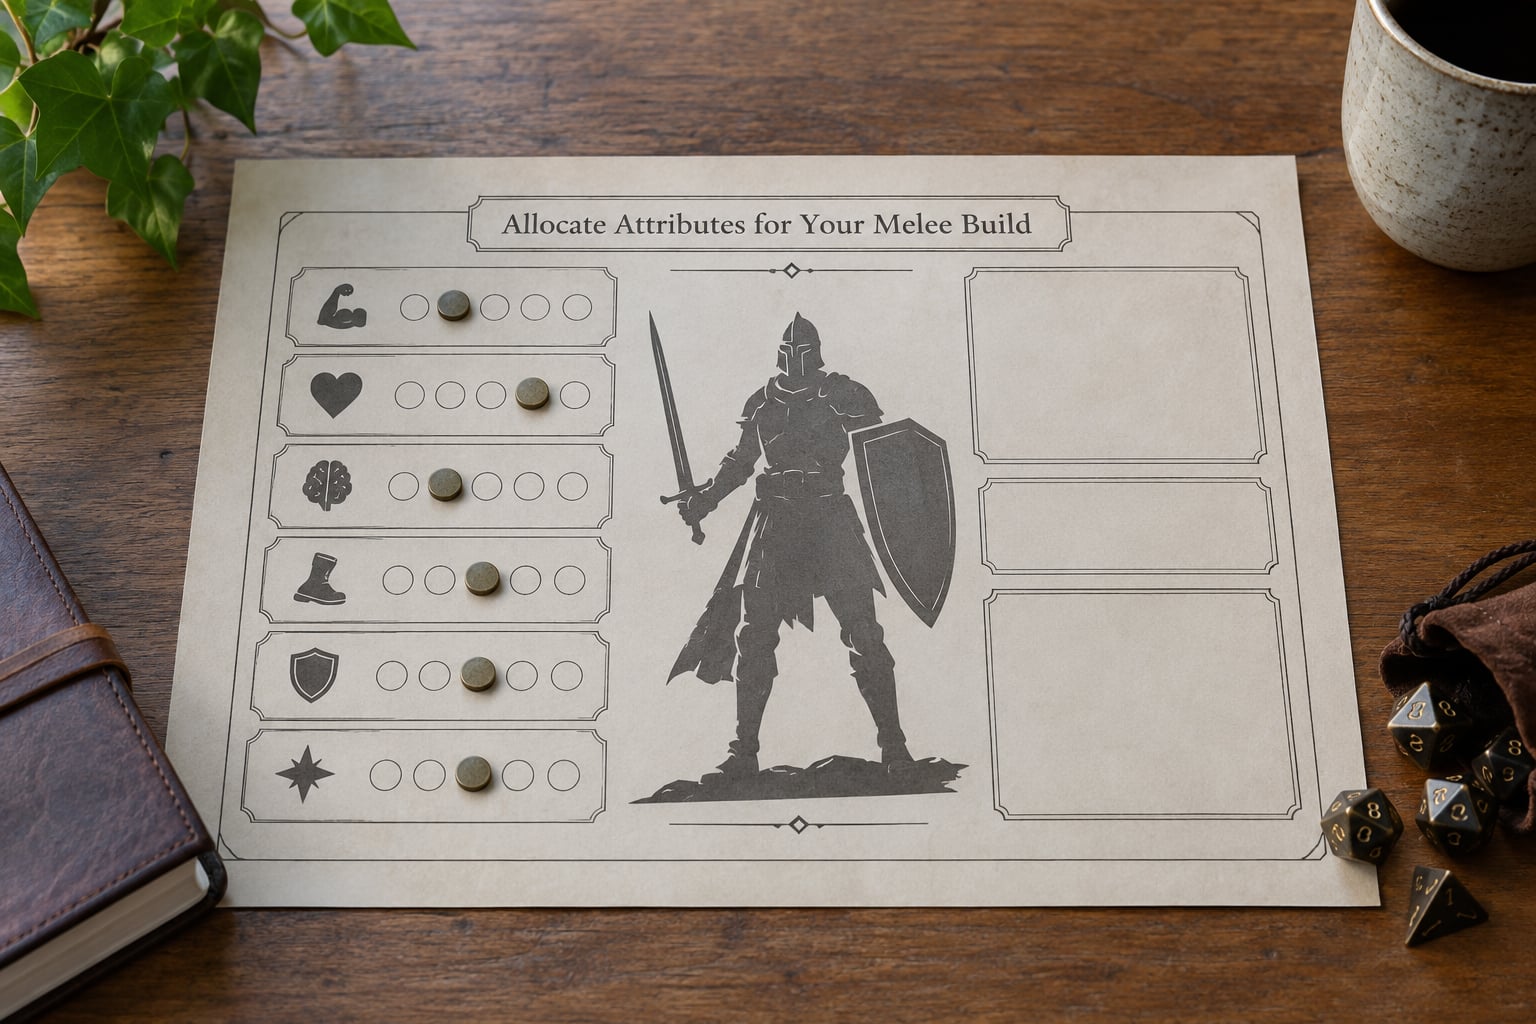
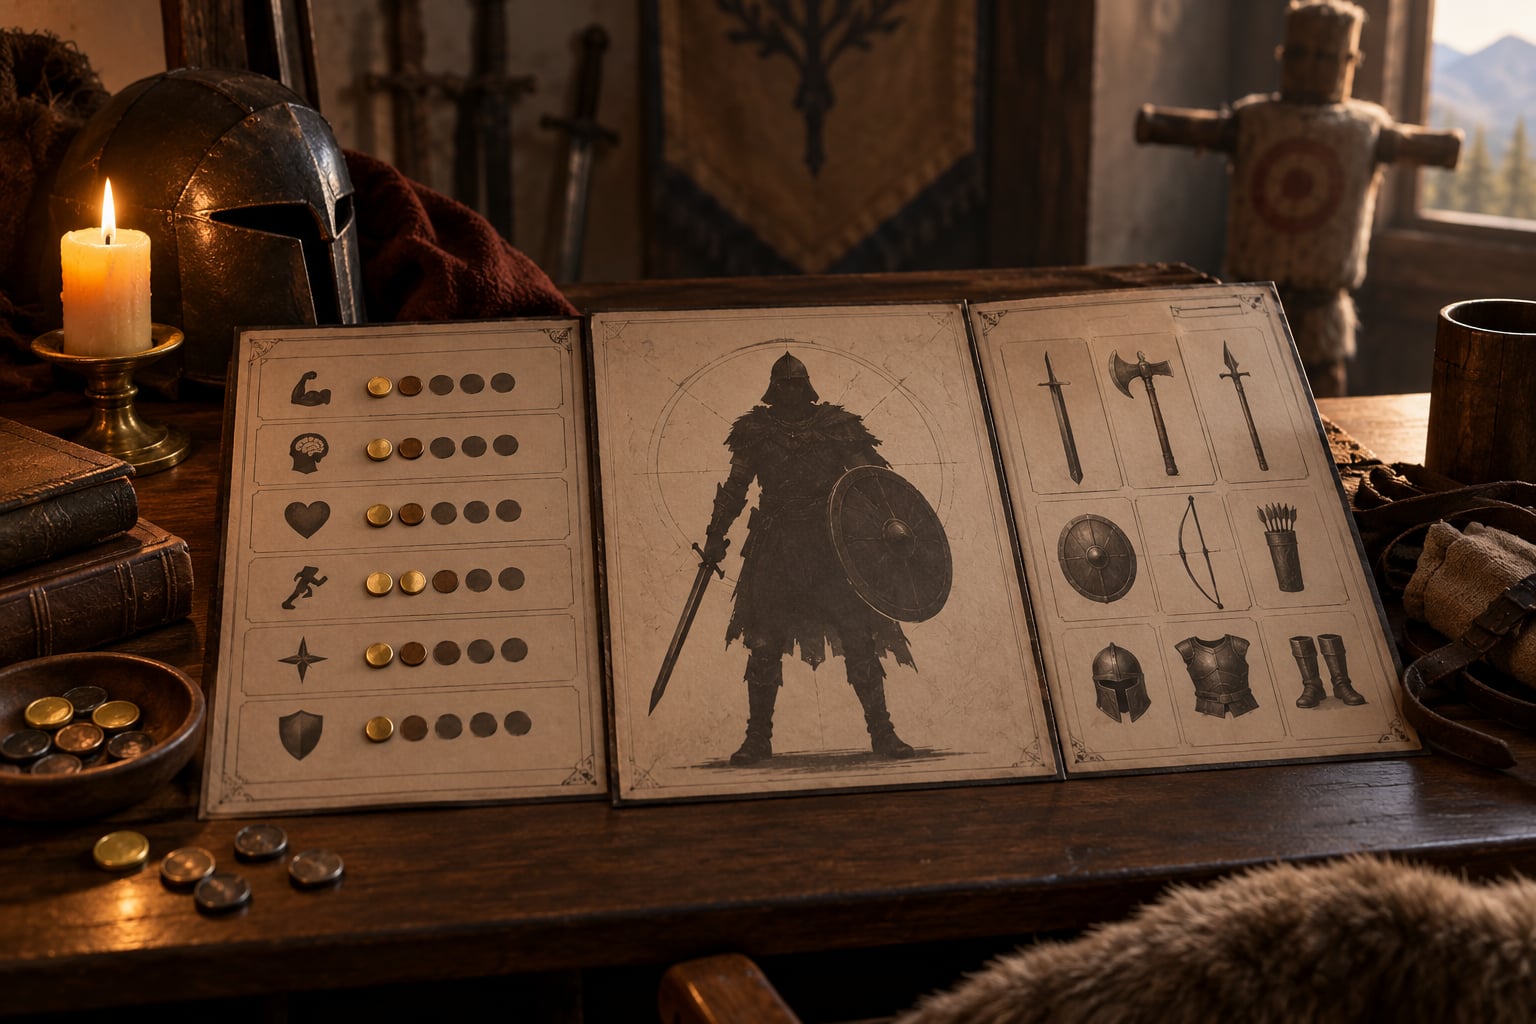
Read the game’s stat descriptions before you allocate anything. Melee builds almost always need four things, and the names change more than the jobs do.
- The power stat — Strength, Might, or a weapon’s scaling attribute. It drives your damage.
- The defense stat — Constitution or Endurance, which usually adds health.
- The skill stat — Dexterity or Agility, which governs attack speed, dodge, and stamina recovery in most action RPGs.
- A utility stat — Willpower, Faith, or Focus, depending on whether your abilities scale off magic or off conviction.
The practical order: max your primary stat to the level the weapon needs, then put points into defense, then spread the rest evenly. Stacking everything into one stat past its soft cap is the most common waste of a character sheet, because diminishing returns kick in quietly and nothing on screen tells you.
Test a temporary allocation first. Build two versions ten points apart, fight the same dummy, and compare time to kill and health remaining. Most games let you preview or respec cheaply; use that instead of committing blind.
3. Learn the Damage and Defense Rules
Melee is the one style where defense math is unavoidable, because you’re standing in reach of everything. Learn these systems in your game: how armor reduces damage, whether resistances stack or replace each other, how crit chance and crit multipliers work, what dodge and block actually cost, and how reach decides who attacks first.
Compare upgrades by effect, not by number. A piece that raises your defense by a large visible number might be worse than a modest one if it trades away stamina or skill cooldowns. Read the tooltip for what the stat touches, then check where that stat is used.
Two numbers tell you more than the rest: how long you survive the hardest normal enemy, and how many swings it takes to kill that enemy. A build that’s great on the first and poor on the second has the wrong role.
4. Select a Weapon and Combat Style
Weapon choice is a commitment to an animation set, a reach value, and a scaling rule at once. Compare these families rather than hunting for a single best weapon.
| Style | Strengths | Weaknesses | Suits |
|---|---|---|---|
| Two-handed | Highest per-hit damage, often reach | Slow, poor against multiple enemies | Damage dealers |
| Sword and board | Defense plus a solid hit | Shield blocks your own offense | Tanks and hybrids |
| Twin weapons | Two attacks per turn, extra bonus actions | Divided damage, tight stamina budget | Fast attackers |
| Spear or polearm | Reach keeps you out of danger | Narrow moveset against some enemies | Controllers |
| Daggers or unarmed | Speed and crit focus | Lowest damage per hit | Mobile damage dealers |
Twin weapons and polearms both lean on bonuses, so they need stamina and cooldown headroom that a plain greatsword user never thinks about. A warning worth repeating: animations, scaling, and movesets differ per game, so check the current patch notes before you commit to anything advertised as a build.
5. Choose Skills and Abilities
A balanced ability set for melee has four slots: one reliable opener, one movement or defensive option, one control or survival tool, and one payoff skill. That is enough for most fights, and everything past it should serve a specific problem.
Check four things on each ability before you take it: the cooldown, the resource cost, whether it interrupts your own animation, and whether it scales with the weapon you’re holding. An ability that boosts bare-handed attacks does nothing for a spear user, which is a common late-game trap.
Bonus-action economy is where melee plans quietly break. One activation per round is the usual rule, so decide in advance whether this turn’s bonus action is your dash, your defense, or your damage boost — and accept that it can only be one.
6. Equip for Comfortable Survival
Armor and accessories should protect the weaknesses that actually get you killed, without costing you the speed, stamina, or ability uptime your build runs on. Heavy armor with an attack-speed penalty is a bad trade for a twin-weapon build and a great trade for a shield user.
Use a fixed upgrade order: weapon first, defensive gear second, utility abilities third, cosmetic or side-grade items last. It keeps early resources from getting scattered across five half-useful upgrades.
On a table with few magic items, plain equipment plus good positioning carries further than a build designed around one legendary. Ask your group what the item economy looks like before you plan around a specific item.
7. Test, Practice, and Fine-Tune the Build
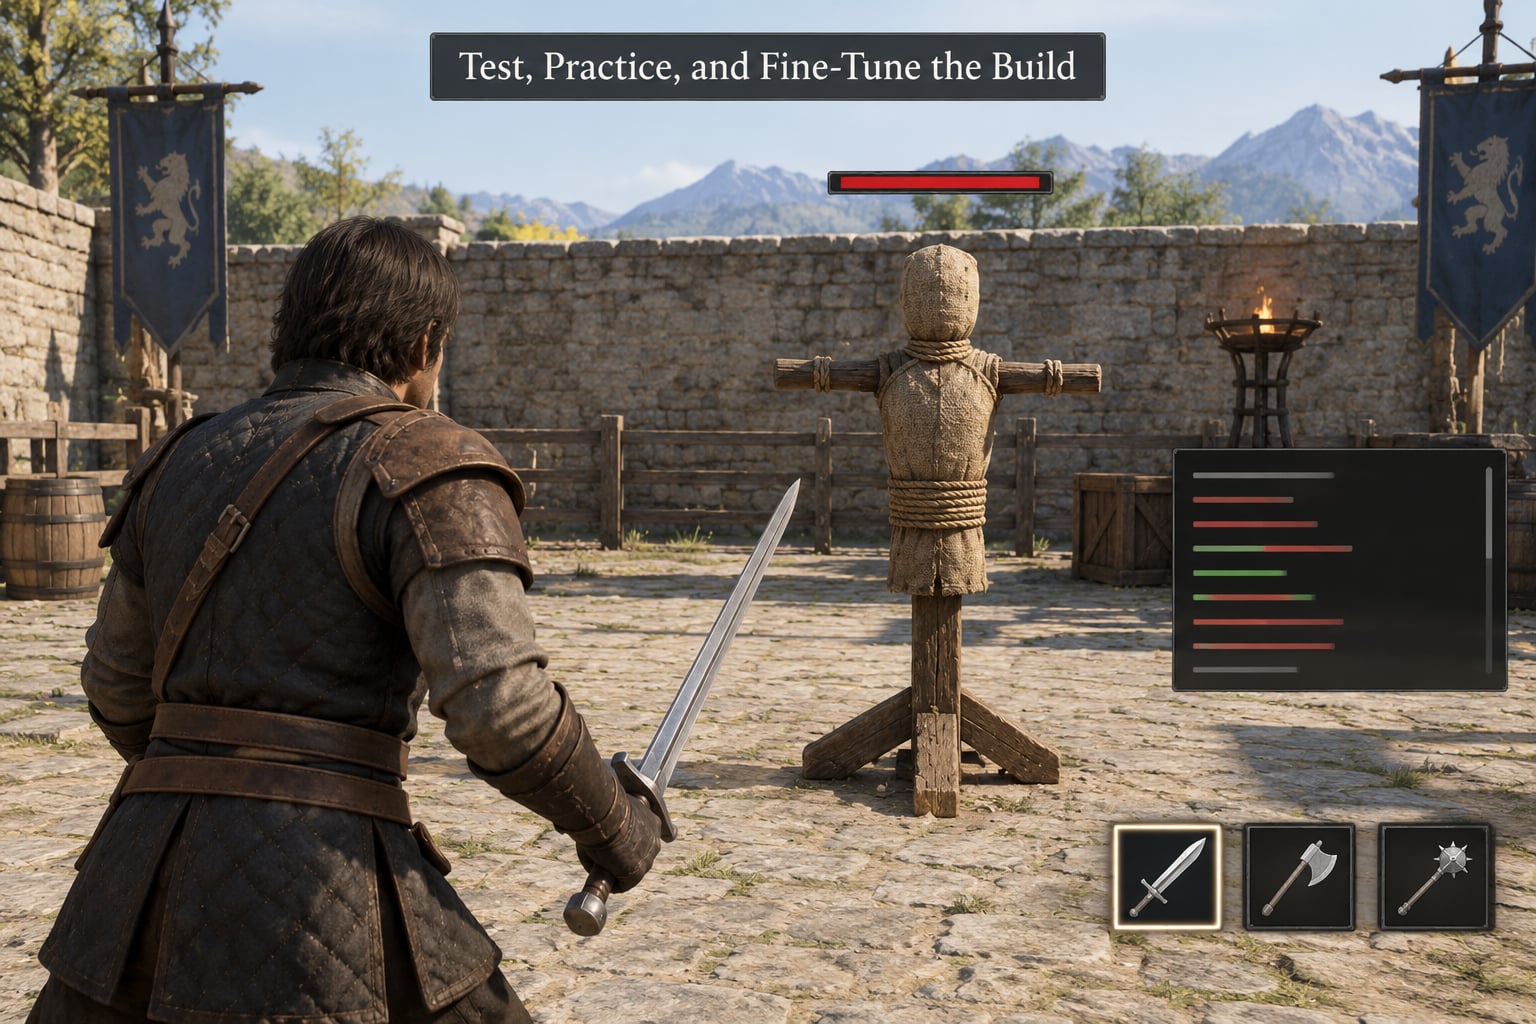
Run four checkpoints in order: the training dummy, a beginner area, a standard encounter, then harder content. Track five numbers at each one — damage per fight, time to defeat, health remaining, ability uptime, and swings you whiffed.
Change one variable per session. Buff stamina this week, swap the weapon next week. Two changes at once produce a result you can’t explain, and an unexplained result is worse than no result.
Early sessions are for finding mechanics, not for chasing numbers. Once you stop missing the same swing three times in a row and can finish a standard encounter without potions, the build is doing its job.
Common Mistakes
- Copying a build without reading the system. Popular builds assume specific rules, editions, or feats. Read what each choice assumes, then check whether your game or table has it.
- Overinvesting in one stat. Past a point, extra points buy almost nothing. Spread them once diminishing returns start.
- Ignoring stamina and cooldowns. A rotation you can only perform twice per fight is not a rotation. Count the resources each plan costs.
- Buying cosmetics before function. Appearance with no stat value is fine at the end, never at the start.
- Practising only on easy targets. A dummy never rolls a critical against you. Test where the pressure exists.
- Feat taxes. If a build needs three prerequisites before it does anything, ask whether a simpler option performs almost as well from level one.
- Playing alone. Melee positioning depends on what your ranged allies are doing. Say your plan out loud in the first session.
Quick testing tip: after every fight, write one sentence about what hurt you. Do that for four fights and the real problem is almost never the one you expected.
Frequently Asked Questions
What attributes should I prioritize for melee combat?
Most melee builds want one primary attribute for damage, one for defense and health, one for speed and stamina, and one for whatever your abilities scale from. Max the primary only to what your weapon needs, then put points into defense, then spread the rest evenly. Test a spread allocation on a training dummy before committing, because soft caps are invisible on most stat screens and no tooltip will warn you about them.
Is a tank character better than a melee damage dealer?
Neither is better in general, but the damage dealer is easier to build well. A tank needs threat, positioning, and a party that stays behind them; a damage dealer only needs a weapon and the discipline to time a swing. If your group struggles to survive, take the tank. If your group already survives but fights drag on, take the damage dealer.
How do I choose the best weapon for my character?
Choose the style first, then the specific weapon inside it. Match the style to your role and your animation preferences, then check the reach value, the scaling attribute, and what the upgrade path looks like. A weapon that scales with an attribute you have already maxed is almost always better than a slightly larger one that does not.
Should I spend skill points on offense or defense first?
Enough defense to survive the standard encounter, then offense. Going under-tuned on defense means you never get to use the offense, since you are dead or drinking potions. Set a concrete target, such as surviving a normal fight without healing, hit it, and move everything after that toward damage.
How can I test a melee build before upgrading my gear?
Use whatever free content the game gives you: a training dummy, a beginner zone, or a repeatable low-level encounter. Record damage, time to defeat, health remaining, and missed swings, then change one variable between tests. Do this before buying an upgrade so you know whether the upgrade actually fixed the problem you had.
Start with the role sentence, then spend ten points and one ability on it and take it into a normal fight. The numbers will tell you what to fix next, and they will be more reliable than any guide — including this one.