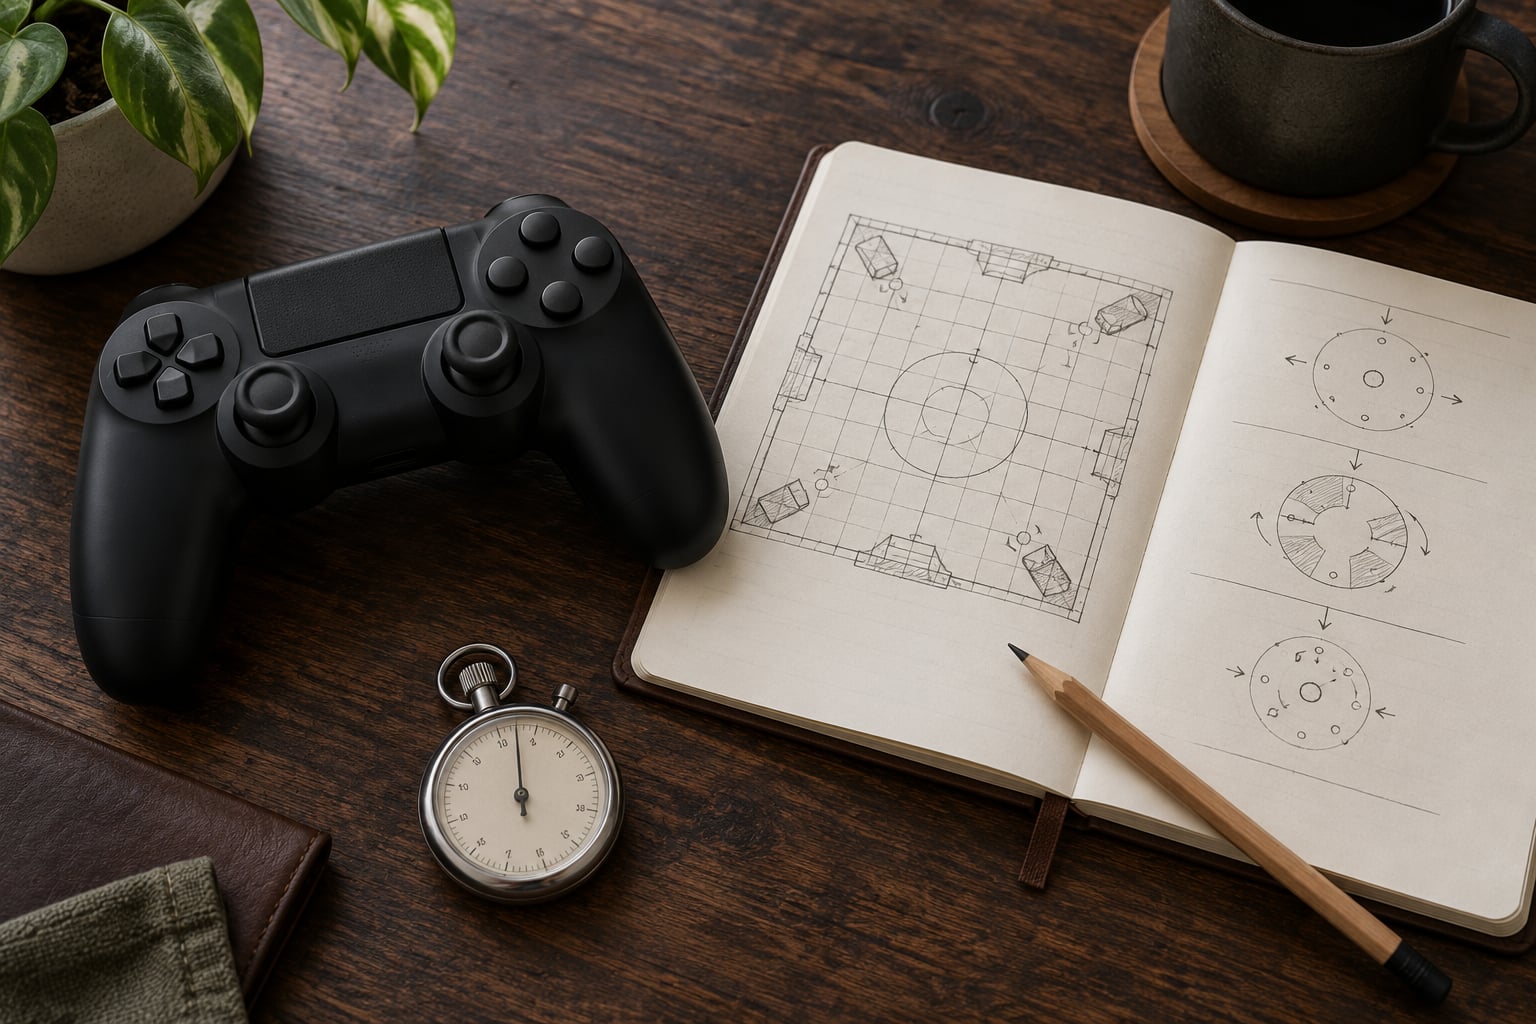
Knowing how to beat hard boss fights without upgrades comes down to reading the attack patterns, controlling where you stand, and hitting the boss only during the recovery animation after a committed swing. Instead of more damage, you buy the fight with spacing, timing, and the free items already sitting in your save.
The honest limit is worth stating up front: a handful of bosses are genuinely stat-gated, and no amount of technique clears those. For everything else, most walls are execution walls. Players default to grinding when the real fix is a habit, usually panic-mashing or dodging forever, and the no-upgrade path forces you to solve the fight properly.
These nine rules carry most of these fights, and the steps below expand on them. This guide was last checked for 2026.
- Watch a full attempt without attacking once.
- Write down each attack, its cue, and what follows it.
- Find the recovery window and treat it as your only damage opportunity.
- Control distance so the boss misses or clips you for a fraction of a hit.
- Attack after committed swings, never during wind-ups.
- Heal after an exchange, not during a telegraphed animation.
- Use the arena: pillars, hazards, edges, and the boss’s own body.
- Practise one phase at a time, not the whole fight.
- After twenty fruitless attempts, walk away and come back fresh.
Table of Contents
- What You Need
- Step-by-Step: How to Beat Hard Boss Fights Without Upgrades
- 1. Learn the encounter instead of relying on stronger gear
- 2. Choose a safer playstyle for your current build
- 3. Master the fight’s basic attack rhythm
- 4. Position for survival and punish opportunities
- 5. Manage healing and other limited resources
- 6. Practice one encounter phase at a time
- 7. Execute a low-risk final attempt plan
- Common Mistakes
- Frequently Asked Questions
- Can I beat a hard boss if my damage output is low?
- What should I do if my character build is locked in?
- Are hidden boss mechanics necessary to finish the fight?
- How can I improve if I panic during difficult boss encounters?
- When should I return to an earlier checkpoint?
- Conclusion
What You Need
None of the prerequisites cost a single upgrade. You need a clean view of the arena, a way to record what the boss does, and enough familiarity with your own character that pressing a dodge is not a decision you make under pressure.
A clear view. If parts of the arena are visually noisy, adjust brightness, turn off damage numbers, or mark the effect settings that clutter the screen. Most action RPGs have a lock-on or target-lock option, and it makes distance control dramatically easier.
Somewhere to write things down. A phone note, a screenshot, or a voice memo is enough. Three lines per attack is plenty: the cue, the safe response, and the punish window length.
Character familiarity. Know your dodge and guard stamina costs, your heal animation length, and your longest cooldown. A character you have not touched in a while will cost you more attempts than the boss will.
Time for deliberate practice. Most of this guide is about short focused sessions, not long grinding ones. Twenty minutes of learning one phase beats two hours of repeated full-fight attempts.
Step-by-Step: How to Beat Hard Boss Fights Without Upgrades
1. Learn the encounter instead of relying on stronger gear
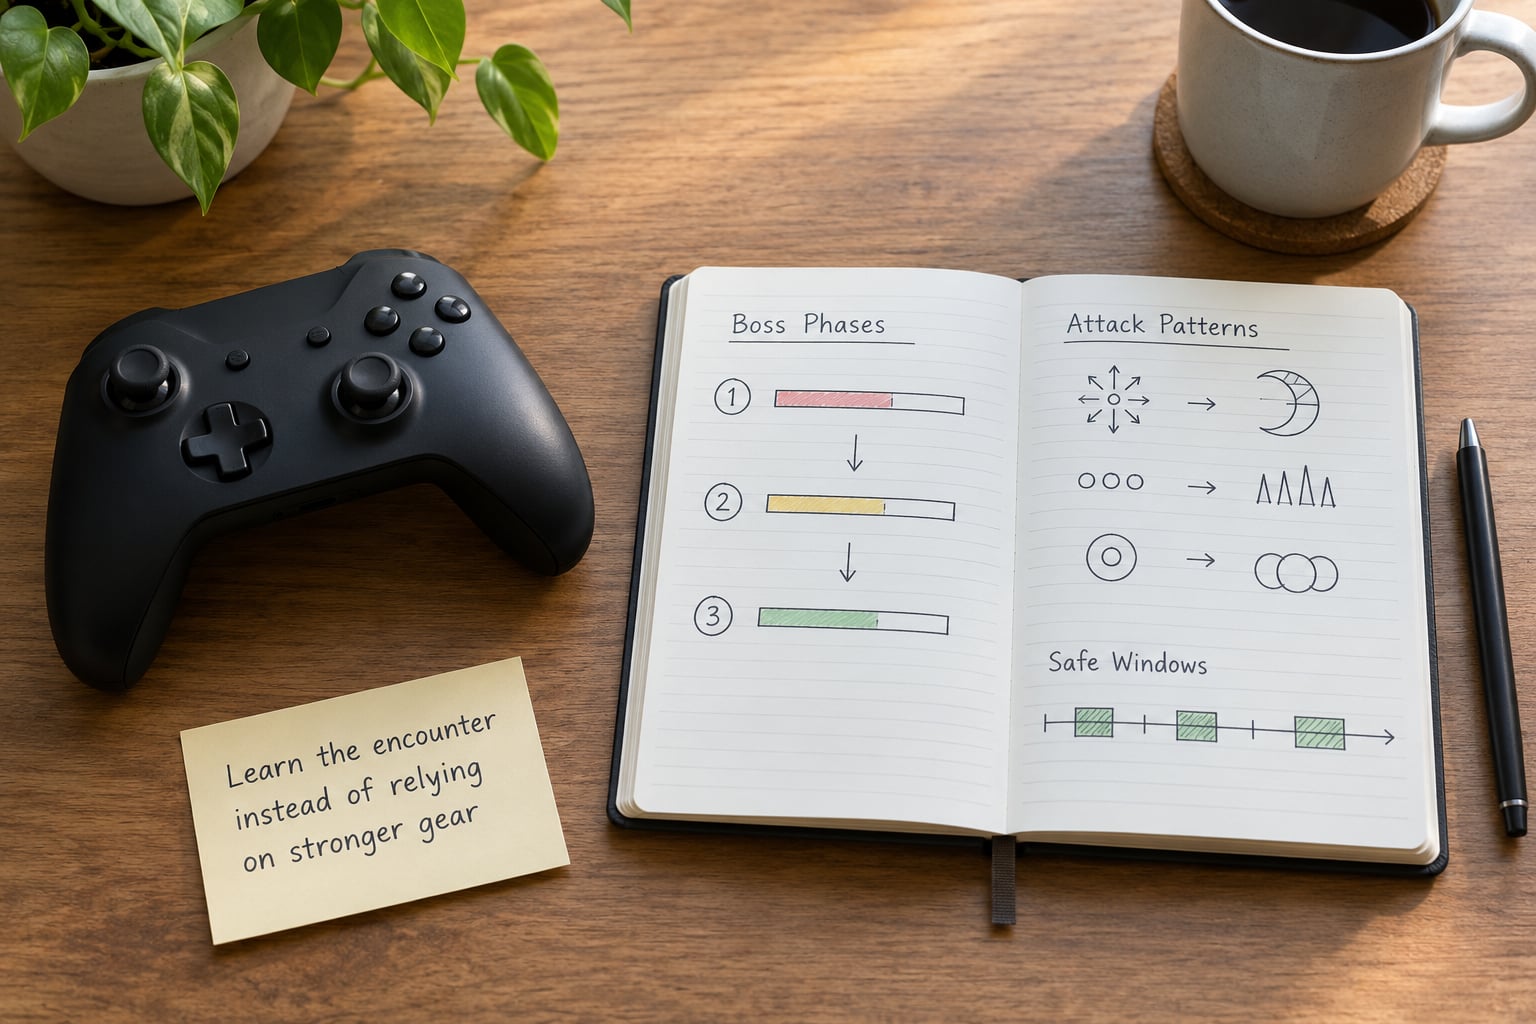
Do one attempt where you do not attack at all. Just move, block, dodge, and watch. The goal is to convert a visually chaotic fight into a checklist you can read.
Write down the boss’s phases first. Most hard bosses run the same three-attack string in the opening phase, add a fourth move in the second, and change tempo at a health threshold. Once you know where the phase boundary sits, the fight stops being one long test and becomes three short tests.
For each attack, note the cue: a colour flash, a change in breathing, a weapon dragging, a sound cue, or a sudden pause in the idle animation. The cue is what you react to, not the attack itself. Reacting to the attack puts you a fraction of a second late every time.
Also mark the safe recovery windows. A heavy overhead swing is usually followed by two to three seconds where the boss cannot act. That is your whole damage opportunity, and it is longer than most players use.
Finally, note the environmental hazards and any optional weakness. Fire pools, falling debris, collapsing pillars, and a glowing weak point on the boss’s back are not set dressing. They are free tools you have not picked up yet.
2. Choose a safer playstyle for your current build
This is the second half of how to beat hard boss fights without upgrades. Low damage output is not a problem if you stop expecting a damage race. Change what your build is for. Instead of trying to out-damage the boss, use a kit that makes you hard to catch and gives you something to do during their recovery.
Six approaches work when you are underleveled:
- Kiting. Ranged attacks let you keep the boss permanently at max distance, where most melee swings whiff entirely. If a starter bow or a basic projectile spell sits unused in your inventory, test it.
- Blocking and guarding. Guarding is more stamina-efficient than dodging in almost every game that has both. A blocked hit costs a fraction of your health; a dodged one costs nothing but stamina you may need later.
- Dodging. Dodge into a long recovery animation and it is free damage. Dodge during a combo and you are still committed when the next attack lands.
- Stagger pressure. Some builds break bosses with repeated light hits rather than heavy ones. Break a stance, not a posture of mind, and the whole fight gets shorter.
- Burst windows. Save your cooldowns for the recovery window instead of spending them on the approach. A 10-second ability used at the wrong moment is worth far less than the same ability used after a heavy swing.
- Utility over offense. Slows, roots, knockdowns, and summons that distract a boss create openings without needing damage. A boss looking the wrong way is a free punish window.
Skip anything that assumes damage you do not have. Buffs that scale off your own attack stat are decoration on a weak build; buffs and skills that scale off time, positioning, or stagger work at any level.
3. Master the fight’s basic attack rhythm
Almost every boss fight is a cycle, and once you can play the cycle you have already won most of the fight. The basic rhythm is: attack, defend, reposition, punish.
Work a concrete example. The boss does a wide horizontal sweep, then a slow overhead. Your cycle is: close during the recovery after the overhead, land two hits, then back out before the sweep starts. Same four beats every time, which is exactly the point.
The most common failure here is attacking during the recovery instead of defending during it. Players see a long opening, commit to a combo, and eat the next attack with no stamina and no dodge left. One or two hits in the window beats a five-hit combo that ends in a trade.
Count the beats out loud for the first few attempts. Sounds silly, and it works, because it stops you from accelerating into a panic in the middle of a string.
4. Position for survival and punish opportunities
Positioning is the cheapest damage multiplier available to an underleveled character. A hit that never lands is free, and most bosses miss more than players expect if you hold the right distance.
Stand just outside the range of the boss’s normal attack and step in for the recovery. That single habit fixes more walls than any weapon change, because it removes the guesswork from whether an attack will connect.
Use the arena. Break line of sight behind a pillar, lure the boss across a fire pool, and use the boss’s own body to block smaller adds. Large bosses that turn to follow you are the friendliest target in any arena, because their turning animation is itself a punish window.
Watch the edges. Standing against a wall removes your dodge escape route, and a good chunk of deaths come from being cornered rather than hit. Leave yourself a lateral exit at all times, and never let the boss stand between you and the only healing item in the arena.
For ranged characters the rule is simple: keep max distance during the string, close only on recovery. For melee, the rule is the reverse: stay just inside the boss’s reach but never in front of it when it commits.
5. Manage healing and other limited resources
Running out of consumables mid-fight turns a winnable attempt into a throwaway one, so treat healing items as a budget with rules attached.
Never heal during a telegraphed animation. Every game gives you a heal animation that locks you in place, and a boss that can act during it is punishing you for using the item at the worst possible second. Heal after the exchange, when the boss is walking back to neutral.
Set a low-health rule before the fight starts: below one-quarter health, you stop attacking entirely and only block, dodge, and reposition until you are safe or the attempt is clearly lost. Panic healing kills more runs than any single boss attack.
Conserve ammunition and cooldowns the same way. Save the ranged burst for when the boss is against a wall or turning, and stop using a long cooldown on a boss that already dies fast. You would rather enter phase two with everything intact.
And use the free heals. Bonfires, respawn shrines, healing fountains, campfires, and rest points cost nothing and are usually on the critical path. A player who walked past a rest point three times has more upgrade options available than they realize.
6. Practice one encounter phase at a time
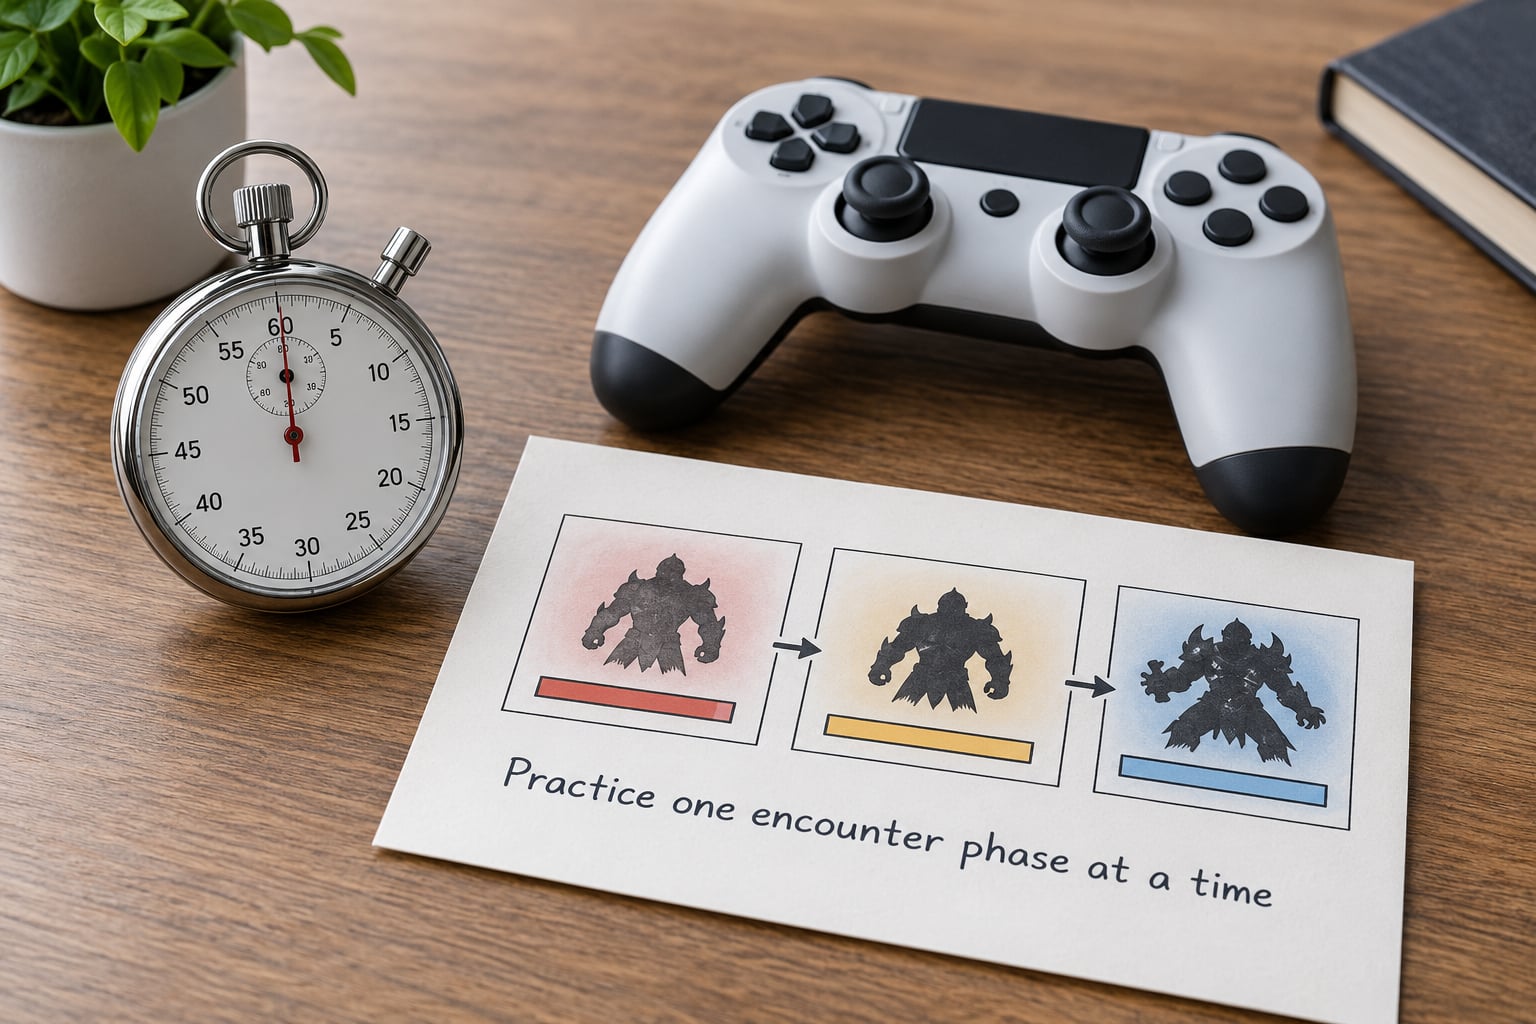
A full-fight attempt tests ten things at once, which is a terrible way to practise. Isolate a single phase, or even a single attack, and drill it until it is boring.
Use checkpoints. If the game has a respawn or practice mode, respawn immediately on death and go straight back to the move that killed you. If it does not, restart the fight and skip to that phase by deliberately losing to the earlier one.
Give each session one measurable goal: survive five consecutive executions of the sweep-and-overhead string, or land three clean punishes without trading. A session without a number is just dying with extra steps.
Stop the session when performance starts dropping. Twenty focused minutes usually beats two hours, and the decline after the first three deaths is mostly fatigue, not learning.
7. Execute a low-risk final attempt plan
Write a one-screen plan and follow it exactly. Freezing your own improvisation is what turns a good attempt into a won fight.
Before the attempt: pick the loadout you tested, do not touch it afterwards, and decide your opening move. During the fight, follow the cycle from step 3 and use your arena position from step 4. Set your heal trigger in advance rather than reacting to the health bar.
Decide what your panic button is. It should be a defensive action, not an offensive one, and you should trigger it the moment you notice yourself mashing. If you lose phase one cleanly twice in a row, restart anyway. A clean phase one means you are executing well and losing to a problem worth isolating, not a problem worth repeating.
Now diagnose the wall honestly. If you consistently die to one telegraph you cannot read, that is a skill problem and it is solvable here. If you execute everything correctly and the boss simply never drops below half health, you are stat-gated, and the least-grindy answer is a free tool you have not equipped yet rather than a farming session.
Common Mistakes
Panicking and mashing. This is the most common reason a fight stays unwinnable even after the pattern is learned. The fix is a single defensive action per attack string, chosen before the string starts. If your hands want to mash, hold a shield or a block input instead.
Chasing the boss for damage. Standing inside a boss’s range because you want the hit is how a winnable attempt becomes a trade. The fix is a hard spacing rule: you leave at the end of your hits, every time, without exception.
Healing during an unsafe animation. The fix is a simple trigger: heal only after the boss returns to idle, never after it starts a wind-up.
Attacking during recovery instead of defending during it. You want a short burst in the window and then a clean exit. One hit plus a dodge beats four hits plus a corpse.
Ignoring adds and hazards. Let adds hit you and the fight becomes a numbers problem you will lose. Kill them in the recovery window, or use them to distract the boss. Hazards work the same way: they do not care how much damage you have.
Changing gear between attempts. Every swap costs you the familiarity you built. Fix the loadout for a block of ten attempts before you judge it.
Quitting after one confusing phase. Attempt 12 usually feels worse than attempt 3 because you are tired, not because you got worse. That is the signal to stop for the day.
Three tips that help more than the rest: learning the fight without attacking is faster than dying repeatedly, because deaths are a noisy way to gather information. Free consumables and a starter ranged weapon solve more walls than players expect. And looking up a boss guide is not a failure of pride, it is the fastest route to the one move you are missing. Players on r/soulslikes argue about this constantly, and the honest answer is that nobody has ever won an argument with a boss by refusing to read about it.
Frequently Asked Questions
Can I beat a hard boss if my damage output is low?
Usually yes, because most hard bosses are execution checks rather than damage checks. Play at the edge of the boss’s reach, hit only during its recovery animation, and use arena hazards and free consumables to create extra openings. If you execute the whole fight correctly and the health bar barely moves, the fight is stat-gated and no technique will close that gap.
What should I do if my character build is locked in?
Stop trying to win with your damage and change what your build is for. Block instead of dodging when the stamina math favours it, use a starter ranged weapon to keep the boss at maximum distance, and save long cooldowns for the recovery window. Utility skills that slow, root, or distract a boss create free punish windows regardless of your stat sheet.
Are hidden boss mechanics necessary to finish the fight?
Rarely. Hidden mechanics usually punish a specific mistake, such as standing in a corner or attacking during a phase transition, and they can mostly be avoided by playing carefully once you know they exist. A few fights hide a full phase or a rule reversal, so a short guide lookup is worth five more deaths. Treat hidden mechanics as insurance, not as the main strategy.
How can I improve if I panic during difficult boss encounters?
Panic is a timing problem before it is a nerves problem. Practise the fight in short sessions with one measurable goal, and give yourself a scripted panic button such as blocking or stepping back. Healing is often a symptom, so set a low-health rule in advance: under one-quarter health, stop attacking and only defend until the situation resets.
When should I return to an earlier checkpoint?
Return to the checkpoint whenever the fight has stopped teaching you anything, which is usually around twenty attempts with no visible progress. Attempt 12 often feels worse than attempt 3 because you are tired rather than less capable. After a break, restart by practising one phase rather than the whole fight, and only change your loadout once you have a specific reason.
Conclusion
Start with one phase. Watch a single attempt without attacking, write down the first three moves of that phase and the recovery window that follows each one, then drill until you can survive five repetitions without taking a hit. Once phase one is boring, the rest of the fight has somewhere to build from, and the gear you refused to buy matters far less than the notes in front of you.