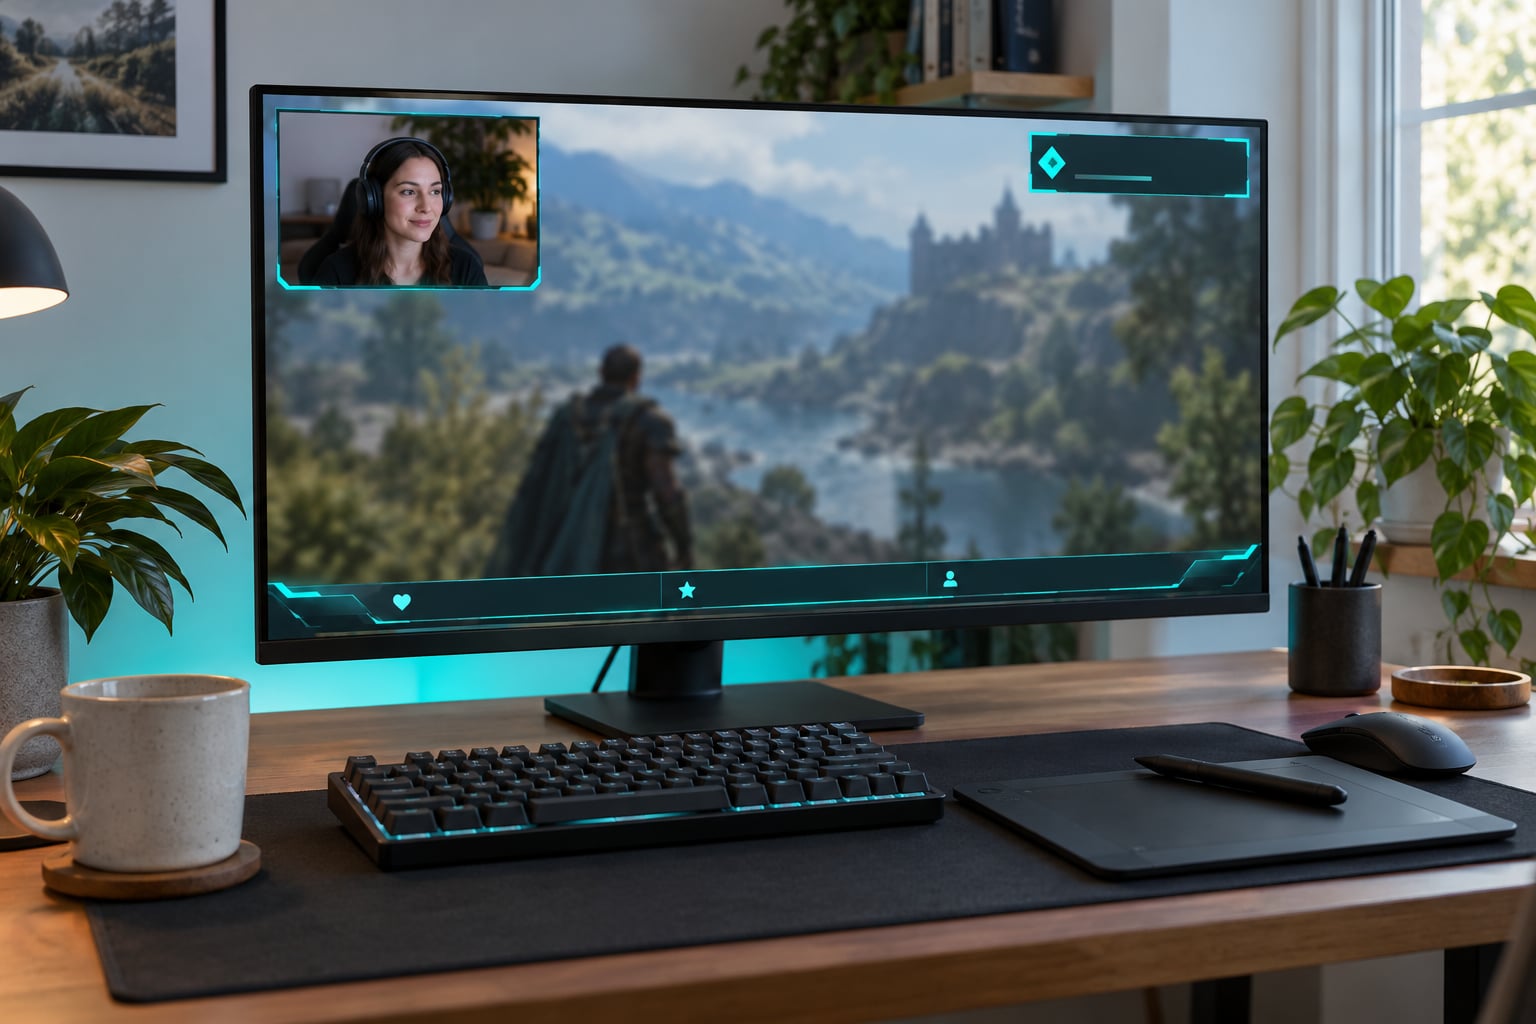
A stream overlay is a transparent layer that sits on top of your gameplay in OBS Studio, framing your webcam, holding your social handles and giving viewers one place to see what just happened. Learning how to make stream overlays without design skills takes about three hours the first time and twenty minutes every time after that. If you can line up two rectangles and pick a font, you can build one.
The part beginners get wrong is thinking an overlay is decoration. It is a fixed 1920×1080 layout with holes cut through it, so you are really building a frame that has to line up with your camera window and stay clear of your game HUD. Get that structure right and the styling takes care of itself.
Table of Contents
- What You Need
- Overlay canvas specs
- Step-by-Step: How to Make Stream Overlays Without Design Skills
- 1. Plan the layout around your gameplay
- 2. Pick a consistent background and color palette
- 3. Build simple branding assets
- 4. Add readable text with safe fonts
- 5. Export a transparent PNG for movable elements
- 6. Assemble the background and movable PNGs
- 7. Add the overlay in OBS Studio or Streamlabs Desktop
- 8. Test the overlay at different sizes and alert states
- Common Mistakes
- Frequently Asked Questions
- What is the easiest software for a beginner stream overlay?
- Do I need Photoshop to make a transparent streaming overlay?
- What size should a stream overlay be for 1920×1080 gameplay?
- Should I use one background image or several separate overlay PNGs?
- How do I update my overlay without redesigning the entire scene?
- Do beginner streamers need animated alerts and transitions?
- Conclusion
What You Need
You need five things, and four of them are free. None of them require training.
- A streaming setup that already captures at 1920×1080, or the ability to change that in OBS under Settings, Video.
- OBS Studio or Streamlabs Desktop, because that is where the overlay gets loaded as a source. If you are broadcasting from console hardware, the same PNG files still work, you just add them through whatever browser source the console exposes.
- A raster editor: Canva for speed, Photopea for control. Both run in a browser, so nothing installs.
- A transparent PNG export path. Photopea gives you this free; Canva’s dedicated transparent download toggle sits behind a paid plan, so on a free account you delete the page background instead.
- The list of elements viewers will see: webcam frame, social bar, latest follower label, starting soon screen, BRB screen and alerts. Write it down before you open any tool.
Overlay canvas specs
Every asset is built on a 1920×1080 pixel canvas, then sized in OBS rather than in the editor. That way one file works whether you stream at 1080p or downscale to 900p.
| Overlay element | Canvas size | Export format |
|---|---|---|
| Webcam frame with a cutout | 1920×1080 | PNG with transparency |
| Full-frame background overlay | 1920×1080 | PNG with transparency |
| Starting soon, BRB and ending screens | 1920×1080 | PNG, or JPEG if the screen is full bleed |
| Animated alert or looping background | 1920×1080 | WebM with an alpha channel |
| Channel panels for your about page | 1200×800 | PNG |
| Small icons, badges, avatar | 112×112 or 300×300 | PNG with transparency |
Keep branding inside a 5 percent margin on every edge, and treat the middle 70 percent of the screen as untouchable. That middle is where the action happens, and it is the exact area people cover by accident.
Step-by-Step: How to Make Stream Overlays Without Design Skills
Eight steps, in the order that saves you rework. Do them in sequence and you will have a working overlay before you need a second coffee.
1. Plan the layout around your gameplay
Open a blank 1920×1080 canvas and draw zones before you draw anything decorative. You need a gameplay zone, a webcam zone, an alert zone, a lower-third zone and a thin social strip.
Put the webcam in a corner rather than floating it near the middle, and keep the alert zone away from wherever the game’s minimap or skill bar lives. If you play a shooter, check the top corners are free; if you play a strategy game, check the bottom edge.
You will know the plan works when you drop a busy screenshot behind your wireframe. Anything that disappears into the screenshot is too subtle, and anything sitting over a HUD is wrong.
2. Pick a consistent background and color palette
Choose one background treatment, one accent color and two text colors. That is the whole palette, and staying inside it is what separates a deliberate overlay from a cluttered one.
A solid bar, a soft gradient or a single thin line all work. What does not work is three different treatments in one frame, because the viewer reads that as unfinished rather than busy.
Take the accent from your game or your channel art so it feels related to what people came for, then use it sparingly: corner accents, a rule under your name, an alert border. Light text on a dark bar beats dark text on a light bar because gameplay behind it is usually darker than it looks in a screenshot.
3. Build simple branding assets
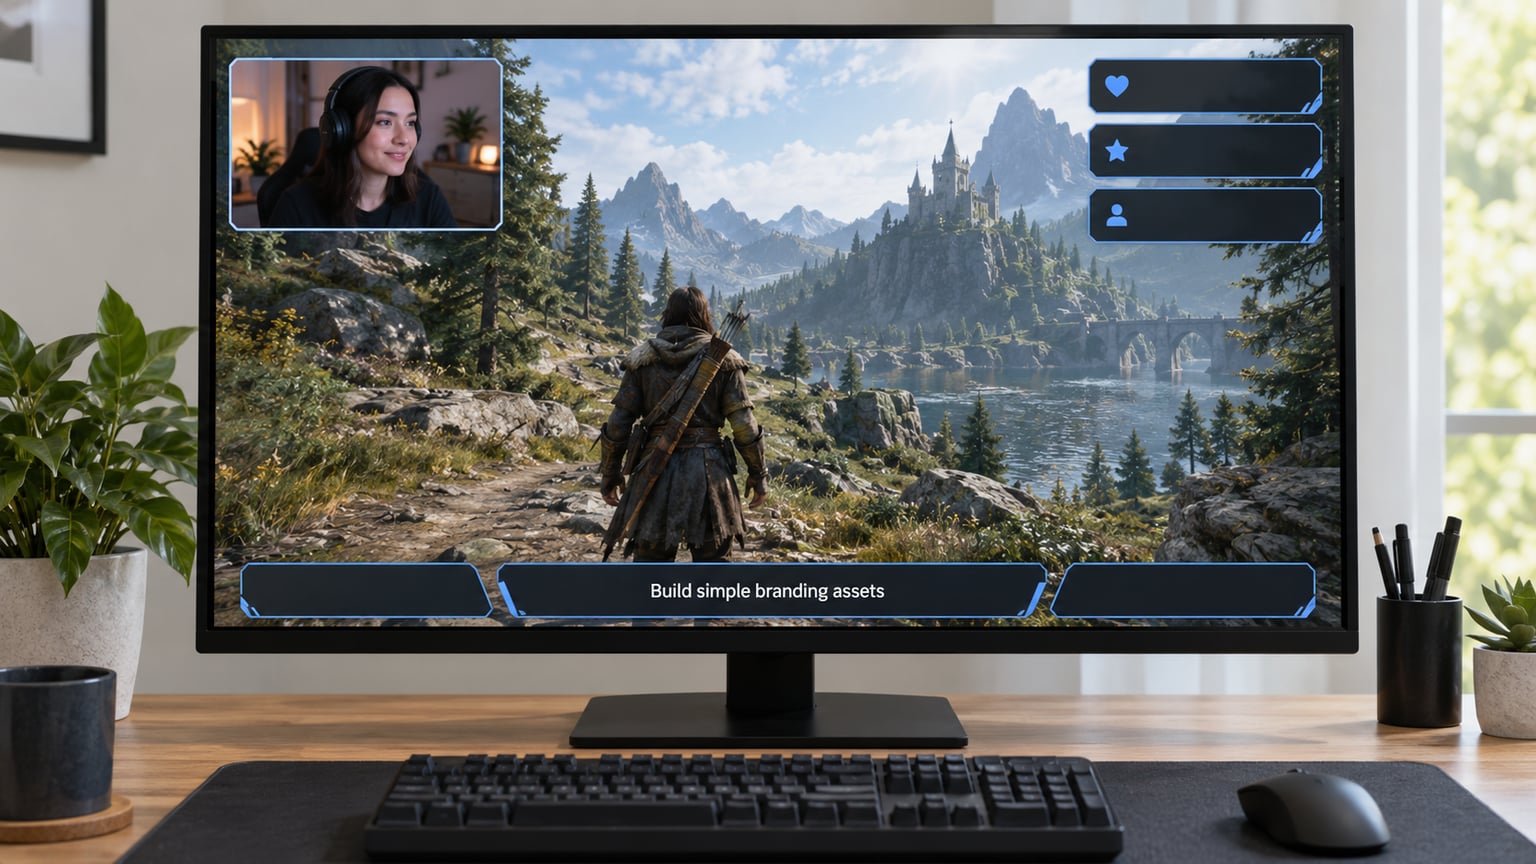
Your branding is three shapes: a logo panel, a lower-third panel and an accent line. All three use the same corner radius and the same internal padding, and that repetition is what makes a beginner overlay look designed.
Start with a rectangle in Canva’s Elements panel, or the shape tool in Photopea. Set its fill to your accent color, drop your channel name inside in one bold weight, and leave roughly 24 pixels of breathing room around the text. Make it about 300 by 90 pixels and place it in your chosen corner.
Copy that panel, stretch it wide for the lower third, and use the same fill and radius. Add a two-pixel line as a divider and stop there. Small streamers who keep one overlay and never change it tend to be the ones viewers recognise in a scrollable feed, so restraint here pays off later.
4. Add readable text with safe fonts
Two fonts maximum: one with personality for your name, one plain and neutral for labels. Load them from Google Fonts so you can reproduce them on any machine later.
Stay away from thin weights below 28 pixels, because stream video compression eats them. Treat 24 pixels as the floor for anything viewers must read, 32 pixels for headings on a starting soon screen, and test by viewing your scene at half size on a second monitor.
Contrast matters more than font choice. If text sits over live gameplay rather than over your bar, add a thin outline or a soft drop shadow instead of reaching for another color. And limit labels to the four that earn their space: channel name, latest follower or sub, social handles, and a status word for your BRB screen.
5. Export a transparent PNG for movable elements
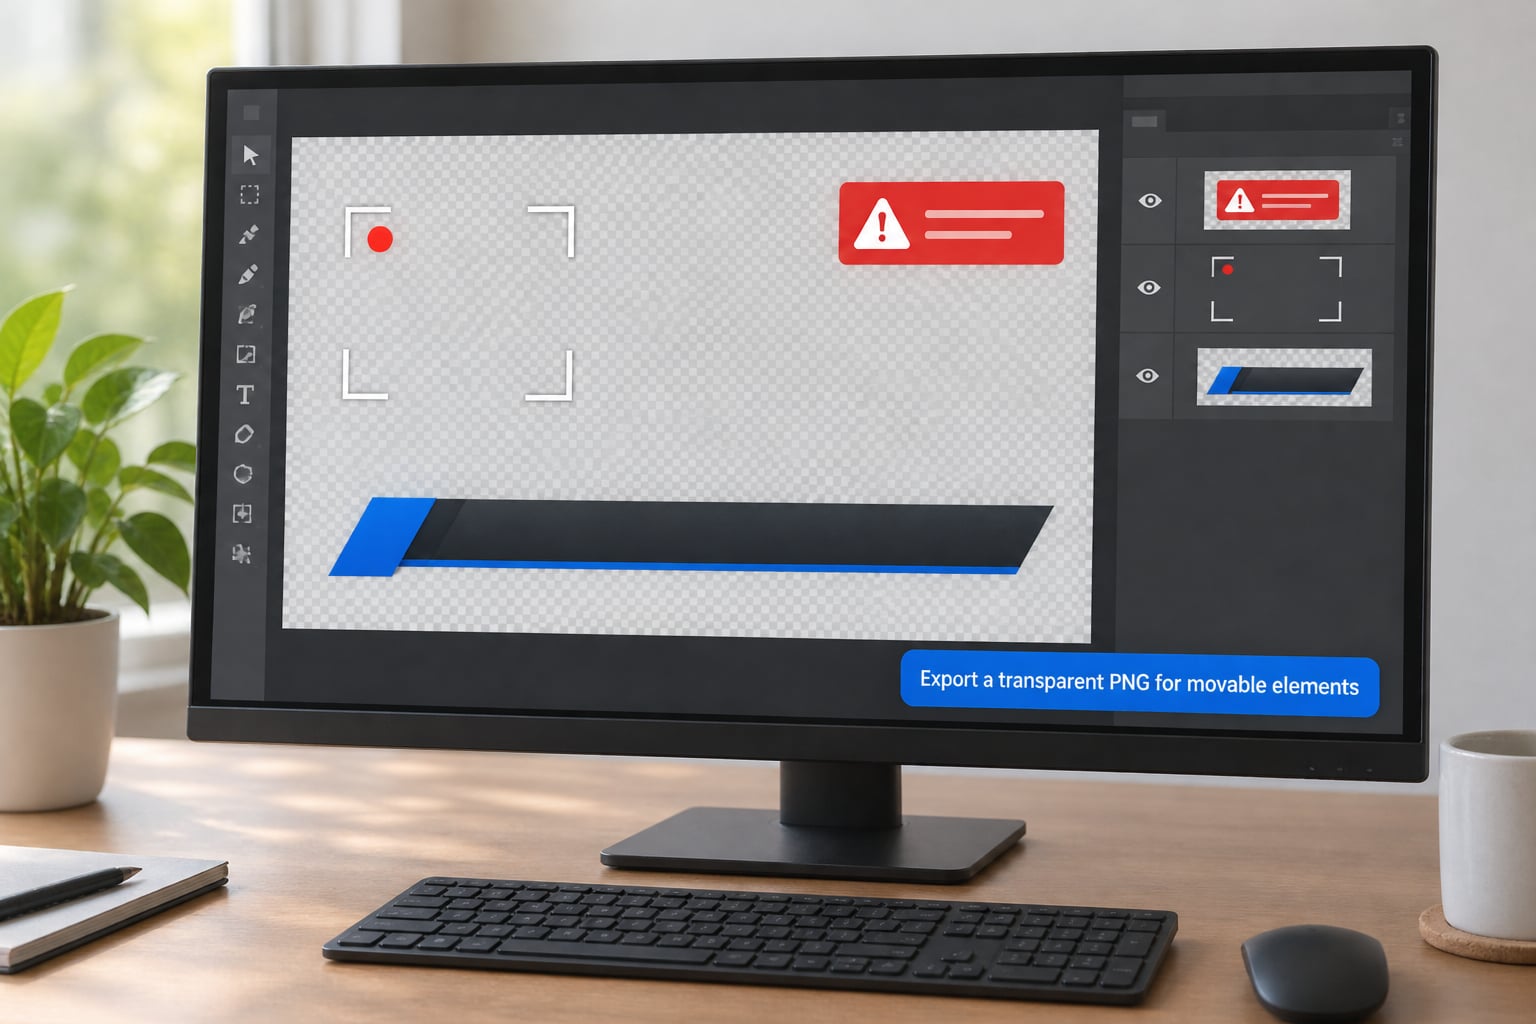
In Photopea, use File, New, set width to 1920 and height to 1080, and tick the transparent background box before you confirm. Build your panels, then export with File, Export As, PNG.
In Canva, create a custom 1920×1080 design, delete the page background entirely so the canvas shows the checkerboard pattern, then download as PNG. If your plan includes the transparent download option, use it instead; the delete-the-background route works on any plan.
Two mistakes to avoid. Do not flatten your artwork onto a filled layer, because that bakes the background into the file and it lands on your gameplay as a black box. And never upscale: if you drew the frame at 1280×720, leave it there and let OBS scale it to 1920×1080, because the scale filter looks better than a stretched source image.
For anything that moves, a static PNG will not do. Export a WebM with an alpha channel instead, drop it in OBS as a Media Source with loop turned on, and place it above your other sources.
6. Assemble the background and movable PNGs
Keep the static frame as one full-canvas PNG and everything that might need moving as its own file. A separate file for the webcam frame means you can reposition it without rebuilding the whole design when your camera window changes size.
Align everything to the same padding. Pick 32 pixels from the canvas edge, measure once, and use that number for the logo panel, the social strip and the lower third so the corners line up optically rather than mathematically.
For the webcam cutout, draw a circle or rounded rectangle and delete it, so the checkerboard shows through. Load the PNG as a source, then move your camera window until your face sits inside the hole. That alignment is the single change that makes a homemade overlay look like it was made by someone who does this.
Layer order in OBS runs back to front: gameplay, full-frame PNG, webcam and its frame, chat box, then alerts. If an alert disappears behind your overlay, the order is wrong, not the alert.
7. Add the overlay in OBS Studio or Streamlabs Desktop
In OBS Studio, open the scene you want, click the plus in the Sources panel, choose Image, name it Overlay, and select your PNG. If the file is not exactly 1920×1080, right-click the source, choose Transform, Edit Transform, and set width and height there instead of resizing inside the editor.
Right-click the source again and set Lock so you cannot nudge it by accident mid-stream. Then use Add to All Scenes if the overlay belongs on every scene, or add it per scene if you only want it on gameplay and chat, not on your starting soon screen.
In Streamlabs Desktop, the same file goes in through Sources, plus, Image, and the My Overlay tab builds a browser-source scene for widgets and alerts so they share one layout. Locking works the same way.
For chat, add the built-in Chat Box widget rather than designing your own. Turn off its background fill in the widget settings and you get a transparent chat overlay without touching the PNG again.
8. Test the overlay at different sizes and alert states
Run a five-minute private stream and watch it the way a viewer will: full screen, then in a half-size window on another tab. Text that reads fine at 1920×1080 on your monitor can disappear entirely at the size most people watch.
Trigger an alert, run your starting soon screen, and check your BRB screen with real text in place. Empty alert boxes hide alignment problems that populated ones expose instantly.
Fix what you find in this order: cropping first, then overlap, then contrast, then position. Cropping and overlap are Transform and layer order settings, contrast is an edit in your design tool, and position is the quickest of the four.
Common Mistakes
Nearly every beginner problem on this list has the same cause, an overlay that was never tested with real gameplay behind it. Work down the list and most of a messy scene sorts itself out.
- Opaque export. A solid rectangle sits over your game. Delete any full-canvas background layer and re-export the PNG.
- Blurry upscale. An overlay drawn at 720p and stretched looks soft next to crisp gameplay. Draw at 1920×1080 and scale down instead.
- Covering the HUD. If the minimap, ability bar or chat region disappears, move the overlay into the margins you identified in step one.
- Misaligned webcam. Your face is not centred in the frame, or the frame does not match your camera’s shape. Resize the camera window, not the PNG, and re-check on a curved-corner frame.
- Oversized logo. If your name is readable without pausing, it is too big. Shrink it until it reads as branding rather than a title card.
- Too many fonts and colors. Cut back to two fonts and four colors total, then re-export. This is the change that reads most clearly as skill.
- Crowded layout. Remove any element you cannot justify in one sentence. An overlay with four elements looks deliberate; one with nine looks unfinished.
- Excessive animation. Continuous motion in the corners pulls the eye off the game. One subtle loop is enough.
- Missing sources on some scenes. The overlay shows on gameplay but not on chat. Use Add to All Scenes, or add it to each scene you switch between.
- Untested alert states. Test with real alert text, not an empty box, before the next stream.
A few habits keep it working. Name every source something readable, lock the ones that should not move, and save a dated backup copy of each PNG in a folder you control. When you redesign six months from now, you will want the old files, and community threads about free overlay work regularly include shared PSD templates from cancelled commissions that you can restyle in minutes rather than starting from an empty canvas.
Frequently Asked Questions
What is the easiest software for a beginner stream overlay?
Canva is the fastest route for a first overlay because templates, shapes and text are all drag-and-drop, and it runs in a browser. Photopea is the better second choice: it is free with no plan limits, handles transparent backgrounds natively, and is close enough to Photoshop that anything you learn there transfers. Skip Photoshop entirely for a first stream.
Do I need Photoshop to make a transparent streaming overlay?
No. Photopea is a free browser-based editor that handles layers and transparency properly, and Canva can produce a transparent PNG if you delete the page background before downloading. Photoshop only becomes relevant later, when you want to open PSD templates other streamers share or build animated assets.
What size should a stream overlay be for 1920×1080 gameplay?
Build every full-frame asset on a 1920×1080 canvas so it lines up pixel for pixel with 1080p gameplay. Smaller canvases work but need scaling in OBS, and that scaling softens edges. If you stream at 900p or 720p, keep the 1920×1080 master file and let OBS resize it, so one overlay still works when you change output settings.
Should I use one background image or several separate overlay PNGs?
Use one full-frame PNG for the static frame that never moves, and separate PNGs for anything you may reposition, such as the webcam frame and alert panels. Single files are simpler, but a separate webcam frame means you can move your camera window without rebuilding the whole design every time your capture card changes.
How do I update my overlay without redesigning the entire scene?
Build the overlay from a small kit: one logo panel, one lower-third shape, one accent line, in two fonts and four colors. Re-exporting only the piece that changed keeps the rest identical, which is what makes an update look like a refresh instead of a new channel. Keep dated backups so you can always roll back.
Do beginner streamers need animated alerts and transitions?
Not at the start. A clean static overlay with a readable webcam frame does more for channel quality than animation does, and animated assets are where the paywalls usually sit. When you are ready, animated overlays need a WebM file with an alpha channel, loaded in OBS as a Media Source with looping enabled.
Conclusion
Start tonight with one 1920×1080 canvas in Photopea, draw a webcam frame and a lower third, export both as transparent PNGs and add them as Image sources in OBS Studio. Once that looks right in a five-minute test stream, everything else on your list is an extra. Learning how to make stream overlays without design skills is mostly patience with alignment, not talent with a mouse.