You get better at aim in first person shooters by diagnosing the specific kind of aiming you are bad at, locking in one sensitivity, and running a short repeatable routine that trains crosshair placement, tracking, and first-burst control, then reviewing the result. Most players train the wrong thing for months, so the diagnosis matters more than the volume of practice.
There are really three separate skills hiding inside the word “aim.” Raw mechanics are how smoothly your hand moves. Placement is where your crosshair sits before a fight starts. Decisions are whether you take the fight at all. You can grind hours on the first one and still lose duels because the other two are untidy.
What usually moves the needle fastest for beginners is boring: keep your settings identical for a few weeks, put your crosshair at head height on every corner you pass, and stop moving before you shoot. Muscle memory needs repetition without variables, not novelty.
Table of Contents
- What You Need
- Step-by-Step
- Step 1: Set a Stable Sensitivity
- Step 2: Master Crosshair Placement
- Step 3: Train Smooth Tracking
- Step 4: Practice First-Burst Flicks
- Step 5: Control Recoil and Reset
- Step 6: Review Your Weakest Moment
- Common Mistakes
- Frequently Asked Questions
- What sensitivity should I use to get better at aim?
- Are aim trainers actually worth the time?
- How do I get better at aim with a controller?
- How long does it take to improve aim in an FPS?
- Why is my aim so jerky and shaky?
- When should I stop an aim practice session?
- Conclusion
What You Need
You need less than most guides imply. A mouse that fits your grip and a surface with room for a full sweep, one sensitivity you will not touch for a month, and somewhere to practise that reports a number.
Aim Lab, KovaaK’s FPS Aim Trainer, and 3D Aim Trainer all work. So do the bot ranges and workshop maps built into Counter-Strike 2 and Overwatch 2, plus the practice range in most shooters. External trainers are free and quick to launch, which makes them easier to actually stick with, but the in-game options teach you how your aim behaves in the map you play.
You also need somewhere to write numbers down. A note on your phone is enough: date, drill, score. Without that you will feel improvement on good days and lose confidence on bad ones, and you will never know whether a setting change helped or just coincided with a good match.
Two comfort items do more than people expect. Keep your forearm roughly level with your desk so your wrist is not bent upward, and let your hand rest against the desk rather than floating. Tension in the forearm is the main source of the shaky-aim feeling that beginners describe.
Finally, check your frame rate once. If you sit at 60 frames per second in a competitive shooter, the game is usually holding your input or your monitor is, and the small delay between what you see and what happens makes micro-corrections feel worse than they are. Getting to a stable 120 or above costs nothing but a settings change, and it makes practice feel cleaner.
Step-by-Step
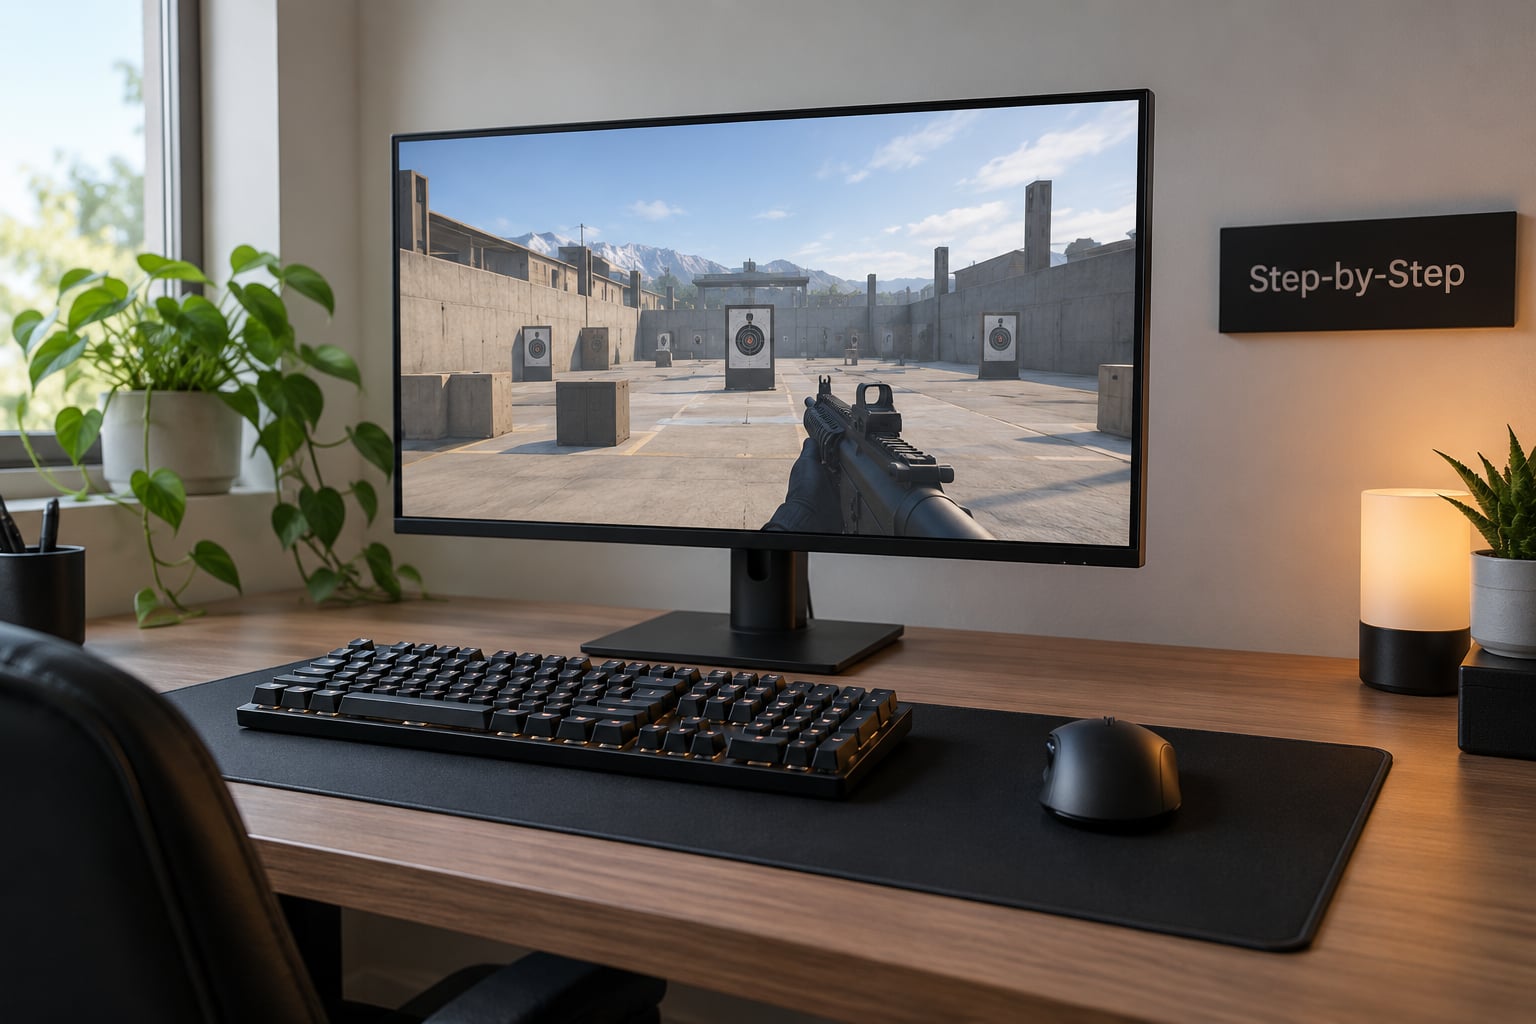
This six-step routine works for any first person shooter and takes about 30 minutes. Run it as a set rather than picking whichever part feels fun, because the earlier steps are what make the later ones pay off.
Step 1: Set a Stable Sensitivity
Pick a sensitivity you can turn 180 degrees with one comfortable sweep of the mousepad, and stop adjusting it. Most mouse players land somewhere between an effective DPI of 800 and 1200, which is DPI multiplied by in-game sensitivity, though the number matters far less than the feel on your desk.
Test it with a sweep. Move the mouse from one edge of the pad to the other and count the degrees you cover in the game. Too little and you lose fights in the time it takes to turn around. Too much and you will see the crosshair fly past targets before it settles.
Watch what happens when you flick to a point. If the crosshair consistently lands just short of the target, your sensitivity is too low for you. If it sails past the target and you correct back, it is too high. Adjust by small steps, a few percent at a time, and give each setting a full week before judging it.
Success check: you can turn 180 degrees without lifting your hand, and your flicks do not need a correction most of the time. You will know it is right because you stop thinking about it mid-fight.
Step 2: Master Crosshair Placement
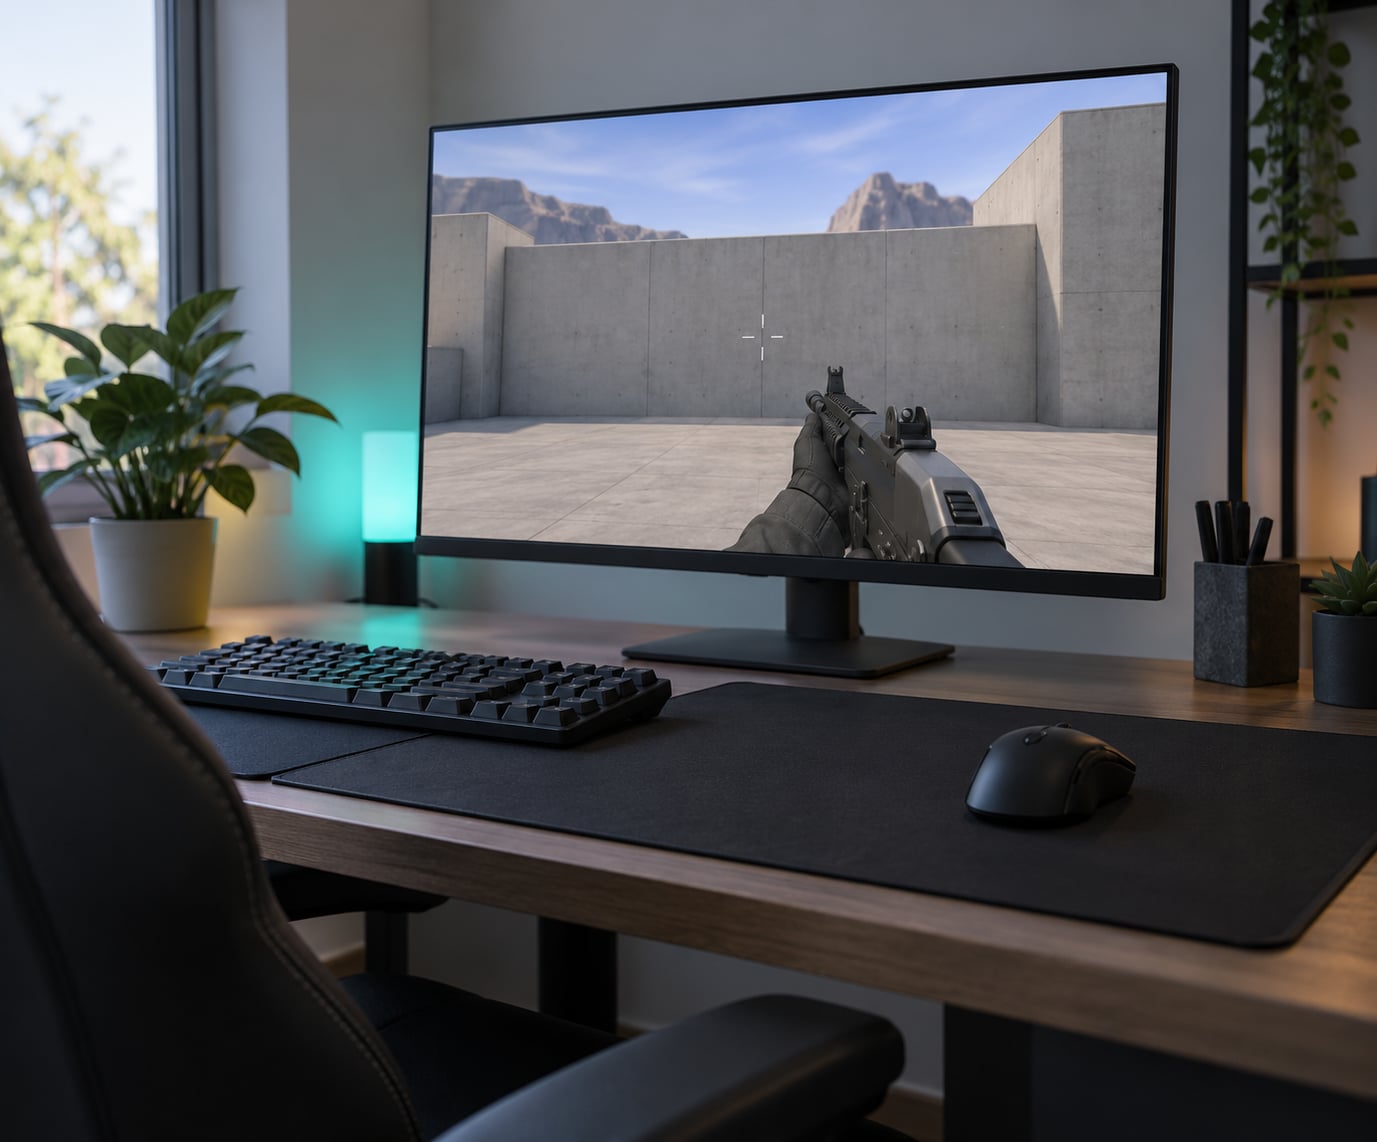
Keep your crosshair at head height and pointed where a head is likely to appear. Most missed shots in a shooter are not aim failures, they are late corrections caused by the crosshair sitting on the floor while you walked past an open doorway.
Pre-aiming is the same habit applied earlier. Before you enter a room, put the crosshair on the head of anyone who could be standing behind the door. Hold angles about 45 degrees off the corner so your view covers both the opening and the space beside it, rather than staring straight into the corner where your own hitbox would be.
Drill it without shooting anything. Pick three spots in the map you play most. Walk to each one, stop, and place your crosshair at head height before the corner. Repeat until the placement feels automatic, then add the movement back.
Success check: during a normal match you rarely have to swing your crosshair upward in the first half second of a fight. If you do, you walked into it too slowly.
Step 3: Train Smooth Tracking
Tracking is following a moving target with small corrections rather than one big movement. It is a different skill from flicking and most players are worse at it than they think. In a trainer, pick a scenario with a smooth moving target and score accuracy instead of kills.
Watch the target, not your crosshair. Keeping your eyes locked on the moving object while your hand makes tiny adjustments is what trains the skill; staring at the crosshair and dragging it around is what makes tracking feel impossible.
Use a consistent target speed and hold the same intensity. Shouting at the screen and slamming the mouse is not extra effort, it is noise in the signal. Ten minutes of calm tracking beats twenty minutes of panic clicking, which is the single most repeated piece of advice on the r/FPSAimTrainer forum.
Success check: your hit rate on the tracking scenario climbs while your correction movements get smaller. If your score rises only because the target got slower, that is not progress.
Step 4: Practice First-Burst Flicks
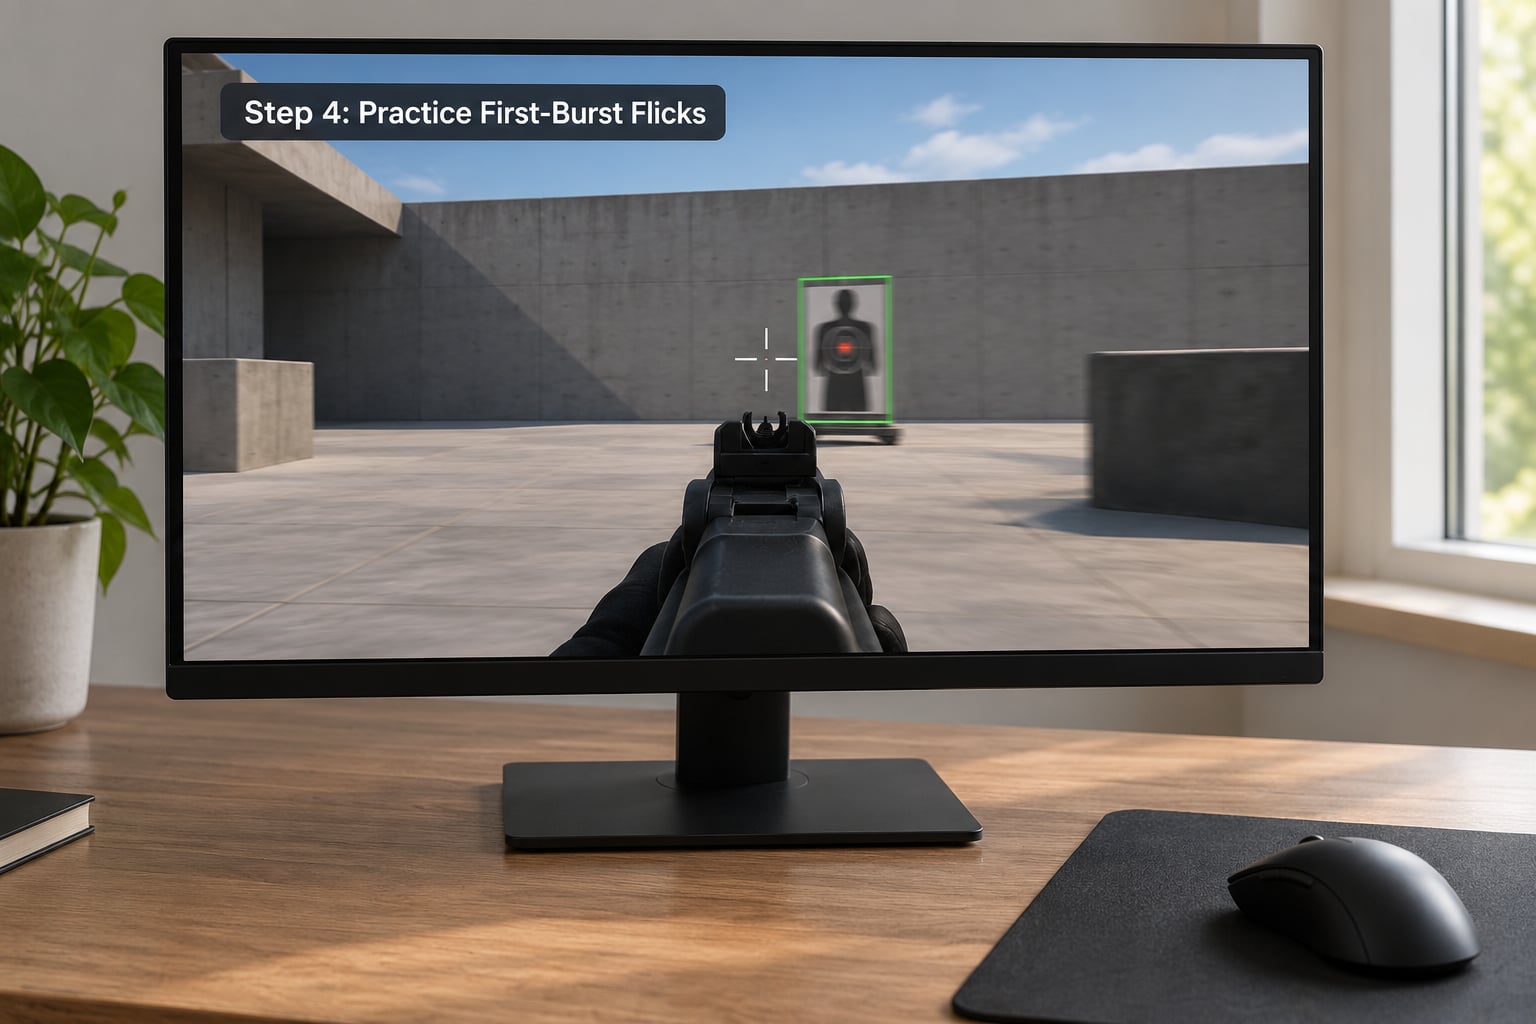
A flick is the fast jump from one target to another. The mistake beginners make is treating it as a jump that ends in spraying. Break it into four beats: set up the movement, flick, stop, fire a short burst.
The stop is the part people skip. Your crosshair should arrive already settled, not overshoot and come back. If it keeps landing past the target, that is a sensitivity signal from Step 1, not something to fix with more practice.
Fire two or three rounds, then reset. Spraying while the crosshair is still travelling scatters your misses across the map and teaches your hand a habit it will keep in real matches.
Practise in a small window: three minutes of static targets, then three minutes with them moving and strafing. Aim Lab has prebuilt scenarios for this, and Counter-Strike 2’s Aim Botz map does the same job inside the game you actually play.
Success check: you land the first three rounds of most engagements. That single habit wins more close duels than anything else on this list.
Step 5: Control Recoil and Reset
Automatic weapons climb when you fire. You either learn the pattern or you pull against it, and pulling works almost as well once it becomes automatic.
Start with one weapon per map rather than the whole arsenal. Stand still in a practice range, fire ten bullets at a wall, and watch where the pattern goes. Most patterns rise then drift sideways. Repeat until your hand knows that shape without conscious thought.
On controller, apply a light upward or downward input of your own while the stick drifts the opposite way. The idea is the same on both inputs: your hand counteracts a predictable path.
Then add the part that actually matters. Stop moving before you fire, take the first burst, and reset to head height. Spraying accuracy falls off sharply once you are moving, so a short burst while stationary beats a long burst while strafing in almost every situation.
Success check: you can describe the first half of a weapon’s pattern from memory, and your fights end with your crosshair back where it started.
Step 6: Review Your Weakest Moment
Repetition without review builds bad habits just as fast as good ones. Spend ten minutes after a session, or two over a match you lost, and sort each miss into a category.
Misses that happen before you even fire are usually placement or reaction time. Misses against a moving target are tracking. Misses that land just past the head after a fast turn are flicks or sensitivity. Misses that scatter during a long burst are spray control. Misses you can trace back to standing in the open are positioning, and no amount of raw aim practice fixes those.
Pick the biggest category and give it one drill next session. If it is tracking, do smooth tracking. If it is placement, walk a map placing your crosshair at head height on every corner. If it is spray control, learn another weapon pattern.
Write the number down. Reviewing three sessions’ worth of scores is the only reliable way to tell improvement from a good afternoon.
Common Mistakes
Changing sensitivity constantly. This is the most-upvoted correction on aim training forums and it is right. A new sensitivity resets your muscle memory every time you adopt it, so you spend weeks re-learning instead of improving. Change it once, deliberately, then leave it alone.
Staring at your crosshair. Your eyes should be on the target, the corner, or the area the enemy will appear in. The crosshair is a tool that follows your attention, not the thing you stare at. This one habit fixes more tracking problems than any trainer setting.
Overflicking. Overshooting a target and correcting back costs you the first half of the engagement. Slow your flick down until you land on it, then speed up from a clean baseline.
Spraying through movement. Aiming while strafing at a distant target is close to guessing. Stop, shoot, reposition, repeat. You give up some angles and win most of the fights you enter.
Switching crosshair constantly. A new crosshair every week is a small sensitivity change every week. Pick one, play a hundred hours with it, and only revisit when you have a specific reason.
Training past the point of useful. Long sessions produce sloppy reps. If your last ten minutes are worse than your first ten, you are only accumulating fatigue. Stop there and come back tomorrow.
Ignoring the setup around the aim. Tight mouse, low frame rate, a wrist bent upward, a mousepad too small for a sweep. Fix these once and they stop costing you accuracy in every session that follows.
Frequently Asked Questions
What sensitivity should I use to get better at aim?
Use whatever lets you turn 180 degrees in one comfortable sweep of your mousepad, which for most players lands at an effective DPI of 800 to 1200. Test it by flicking to a fixed point: landing short means go slightly higher, landing past the target means go lower. Change it once, then keep it for at least four weeks so your hand can build muscle memory.
Are aim trainers actually worth the time?
Yes, as a supplement rather than a replacement. Aim Lab, KovaaK’s FPS Aim Trainer, and 3D Aim Trainer are good at isolating one skill, flicking or tracking, without the pressure of a match. The transfer gap is real, though, which is why they work best alongside warmup, deathmatch, and reviewing your own matches instead of on their own.
How do I get better at aim with a controller?
Start with response curve and aim assist. Choose a linear or classic curve at a moderate sensitivity, then set aim assist to the middle setting and leave it there, since switching strength trains nothing. Practise stopping your character before firing and short bursts at medium range, then work on flicking with larger stick movements rather than small wrist ones. Most console improvement comes from aim assist settings and movement habits, not flick practice.
How long does it take to improve aim in an FPS?
Most players notice a real difference in accuracy after three to four weeks of consistent short sessions, and a larger change over two or three months. The gains are smaller than the internet suggests because the early improvements come from placement and stopping before shooting, not from faster hands. Progress you can measure beats progress you feel, which is why logging scores matters.
Why is my aim so jerky and shaky?
Shaky aim usually comes from tension rather than bad settings. You are gripping the mouse too hard, holding tension in your forearm, or hovering your hand instead of letting it rest on the desk. Watch a short clip of your own aim, or film your hand, and you will usually spot the moment the tension starts, right before a burst. Loosen the grip, drop the shoulder, and let the desk support the weight.
When should I stop an aim practice session?
Stop when your accuracy starts falling while the drills stay the same, which is usually around 20 to 30 focused minutes. That last stretch trains sloppy reps and teaches you to expect tiredness in a match. Note your score, write down the one skill you want to work on next time, and close the trainer. Short sessions most days beat one long session a week.
Conclusion
Start with one action tonight. Pick a sensitivity that turns 180 degrees in a single sweep, then run fifteen minutes of head-height placement on three corners and ten minutes of smooth tracking on a moving target. Write both scores down.
Next session, do the same and add first-burst flicks. After a match, sort your misses into the six categories from Step 6 and give the biggest pile one drill. That loop, repeated most days for a month, is what separates people who feel like they are improving from people who are.