Recording gameplay on PC does not cost you frames by itself. Frames disappear when the recorder compresses video on your CPU with x264, the software encoder, using the same cores your game is running on. Point OBS Studio at the hardware encoder built into your GPU instead (NVIDIA NVENC, AMD AMF, Intel Quick Sync, or AV1 on newer cards) and the compression happens on a separate fixed-function chip, which the game barely notices. Get that one choice right and the rest is adjusting numbers to match what your machine can actually sustain.
This guide is written for Windows 11 with OBS Studio 29.x, the NVIDIA App 11.0.8 or newer, and current AMD Adrenalin Edition. Allow about twenty minutes for the initial setup, and ten minutes for each test clip after that. The beginner path is Step 1 through Step 6 in order. If you are already hitting a wall with dropped frames, jump to Common Mistakes first and work backwards.
Table of Contents
- What You Need
- Step-by-Step
- Step 1: Find Out Whether the Game or the Recorder Is Dropping Frames
- Step 2: Install and Configure OBS Studio
- Step 3: Pick the Encoder Your GPU Actually Has
- Step 4: Set a Recording Resolution and Frame Rate Your PC Can Sustain
- Step 5: Set Bitrate, Keyframe Interval and Audio
- Step 6: Record a Test Clip and Check the Result
- Common Mistakes
- Frequently Asked Questions
- Does recording gameplay with OBS Studio cause frame drops?
- Is NVIDIA NVENC better than x264 for recording PC gameplay?
- What OBS settings should I use for 1080p 60 FPS gameplay?
- Can I record gameplay on a gaming laptop without losing performance?
- How do I fix audio lag or bad sound while recording gameplay?
- How can I tell whether dropped frames come from the game or OBS?
- Conclusion
What You Need
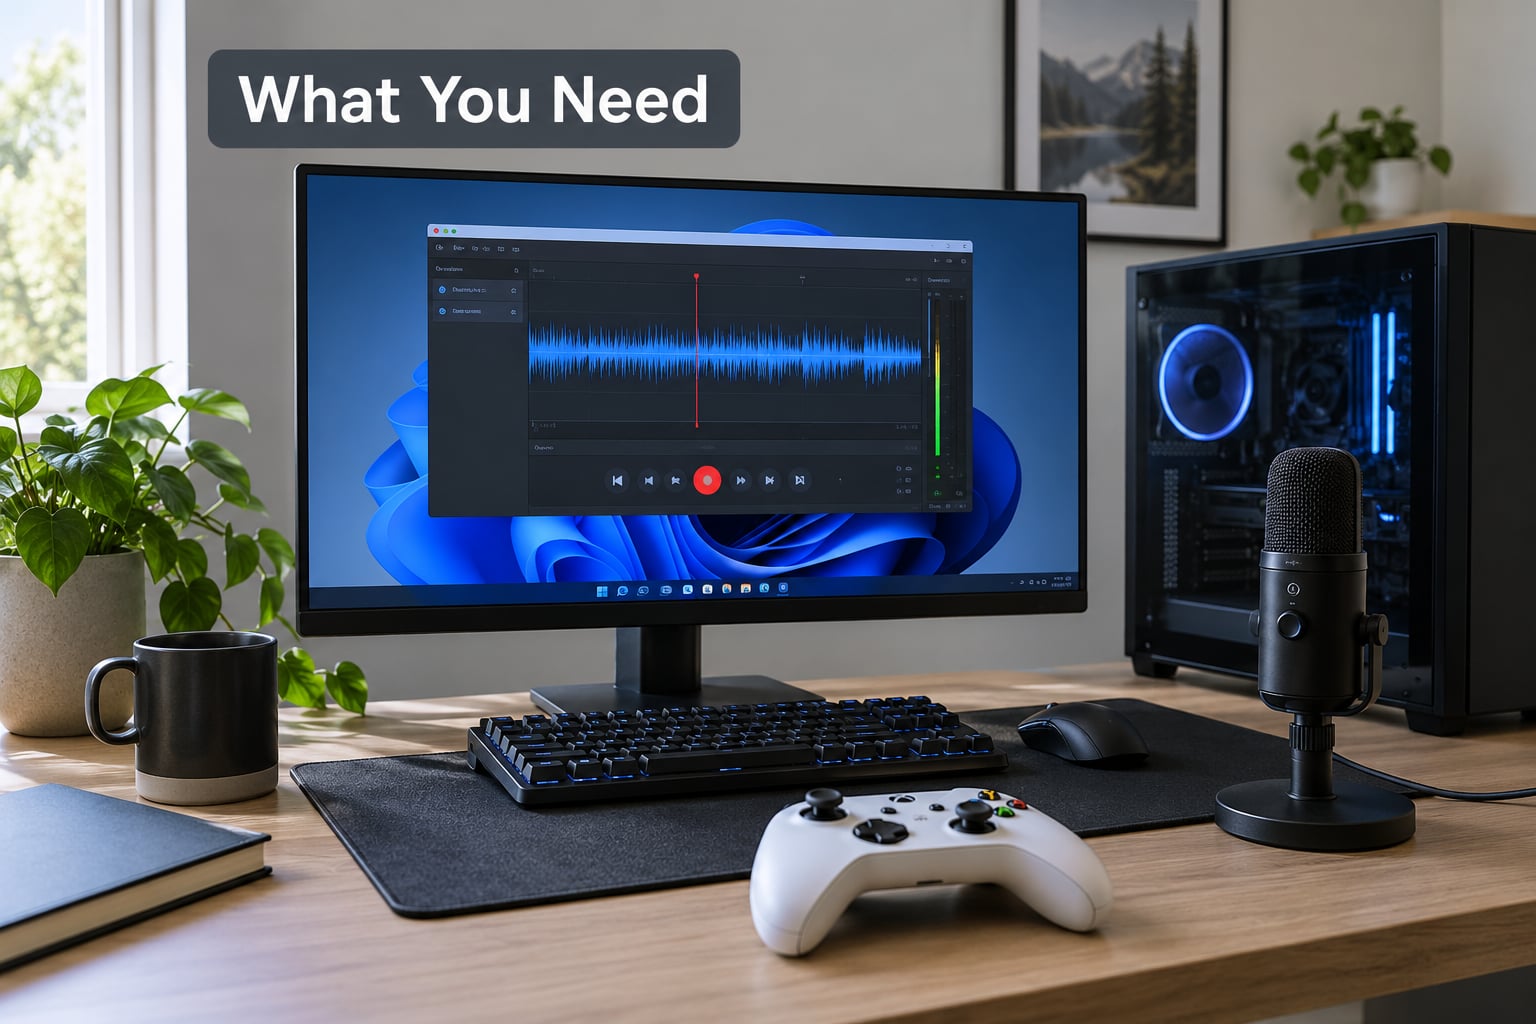
You need four things, and only two of them are optional. A GPU with a hardware encoder is the one that actually decides whether recording costs you frames. OBS Studio is the recorder, and it is free. Everything else is nice to have.
- A GPU with a hardware encoder. Any discrete NVIDIA card from the GTX 900 series era onward, any AMD card from RX 5000 onward, or a modern Intel iGPU or Arc card. Without one you are stuck with x264, and x264 is the reason most people lose frames.
- OBS Studio 29.x or newer. Free, open source, and the only recorder that exposes every encoder your GPU offers. Download it from obsproject.com and install with defaults.
- Storage with headroom. A recording writes the full compressed stream to disk while your game reads assets at the same time. Recording to the same drive the game is installed on is a common cause of stutter in the finished file.
- A microphone (optional). USB condenser mics like a Blue Yeti or a HyperX SoloCast cost a few frames at most and are the single biggest jump in perceived video quality. A headset mic is fine too.
- A capture card (rarely). You do not need one for your own PC. A capture card exists to pull a video signal from a console or a second PC that has no other way to output its picture. If you are recording the game running on the machine in front of you, a capture card adds cost and a frame of latency for nothing.
On a laptop, the same rules apply but with less margin. Laptop GPUs share power and thermal budget with the CPU, so a thin chassis will throttle before a desktop with the same silicon. Recording at 1080p60 with a hardware encoder is usually fine; recording at 4K while gaming is usually not.
Step-by-Step
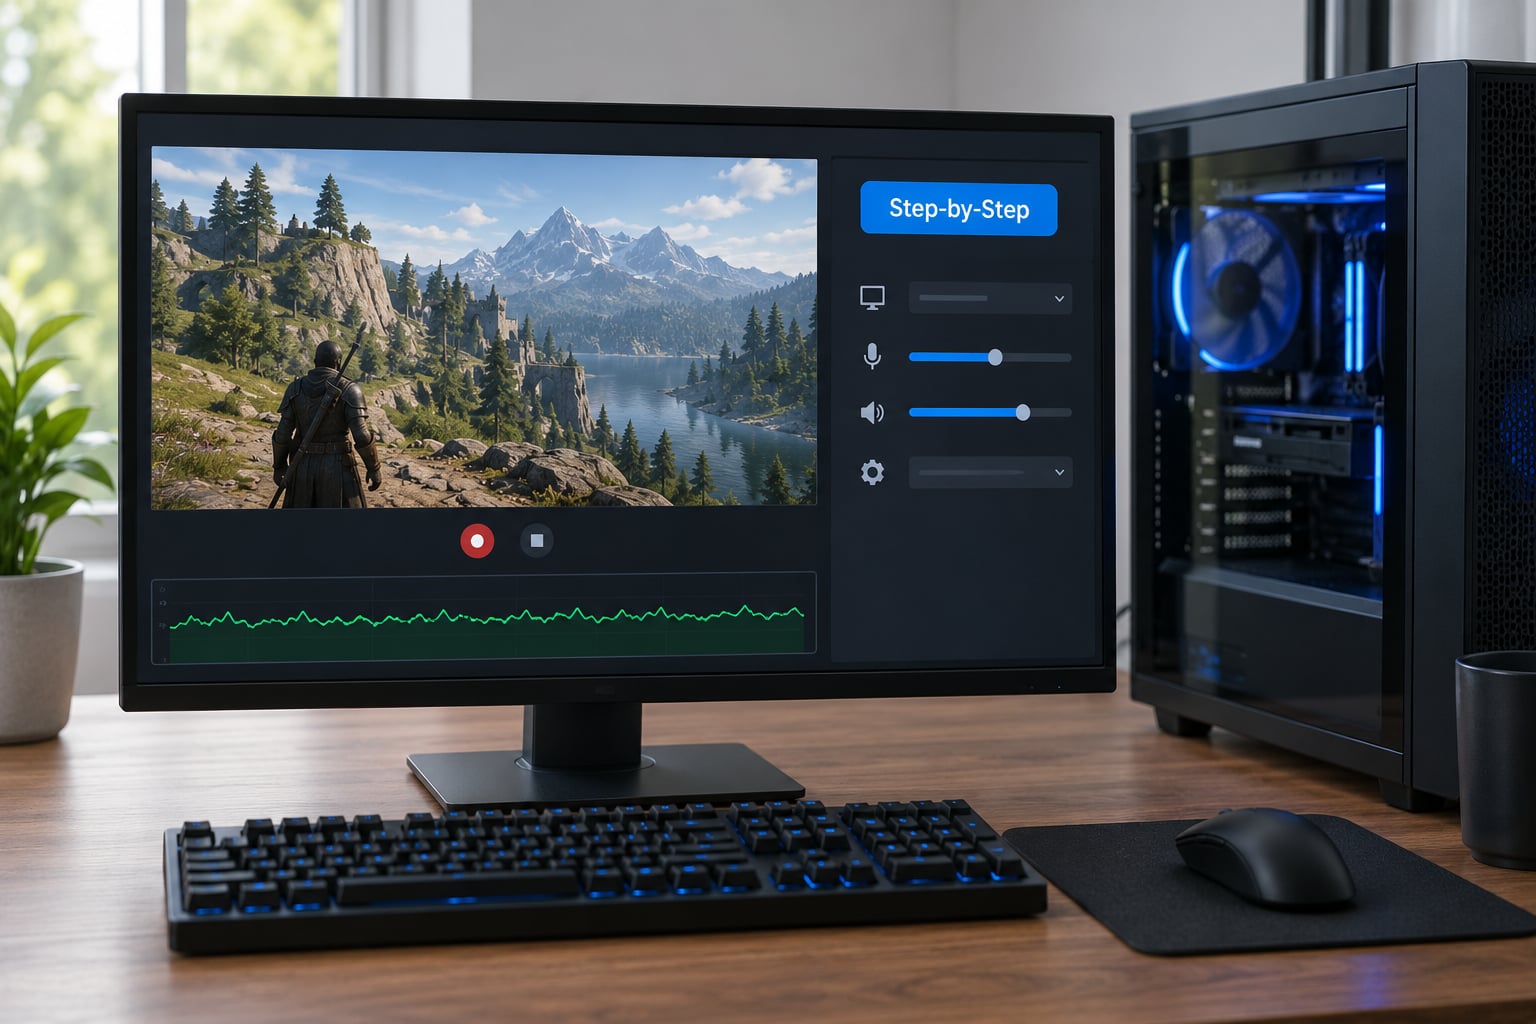
Six steps, in this order. Diagnose before you configure, because a setting that fixes one cause can make another worse.
Step 1: Find Out Whether the Game or the Recorder Is Dropping Frames
Start by measuring, not by guessing. The answer to most frame-drop questions lives in the OBS Stats window, and it takes about ten seconds to read.
Launch your game, run it for a minute, and note the frame rate. Now open OBS Studio and press View > Stats. You will see four numbers that matter: Encoding lag, Render lag, Total frame time, and the Dropped Frames counter. Encoding lag is how much time the encoder spends on each frame, as a percentage of your frame budget. Under roughly 5 percent is healthy. Above 20 percent and you have found your problem.
To cross-check the in-game side, open Task Manager with Ctrl+Shift+Esc and watch CPU, Memory, Disk and GPU while the game runs. On an NVIDIA card the NVIDIA App overlay puts an FPS, frame-time and utilization readout right in the game; AMD cards have the same panel in Adrenalin Edition, and Intel Arc Control Center has an equivalent overlay.
- GPU pegged near 100 percent before recording started: the game is GPU bound. Recording at the same resolution and frame rate adds little, but recording higher does add a lot.
- CPU at 100 percent on a few cores and GPU with room to spare: you are already CPU bound, and x264 would make it dramatically worse.
- Disk time spiking to 100 percent while loading: a slow drive, and it will get worse once OBS starts writing.
- Clock speeds falling or fans screaming after ten minutes: thermal or power throttling, not an encoder problem.
- No in-game change but a high Encoding lag number in OBS: the recorder is the bottleneck, and Step 3 fixes it.
A useful trick: if your frame rate dips the moment OBS launches and recovers the moment you close it, something inside OBS is stealing cycles. That is often a second capture overlay running at the same time, which is exactly what Step 2 and Common Mistakes deal with.
Step 2: Install and Configure OBS Studio
OBS is set up once and then saved as a profile you reuse forever. The path through the menus is short.
- Open OBS Studio. In Settings > Video, set Base Resolution to your monitor’s native resolution and your real refresh rate, and set Output Resolution to the same values for now. Change the output later in Step 4.
- Under Settings > Output, change Output Mode from Simple to Advanced. Without this, the encoder controls are hidden.
- In the Sources panel at the bottom, click the plus sign and choose Game Capture. Leave Capture Method on Automatic for your first attempt, tick Use Game Capture Hotkey if the game supports it, and pick the game from the running-application list.
- If your game does not appear, or the source stays black, add Display Capture instead and select the correct monitor.
- In Settings > Audio, leave the Sample Rate at 48 kHz unless your audio hardware is set to something else, and keep Channels on Stereo.
- Look for the microphone: Audio Input Capture in the Sources panel, set to Default or your mic device.
Add an Audio Output Capture source too, left on Default, and that is your game sound. Capturing desktop audio on Windows costs no meaningful frames; capturing through a virtual audio cable is the fiddly alternative and rarely worth it.
You can tell this step worked when the preview shows your game updating in real time and the audio meter moves when something makes a sound. A frozen preview means the source is not attached yet, and a silent meter means audio is not routed.
On a laptop with both an iGPU and a discrete GPU, set the graphics preference for OBS.exe to High Performance under Settings > System > Display > Graphics. OBS capturing through the wrong GPU is a classic reason for a black screen and for encoding lag that will not go away.
Step 3: Pick the Encoder Your GPU Actually Has
Use the hardware encoder built into your graphics card. This is the single decision that separates a smooth recording from a stuttering one.
The path is Settings > Output > Streaming or Settings > Output > Recording, then the Encoder dropdown. With Output Mode set to Advanced, the list shows every encoder your system can actually use.
| Encoder | Runs on | Effect on game FPS | Quality and file size | Best for |
|---|---|---|---|---|
| x264 (software) | CPU, all available cores | Noticeable, often 10 to 30 percent in CPU-bound games | Best quality per bitrate, but you must live with the CPU cost | Machines with no hardware encoder, or offline quality renders |
| NVENC | Dedicated encoder block inside NVIDIA GPUs | Roughly 1 to 2 percent, occasionally higher during busy scenes | Slightly softer than x264 at equal bitrate; more efficient than x264 at equal quality | NVIDIA default, including GeForce and Quadro |
| AMD AMF | Dedicated encoder block inside AMD GPUs | Roughly 1 to 2 percent on RDNA 2 and newer | Comparable to NVENC; H.264 and HEVC supported, AV1 on RX 7000 and 9000 | AMD default, including Radeon RX 5000 and newer |
| Intel Quick Sync | iGPU media engine inside Intel chips | Lowest cost of all, because it is a separate media block | Behind NVENC and AMF at equal bitrate on older generations, close on Arc | Intel iGPUs and Arc cards, and hybrid laptops |
| AV1 (NVENC, AMF or QSV) | Same hardware encoders, newer codec | Same cost as the H.264 path, sometimes slightly more power | Smallest files at the same visual quality; slower to encode than H.264 | Offline recording and editing on RTX 40/50, RX 7000/9000 and Arc |
Test order: switch to the hardware encoder, record the same 60 seconds of the same scene, and compare the Encoding lag and Dropped Frames numbers from Step 1. If Encoding lag is still above 5 percent after the switch, the encoder is not your problem and you should stop tweaking it.
One caution about AV1: it is excellent for recording files you will edit and upload later, but most live streaming ingest paths still expect H.264. If you plan to stream, use H.264 or HEVC. If you plan to record and edit, AV1 gives you the same quality at a smaller size.
Step 4: Set a Recording Resolution and Frame Rate Your PC Can Sustain
Match the recording to the frame rate the game is actually producing, not to your monitor’s refresh rate. This is the setting people get wrong most often, and it is the cause of both bloated files and stuttering footage.
Go to Settings > Video and set Output Resolution and FPS. If your game holds a steady 60 FPS in the scenes you record, record at 1920×1080 and 60 FPS. If you are recording a competitive title that runs at 300 FPS, 1080p at 120 or 240 FPS is reasonable. If the game dips to 45 FPS in heavy scenes, recording at 60 leaves gaps in the frame timeline that no encoder setting can fix.
The workaround that regulars use is capping the frame rate in the game to a clean divisor of your refresh rate. On a 120 Hz or 240 Hz panel, locking the game to 60, 40 or 30 FPS gives perfectly even frame pacing, and a capture that looks smooth even during fast movement. Do it in the game’s own settings or in the vendor driver, not in OBS.
Lowering the recording resolution is your other lever, and it is cheaper than people expect. If your game runs 1440p but only manages 90 FPS, recording 1080p60 looks better than recording 1440p at a frame rate the machine cannot hold. If you must upscale, do it in the game at launch and record the upscaled output, so the rescale happens once instead of every frame.
While you are in that panel, turn Rescale Output off in Settings > Output > Recording if your canvas and output resolution match. It is the most-repeated fix on the OBS forum for nonstop dropped frames while recording, because every rescale is an extra full-resolution pass per frame.
| Target | Output resolution | FPS | Encoder | Rate control | Quality value | Keyframe | Format |
|---|---|---|---|---|---|---|---|
| Everyday 1080p gaming | 1920×1080 | 60 | NVENC / AMF / QSV | CQP | 18 | 2 seconds | MKV |
| Sharper 1440p clips | 2560×1440 | 60 | NVENC / AMF / QSV | CQP | 18 | 2 seconds | MKV |
| Fast competitive movement | 1920×1080 | 120 or 240 | NVENC / AMF / QSV | CQP | 18 | 2 seconds | MKV |
| Long sessions on older hardware | 1920×1080 | 30 or 60 | Hardware encoder | CQP | 23 | 4 seconds | MKV |
Step 5: Set Bitrate, Keyframe Interval and Audio
Constant quantizer, or CQP, is the right rate control for recording. It gives every frame roughly the same quality instead of giving motion-heavy scenes fewer bits, which is why forum consensus has moved away from CBR for offline capture. For streaming, keep CBR.
Set the following under Settings > Output > Recording:
- Rate Control: CQP
- CQP level: 18 as a starting point. Values from 15 to 20 look close to source quality and produce large files; 18 to 23 shrink the file noticeably with almost no visible loss. Move it by two at a time and judge on a busy scene, not a menu.
- Keyframe Interval: 2 seconds. It makes seeking in your editor predictable without bloating the file.
- Preset: for NVENC use P5 or P6, for AMF and Quick Sync use Balanced. Avoid Max Quality; combined with Lookahead it is a long-standing cause of frame drops on the OBS forums.
- Recording Format: MKV. If OBS or the game crashes, an MKV file is usually recoverable. Convert it later with File > Remux Recordings, which rewrites the container without re-encoding and takes seconds.
Turn off Lookahead and Psycho-Visual Tuning if they are enabled. Both add a small quality gain and a measurable cost, and neither is worth it for a highlight reel.
For audio, use 48 kHz stereo and keep your audio buffer at the default. Large buffers delay your monitor mix, which players mistake for lag in the recording. If game audio arrives late in the file, check the order of your Desktop Audio and Mic/Aux sources in the Audio Mixer; the source listed higher is mixed first.
Step 6: Record a Test Clip and Check the Result
Record 60 to 120 seconds of real gameplay, not the main menu. A menu is the easiest thing to encode and tells you nothing.
With View > Stats open, hit Start Recording and watch the numbers for the full clip. You are looking for:
- Dropped Frames at 0. Any number above zero means frames never reached the encoder and are gone from the file permanently.
- Encoding lag under 5 percent. A number that climbs during explosions and particle effects means the encoder is saturated and needs a lower CQP or a lower frame rate.
- Render lag near zero. High render lag means the preview itself is struggling, usually a source or rescale problem rather than an encoder one.
Then close OBS properly from the menu rather than killing the window, and play the file back in VLC or your editor. Watch fast camera movement in three places: a menu transition, ordinary movement, and the most chaotic combat you can find.
If the game felt smooth but the file stutters, the problem is not dropped frames. Look at frame pacing in the game, at a frame rate cap that does not divide your refresh rate, and at disk activity during the recording. If the file is silent, check the audio mixer in OBS before anything else, since the source may simply have been muted for that scene.
Common Mistakes
Almost every frame-drop report I would look at comes down to one of these. Work down the table and stop when the numbers change.
| Symptom | Likely cause | Fix |
|---|---|---|
| Frames drop the instant you press record | x264 software encoding taking CPU cores | Switch the encoder to NVENC, AMF or Quick Sync under Settings > Output |
| Encoding lag above 20 percent in the Stats window | Encoder saturated, often a high frame rate or high CQP | Drop CQP from 18 to 21, or lower the recording FPS |
| Continuous dropped frames while recording, game is fine | Rescale Output running every frame | Set canvas and output to the same resolution, or turn Rescale Output off |
| Stutter only in the finished file | Frame rate not a clean divisor of the refresh rate, or disk flushing at the end | Cap the game to 60, 40 or 30 FPS; record to a separate drive; close OBS from the menu after recording |
| Frame rate dips when OBS is open but not recording | A second capture tool running at the same time | Close NVIDIA App instant replay, AMD ReLive, Xbox Game Bar recording or Discord screen share |
| Black screen in the Game Capture source | Exclusive fullscreen, wrong GPU, or a conflicting overlay | Switch the game to borderless windowed, set OBS to High Performance graphics, run OBS as administrator, disable the vendor overlay |
| No sound in the file | Audio source muted in the Audio Mixer or the wrong device selected | Add Audio Output Capture on Default and un-mute it in the mixer |
| File comes out at half the expected frame rate | Output FPS set below the game frame rate | Match Settings > Video > FPS to the frame rate the game holds |
| Recording file is corrupt after a crash | Recording straight to MP4 | Record MKV, then File > Remux Recordings to MP4 after the session |
| Frame rate falls off after ten minutes | Thermal or power throttling | Clean the intake, check that the GPU is on its AC adapter, and cap the recording frame rate |
A few habits that keep most of this away. Close your browser and Discord before you record; they are the biggest background consumers and the least obvious. Run one capture tool at a time, because two tools pulling from the same GPU encoder fight each other. And keep the folder you save into on a drive with free space, because OBS will not start a recording it cannot finish writing.
Two more that help long sessions: leave a little headroom on the drive rather than filling it completely, and let OBS sit untouched for a few seconds after you stop recording so it finishes flushing the container to disk.
Frequently Asked Questions
Does recording gameplay with OBS Studio cause frame drops?
Not with a hardware encoder. OBS itself barely registers when NVENC, AMD AMF or Intel Quick Sync is doing the compression, because the work happens on a fixed-function encoder block inside the GPU. You will still lose frames with x264, the CPU-based software encoder, because it borrows the same cores running your game. Check the Encoding lag and Dropped Frames numbers in View u0026gt; Stats while recording and you will see the difference in about a minute.
Is NVIDIA NVENC better than x264 for recording PC gameplay?
For recording while you play, yes. NVENC costs roughly one to two percent of your frame rate, while x264 can take 10 to 30 percent in a CPU-bound game. NVENC gives up a small amount of quality efficiency compared with x264, so a software encode looks marginally cleaner at an identical bitrate. If you are recording and editing later, that trade is worth taking. x264 still makes sense for offline renders where the game is not running.
What OBS settings should I use for 1080p 60 FPS gameplay?
In Settings u0026gt; Video, set Output Resolution to 1920×1080 and FPS to 60. In Settings u0026gt; Output, set Output Mode to Advanced, choose your GPU’s hardware encoder, set Rate Control to CQP with a level of 18, set the keyframe interval to 2 seconds, and pick a Quality or Balanced preset rather than Max Quality. Record to MKV so a crash does not cost you the session, then remux to MP4 afterwards.
Can I record gameplay on a gaming laptop without losing performance?
Usually yes, at 1080p60 with a hardware encoder. Laptop graphics share a power and thermal budget with the processor, so the machine throttles sooner than a desktop with similar silicon. Record at 1080p60 rather than 4K, keep the game off the battery and on the AC adapter, and close the browser before you start. A thin chassis under sustained load will drop frames no matter how the recorder is configured.
How do I fix audio lag or bad sound while recording gameplay?
Keep the sample rate at 48 kHz, the default in most games, and leave the audio buffer size alone. Check the Audio Mixer at the bottom of OBS and confirm both Desktop Audio and your mic source are un-muted and set to the right device. If game audio arrives late in the finished file, the source order in the mixer is the usual cause, since sources are mixed top to bottom.
How can I tell whether dropped frames come from the game or OBS?
Open View u0026gt; Stats in OBS and watch the Dropped Frames counter while recording. If it climbs, frames are being lost inside the recorder and the file has gaps. If it stays at zero but the game feels choppy, the loss is upstream in the game, a background process, or a thermal limit. Checking the frame rate with recording off and on, using the NVIDIA App or AMD Adrenalin overlay, makes the comparison obvious.
Conclusion
Start with the encoder, not with the bitrate. Switch from x264 to the hardware encoder inside your GPU, record 60 seconds of the same scene, and check the Encoding lag and Dropped Frames numbers in View > Stats. That one comparison tells you whether you have a recorder problem or a game problem, and everything after it is a smaller decision.
Once the recorder is clean, record at the resolution and frame rate the game is genuinely producing, and cap the game to a divisor of your refresh rate if you are on a high-refresh display. If the numbers still drift, lower the recording frame rate before you lower the quality, and close the browser and any second capture overlay before you touch anything else. A capture card is never the answer for your own PC.