Cleaning dust out of a gaming PC takes about 30 to 45 minutes and needs a screwdriver, a soft brush, canned air and a microfiber cloth. The technique that matters: shut the system down completely, hold each fan blade still while you blow dust off it in short bursts, and work from the top of the case downward. Done that way the job is low risk and fully reversible.
If you only have a few minutes right now, this is the whole sequence:
- Save your work, shut Windows down fully, and unplug the tower.
- Flip the rear power supply switch to off, then hold the case power button for about five seconds.
- Wait five minutes and touch a bare metal part of the case to discharge residual power.
- Photograph your cable routing and every connector before you touch anything.
- Move the tower to a clear floor area or open a window before you remove panels.
- Remove the side panel and locate the dustiest areas first.
- Take the dust filters out, rinse or blow them clean, and let them dry fully.
- Hold every fan blade still with a finger and blow dust out with short bursts, top of the case downward.
- Brush dust off heatsink fins, GPU vents and RAM, then wipe surfaces with a barely damp microfiber cloth.
- Reconnect everything, put the panels back on, power up and check temperatures.
The rest of this guide fills in the detail, including the steps you can safely skip and the mistakes that actually damage hardware.
Table of Contents
- What You Need
- Step-by-Step: How to Clean Dust Out of a Gaming PC
- 1. Prepare and Shut Down the Gaming PC
- 2. Remove the Case Panels and Locate Dust
- 3. Clean Removable Filters and Exterior Vents
- 4. Clean Case Fans and Internal Vents
- 5. Clean the CPU Cooler and Graphics Card
- 6. Reassemble and Test Cooling
- Common Mistakes
- How Often Should You Clean a Gaming PC?
- Can You Use a Vacuum Cleaner to Clean a Gaming PC?
- Do You Need to Clean the Inside of a Gaming PC?
- Frequently Asked Questions
- Can I clean my PC while it is turned on?
- Is compressed air safe for cleaning a gaming PC?
- What is the best cleaner for PC dust?
- How do I clean a PC without opening the case?
- How do I know if cleaning my PC actually helped?
- Conclusion
What You Need
None of this is expensive or specialist equipment. Most of it lives in a desk drawer already, and two items decide whether the job goes well.
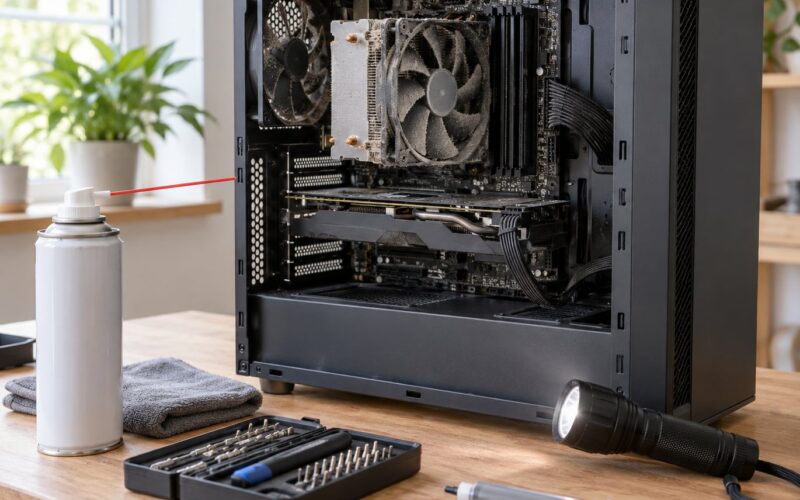
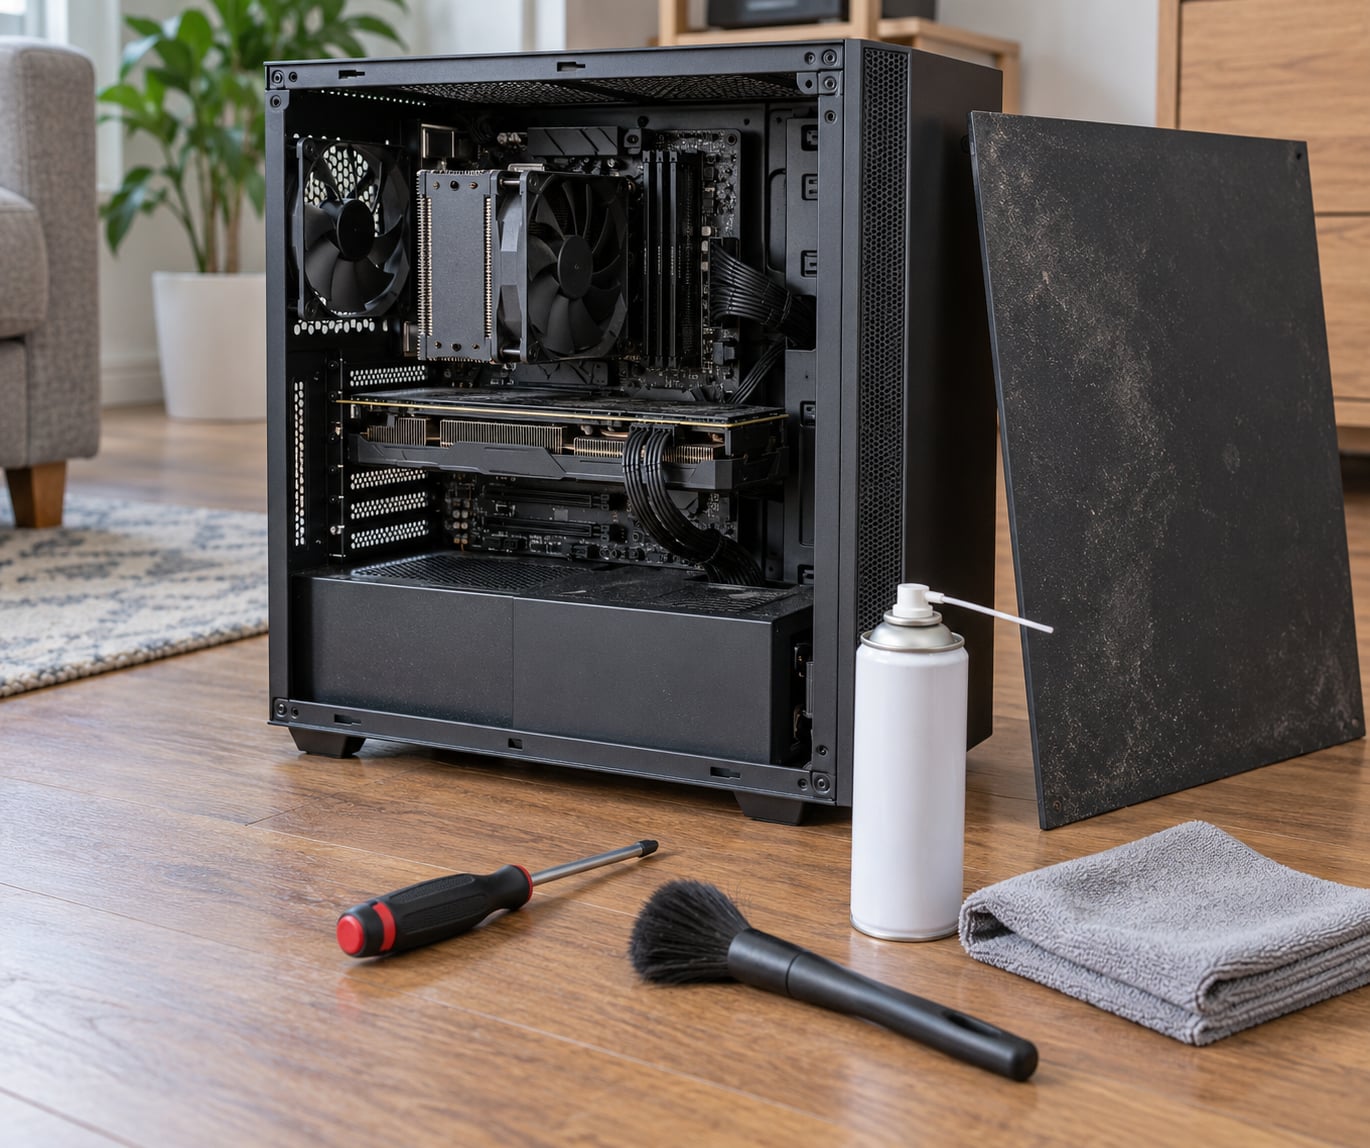
- Phillips screwdriver — for case panels and thumbscrews. A magnetic head saves you the dropped screw hunt.
- Soft brush — an anti-static bristle brush or a clean, soft paintbrush works. It loosens clinging dust before air moves it.
- Compressed air (canned air) — the main tool. Hold the can upright; a tilted can can spit propellant.
- Microfiber cloth — for wiping case panels, drive cages and other flat surfaces.
- 90 percent isopropyl alcohol and cotton swabs — for stubborn grime on metal surfaces, never on fan hubs or electrical contacts.
- Flashlight or headlamp — dust hides in the dark corners behind the power supply and under the GPU.
Optional but useful: an electric air duster as a compressed air alternative, cable ties or Velcro straps to keep cables tidy when you put the panels back, a wrist strap for anyone who has never worked inside a PC, and a small magnetic tray or bowl for screws.
Step-by-Step: How to Clean Dust Out of a Gaming PC
1. Prepare and Shut Down the Gaming PC
Difficulty: easy. Time: about five minutes. This is the step people rush, and it is the one that turns a routine clean into a repair job.
Save everything open, then use Shut down rather than Restart or Sleep. Sleep leaves the system powered and a restart skips parts of the shutdown path, so neither is a substitute. Once Windows is fully off, unplug the tower from the wall and flip the switch on the rear power supply unit (the PSU) to off.
Hold the case power button for around five seconds to drain residual power from the board, then let the system sit for five minutes. Before you touch a component, press your bare hand against an unpainted metal edge of the chassis or a metal screw head to equalise any charge. If you have never opened a PC, wearing a wrist strap clipped to bare metal of the case is a reasonable habit, though not strictly necessary if you work deliberately and ground yourself as described.
2. Remove the Case Panels and Locate Dust
Difficulty: easy. Time: about five minutes. Before removing anything, take a few photos of how every cable is routed and which slot each card sits in. That photograph is the reason reassembly feels boring instead of stressful.
Most cases use two thumbscrews at the back on a side panel, though some use a latch. Take the panel off and set it face down somewhere soft so the finish does not get scratched. Clean the outside of that panel while it is off, because it usually holds more surface dust than anything inside.
Now look before you touch. Dust collects fastest on intake grills and filters, on fan blades and frames, on heatsink fins where air passes through, in the power supply opening, and in the corners where the case meets the floor. Do not start pulling cables to reach a spot you cannot see clearly; move the obstruction instead. A brush on a surface has never hurt anything. A yank on a cable has.
3. Clean Removable Filters and Exterior Vents
Difficulty: easy. Time: about five minutes. Most cases have mesh or foam dust filters that slide or unscrew out, usually at the front and sometimes at the rear near the intake. Check the case manual if you cannot find them, and note the orientation before pulling one free so you can slot it back the correct way.
Plastic mesh filters can usually be rinsed under lukewarm water with a little dish soap. Foam filters, and any filter with a magnetic frame, do better with the brush and canned air only. Either way the rule is the same: let it dry completely before reinstalling. A wet filter reinstalled into a powered case is a short circuit waiting to happen, and it is the single most avoidable mistake in this whole process.
For vents you cannot remove, blast air into the intake grills from the outside with short bursts. Work from the outside in, and keep the can upright the whole time.
4. Clean Case Fans and Internal Vents
Difficulty: easy to moderate. Time: about ten minutes. This is the step the safety warnings online all point at, and they are right to be loud about it. Never let a fan spin up to full speed on its own while you blast it with air. The bearing sits on that hub, and over-pressurised air spinning it dry is how people damage fans.
Use a soft brush to sweep dust off the blades first, then hold the fan hub firmly with one finger and blow dust off the blades and frame with short bursts of compressed air. Do not press hard enough to bend a blade and do not let the brush twist the hub. If the fan spins when you let go of it, that is normal; if it grinds or rattles, it may be a bearing problem rather than a dust problem.
Clean the rear exhaust fan, the front intake fans, any top vents, and the bracket or panel dust behind them. Keep every liquid away from the open case, and never spray a cleaner into it. If you want a slower, gentler flow for fragile small fans, an electric air duster gives you dialed-up control and no propellant risk.
5. Clean the CPU Cooler and Graphics Card
Difficulty: moderate, and you can skip parts of it. Time: about ten minutes. The aim is airflow, not a spotless chassis, so start without removing anything.
Hold the CPU cooler fan still and blow dust out of the heatsink fins, moving the can slowly up and down the fin stack so the dust comes loose in sheets. Never touch the fins with a finger or brush. They are thin aluminium and fold permanently under any sideways pressure, which cuts cooling performance for good. If you want to go further and lift the cooler off to clean the base, understand that you will need fresh thermal paste (the grey compound between the cooler and the processor) before you put it back, and a cooler removal is not required for a normal annual clean.
The graphics card comes next. Blow out the GPU fans and the fin stack on the card, and clean the slot area on the motherboard. If the card has a removable side cover or the shroud lifts, more dust falls out. You do not need to unplug the card from the PCIe slot for a routine clean, and that is the step most nervous first-time owners skip and then feel much better about skipping.
Then take a soft brush to the RAM slots and DIMMs, the motherboard around the CPU socket, and the drive cages. Wipe flat metal surfaces with a microfiber cloth barely dampened with 90 percent isopropyl alcohol. Blow dust out of the PSU grille from the outside, and never open the PSU itself; the internals hold charge and the warranty usually dies the moment you do.
6. Reassemble and Test Cooling
Difficulty: easy, and the part everyone forgets. Time: about ten minutes. Work from your photographs: reconnect every cable to the slot it came from, including the 24-pin connector, the CPU power cables and any front panel wiring you disturbed.
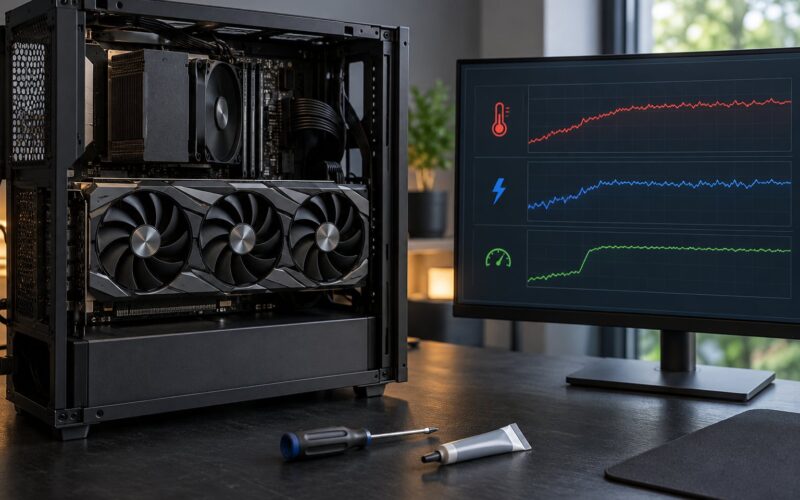
Before the side panel goes on, power the case on with the panel off and listen. Every fan should spin, none should rattle or grind, and nothing should be sitting on a cable. Watch the temperature readout in your BIOS, an overlay, or a monitoring app. A clean PC at idle usually runs cooler and the fans stay at lower RPM, which is where most of the noise reduction comes from on a quiet build.
Load the machine with the game or benchmark that normally makes it hottest and compare the figures with what you saw before. If temperatures did not move, dust was probably never the problem and the next suspects are thermal paste age, a badly mounted cooler, case airflow direction, or ambient room temperature. Put the panels back on afterwards, using the thumbscrews finger-tight rather than cranked down.
Common Mistakes
Almost every story about a destroyed PC from cleaning involves one of these. They are worth reading once before you open anything.
- Using a household vacuum. Static discharge, motor debris and metal parts inside the hose make it a bad idea. Covered in more detail below.
- Letting a fan spin up while you blast it. Hold the hub or the blade still. Over-pressurised air on a free-spinning fan is the fan-damage story that scares people most, and it is entirely avoidable.
- Tipping the air can. Invert it and liquid propellant can spit out. This is the most repeated warning on the forums and the easiest to avoid: upright can, short bursts, 10 to 15 centimetres of distance.
- Spraying cleaner into an open case. No aerosol dust cleaner, no WD-40, no water near a powered or open system.
- Pressurising too long. Long sustained blasts can force dust deeper into a heatsink instead of out of it. Short bursts move clumps; they do not push dust past a fin gap and into the core.
- Brushing fan blades or heatsink fins. A brush on a spinning or free hub can bend blades. A hand on a fin stack folds it. Brush only stationary plastic frames and grills.
- Cleaning while the system is running. A spinning fan and a moving drive make this a genuine hazard, not just a bad habit.
- Reinstalling a damp filter or forgetting a cable. Dry filters completely, and reconnect everything before the panel goes back on.
- Using a leaf blower or a hair dryer on hot. Garden blowers push moisture and grit, and a hot dryer softens plastics and degrades insulation. Neither belongs near a PC.
On WD-40, since it keeps coming up: it is not compressed air and it is not a substitute for it. It is an oil-based lubricant and water displacer. Spraying it into a case coats fans, heatsinks and connectors with a film that collects more dust, and it has no business near a power supply. The right tool for dust is air, and the right tool for a sticky fan hinge is a single drop of proper lubricant applied to the bearing, never sprayed over a motherboard.
How Often Should You Clean a Gaming PC?
The honest baseline is every three to six months for a normal desktop setup, and most people who do it twice a year never notice the difference on a healthy machine. Environment matters more than the calendar.
- Clean room, low-traffic space: every six to twelve months is fine. Watch the intake grills instead of the date.
- Dusty bedroom, carpeted floor, gaming on a shag rug: every two to three months. Carpet generates far more airborne dust than a hard floor.
- Pets or indoor smoking: every two to three months, and check filters monthly because they clog first.
- Heavily loaded hot summers: check at the start of the season so the machine is not fighting heat with a clogged fin stack.
- After a move or any transport in a vehicle: clean before you power it back up, whatever the calendar says.
Two terms help you read the symptoms. Thermal throttling is what happens when a CPU or GPU gets hotter than its design limit and deliberately drops its clock speed to protect itself, which is why a clean machine that throttles mid-match feels like a performance drop for no visible reason. And airflow only works as a system: intake grills bring cool air in, exhaust vents push warm air out, and every case has more of one than the other. A tower with more intake than exhaust runs slightly positive pressure, which is fine and is also the reason more dust gets pulled in through the gaps.
Cleaning a gaming laptop is a different job, and worth separating out. There is nothing to open, the cooling is one shared path rather than separate case fans, and blowing air into the intake vents can push dust straight into the radiator fins where you cannot reach it. Unplug the charger, shut down fully, use short bursts into the intake while holding nothing spinning, and clear the exhaust grille with a soft brush. Treat it as a surface clean and stop there; anything deeper means opening the chassis, which on a laptop costs far more than the dust ever did.
Before you start, it is worth knowing why a PC collects dust in the first place, because it changes how often you have to come back to this. Cases move a lot of air, fans generate a charge that makes airborne particles cling to nearby surfaces, a positive-pressure case pulls unfiltered air through every unsealed gap, and carpets, bedding and pets multiply the dust load in the room. That is why the same tower in a carpeted bedroom with a dog needs cleaning two or three times as often as one sitting on a hard floor in a tidy office.
Symptoms beat schedules. Rising idle temperatures, fans that spin up during ordinary desktop use, a build that has become noticeably louder, visible fuzz on the intake grills, games that stutter from thermal throttling, or a case that feels hot to the touch all mean clean it now rather than waiting for the next quarter.
Can You Use a Vacuum Cleaner to Clean a Gaming PC?
No. This is a live question on the forums and the answer is a clean no, for four reasons.
First, static. A vacuum motor builds charge, and discharging it into a motherboard can kill a component outright. Second, debris: the motor, brush and hose of a household vacuum shed metal shavings, carbon dust and grit that end up inside the case or on the fan bearings. Third, most handheld and upright vacuums are built for open floors, so they do not move much air through a vent grille anyway, leaving you with the static risk and none of the cleaning. Fourth, plastic parts and some shrouding can rattle loose or get yanked by a hose nozzle.
What actually works is air. Compressed air in short bursts from an upright can, or an electric air duster if you prefer no propellant, moves dust far better than suction does because dust clings to surfaces and needs to be lifted off, not vacuumed up. Pair the air with a soft brush to break the bond and a microfiber cloth for flat surfaces. If someone on a forum insists a Data-Vac works, the honest answer is that the same job gets done better and with far less risk by air.
Do You Need to Clean the Inside of a Gaming PC?
Sometimes you can get most of the benefit without opening the case at all. Removing the exterior dust filters, blowing through the intake and exhaust grills from the outside, and wiping the exterior panels handles the majority of what accumulates in a typical room. That is the safe starting point for a nervous first-timer, and it is enough unless the symptoms below are showing.
Open the case when you see grey fuzz across an intake grill, hear fan noise that was not there six months ago, or notice your idle temperature climbing while the load temperature stays about the same. That pattern usually means airflow restriction rather than failed hardware. Games that lose frame rate after twenty minutes on a warm day, a case too hot to keep a hand on comfortably, and a system that throttles or shuts down under load are all reasons to go inside.
Inside, the safe subset for a first cleaning is filters, case fans, heatsink fins and the GPU cooler. You do not need to remove the graphics card, the CPU cooler or the power supply. Full disassembly is only worth it when dust has caked onto the cooler base or inside the power supply area, and the PSU should be taken to a professional rather than opened. If your PC is still under warranty, check whether the manufacturer covers the cleaning before you do anything invasive, and if the machine is water damaged or has been opened by a shop already, a builder is the safer call.
Frequently Asked Questions
Can I clean my PC while it is turned on?
No. Never clean a PC that is powered or in sleep mode. Spinning fans and spinning drives are the obvious hazards, and blowing air around while the system runs can push dust straight onto hot components. Shut Windows down fully, unplug the tower, flip the rear power supply switch off and hold the power button for five seconds before you touch anything.
Is compressed air safe for cleaning a gaming PC?
Yes, it is the standard method, provided you use short bursts, keep the can upright about 10 to 15 centimetres away, and hold each fan blade still with a finger while you clean it. Never let a fan free-spin under a blast of air. Work from the top of the case downward and finish with a soft brush to catch what the air loosened.
What is the best cleaner for PC dust?
Compressed air is the best cleaner for PC dust because it lifts clinging particles off surfaces. Use a soft brush to break dust loose first, a microfiber cloth for flat panels and 90 percent isopropyl alcohol for stubborn grime on metal surfaces only. An electric air duster is a good substitute if you would rather avoid aerosol propellant. Never spray anything into an open case.
How do I clean a PC without opening the case?
Pull out the exterior dust filters, rinse mesh filters with lukewarm water and dry them fully, then blow air through the intake and exhaust grills from the outside in short bursts. Wipe the panels and vents with a microfiber cloth and clean your peripherals too. That handles most dust in a normal room, though it will not reach the heatsinks and fan hubs inside.
How do I know if cleaning my PC actually helped?
Record your idle and load temperatures before you start, then check the same figures after reassembly under the same conditions. On a dusty machine a clean often drops temperatures by several degrees and lets the fans run at lower RPM, which is where most of the noise reduction comes from. If nothing changed, dust was probably not the cause and thermal paste or cooler mounting is next.
Conclusion
Start with the two minutes that protect you: full shutdown, unplug, rear power switch off, power button held for five seconds. Then work top to bottom with an upright can of compressed air in short bursts, holding every fan blade still as you go, and finish with a soft brush and a barely damp cloth.
Take your time and follow your case manual for anything unfamiliar. Most of the fear around this task comes from skipping the preparation, not from opening the case. Before the panel goes back on, verify every fan spins, watch the temperature readings under load, and listen for the quieter idle you cleaned it for.