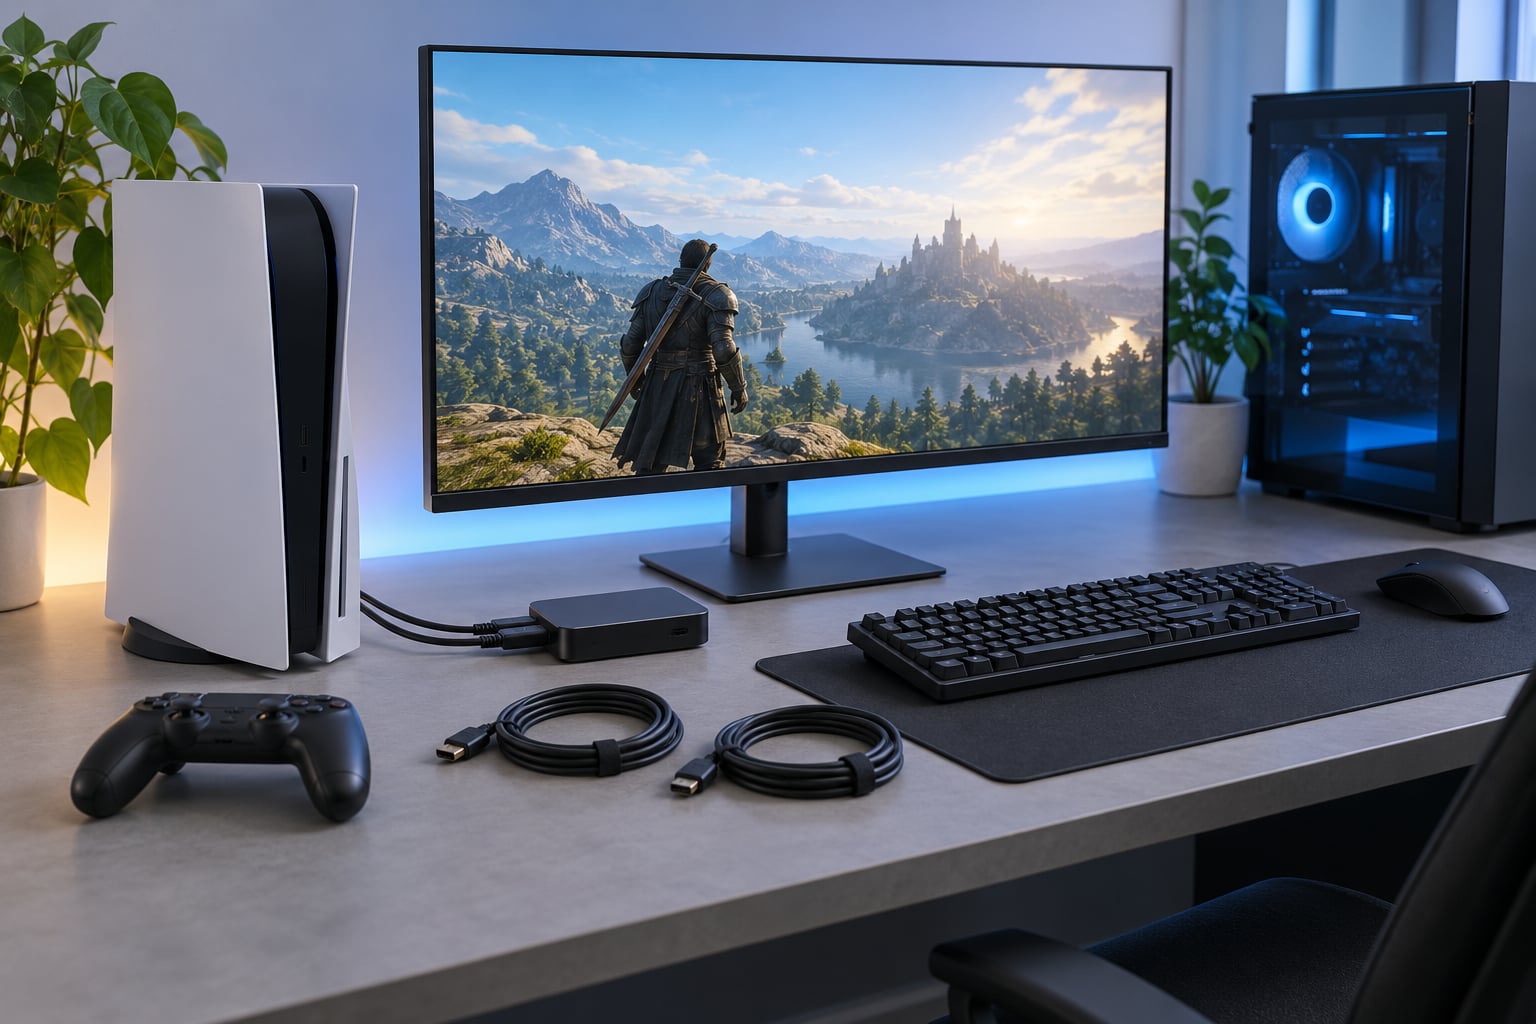
Learning how to use a capture card with a console comes down to four connections and a couple of menus. Run HDMI from the console’s output into the capture card’s input, run a second HDMI cable from the card’s output to your display, plug the card into your PC with the USB cable it came with, then add it as a Video Capture Device source in OBS Studio. Set the console’s output resolution, switch audio on, and record a two-minute test before anything else. Budget about half an hour for the first pass, and treat this guide as current for 2026.
Table of Contents
- What You Need
- Step-by-Step
- How to Use a Capture Card With a Console: Check Compatibility
- Connect the Console to the Capture Card
- Connect the Capture Card to Your Computer
- Set Up Console and Capture Settings
- Add Audio and Configure Streaming Software
- Test the Capture Before Going Live
- Common Mistakes
- Common Capture Card Setup Mistakes and Fixes
- Frequently Asked Questions
- Do I need an HDMI splitter to use a capture card with a console?
- Why does my capture card show a black screen?
- How do I get console audio into my capture card?
- Does a capture card add lag to console gameplay?
- Can I record gameplay with a capture card without going live?
- Conclusion
What You Need
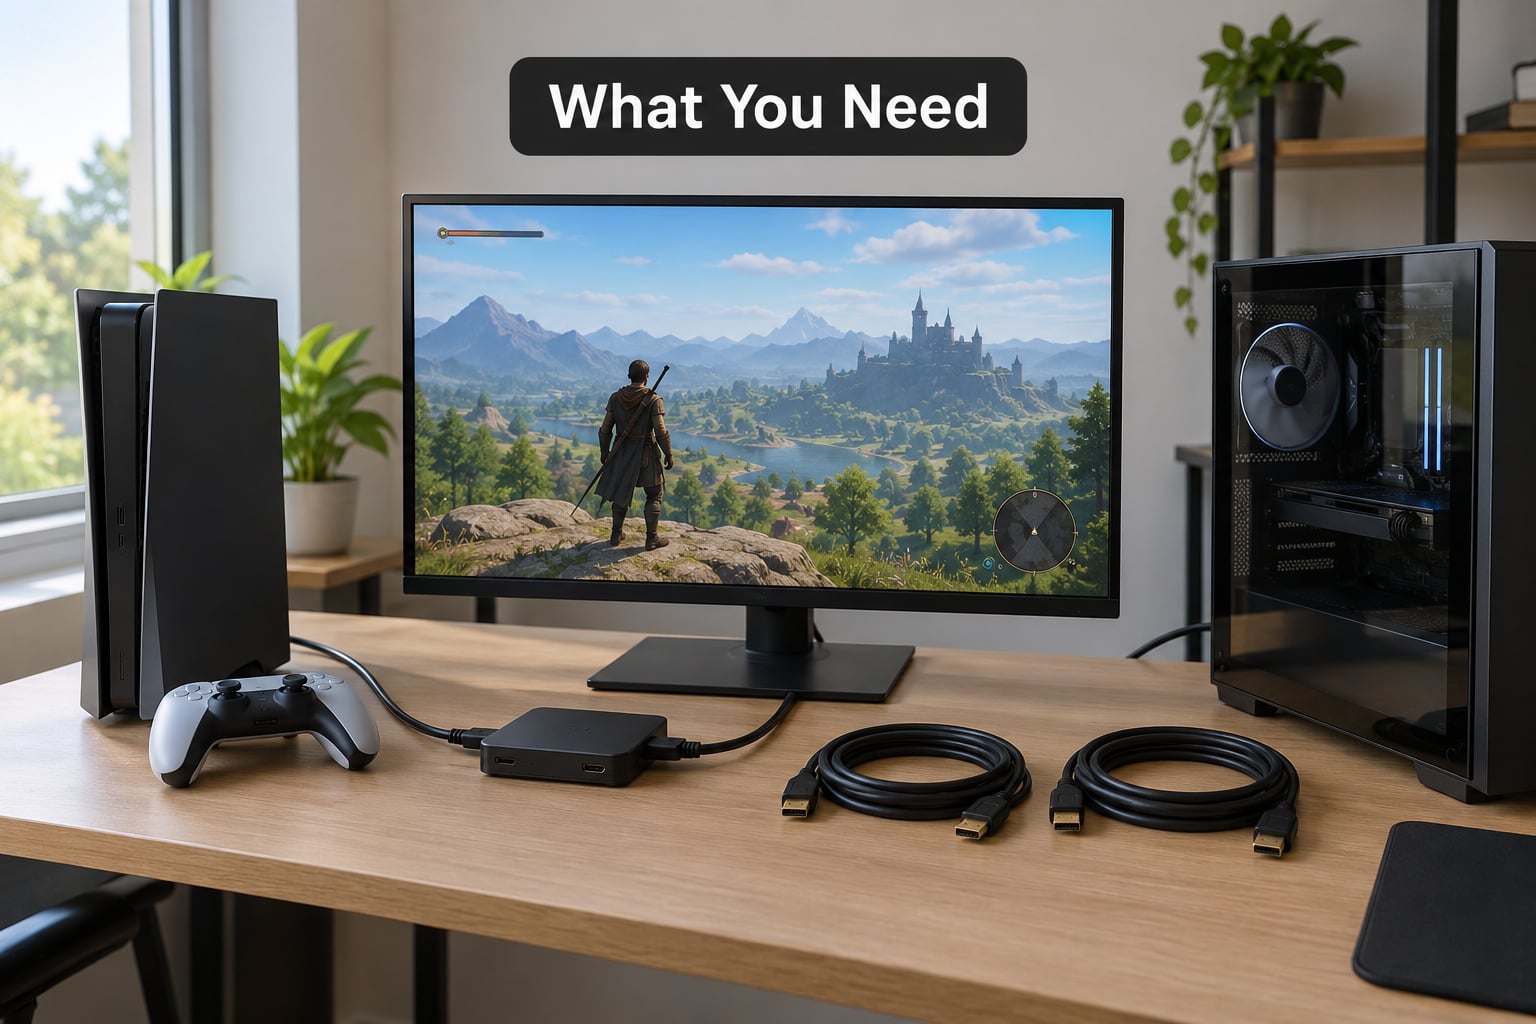
Gather everything before you start. Plugging a capture card in and finding you are short one HDMI cable is the most common way people lose an evening.
- Capture card: Any HDMI video capture device works for the steps below. Desktop boxes connect by USB and work with both laptops and towers; PCIe cards install inside a desktop and are usually the most reliable choice for long streams.
- Console and a display: The console you own, plus a TV or monitor with a spare HDMI port. That display is your passthrough path.
- Two HDMI cables: One console to card, one card to display. Use the cable bundled with the card if you have one, since cheap cables are a real cause of dropouts.
- A USB 3.0 port on the PC: USB 3.0 needs 5 Gbps of bandwidth for 1080p60 and more for 4K. A USB 2.0 port will connect and then stutter.
- Audio gear: A headset or speakers you can hear, and a microphone if you plan to talk.
- Streaming software: OBS Studio is free and runs on Windows and macOS. Elgato Studio is a simpler alternative on Windows and ships with Elgato cards.
You do not need a second monitor for this setup, though one makes life easier. And you do not need a capture card to record at all — consoles can record on their own, badly, which is the reason most people buy the card.
Step-by-Step
Work through the stages in order and confirm each one before moving on. How to use a capture card with a console is mostly a matter of respecting the signal path: the console sends, the card splits and copies, the display receives untouched.
How to Use a Capture Card With a Console: Check Compatibility
Before any cable moves, confirm the console actually sends a picture you can capture. Every current console has an HDMI output, and every modern capture card has an HDMI input and a second port for passthrough to your TV.
Next, compare the console’s output against the card’s ceiling. A card rated for 1080p60 cannot capture 4K, and most cards that capture 4K60 do not accept 120 frames per second. If your console is set to 4K120, plan on capturing at 4K60 or dropping to 1080p60, and let the passthrough handle the high frame rate for your TV.
Also check the copy protection question. HDCP is the anti-recording signal built into Blu-ray movies and some streaming apps, and a capture card will show a black screen for any HDCP-protected source no matter what you plug in. Normal gameplay on current consoles is generally not protected, but disc playback usually is.
Success check: Plug the console straight into the TV with nothing else in the chain and confirm you get a picture. If that fails, the problem is not your capture card.
Connect the Console to the Capture Card
Run an HDMI cable from the console’s HDMI output to the card’s HDMI input. The ports are often labelled, and getting them backwards is the single most common mistake, so read the labels rather than guessing from the cable direction.
Run a second HDMI cable from the card’s HDMI output to your display. This is passthrough: the card copies the console picture and forwards it to the TV while sending a copy to your PC. Players connected this way see normal console response, because the TV is not waiting on your PC.
You need an HDMI splitter only in specific situations. If your card has no passthrough port, if you want the console picture on two displays at once, or if your TV has no free HDMI port, a splitter sends one input to both outputs. A one-in-two-out splitter is enough for a TV plus a capture card.
Success check: Turn the console on with everything connected. Your display should show the console home screen normally while the card sits quietly in the middle of the chain.
Connect the Capture Card to Your Computer
For a USB capture card, use the USB cable supplied with it and plug it directly into a blue USB 3.0 port on the computer. Skip hubs, front panels with slow ports, and unpowered splitters. Bandwidth is the issue — a card throttled over a slow port shows green and yellow bars in the audio meter and drops frames under load.
For a PCIe card, power the machine down, install it in an x4 slot or larger, secure the bracket, boot into Windows and let it install the driver. Internal cards avoid the USB bottleneck entirely and are the safer pick for a machine that also has other USB devices.
On Mac, expect the card to appear as a generic USB Video Class camera. That works with OBS Studio out of the box, while vendor utilities tend to be Windows-only.
Success check: In OBS Studio, open Settings, then Video, and look at the Video Capture Device dropdown. If your card is listed, the computer sees it.
Set Up Console and Capture Settings
Set the console to output something the card can handle before you launch capture software. On a PlayStation 5, that is Settings, then Screen and Video, then Video Output, where you pick a resolution and refresh rate. On Xbox Series X and S, look under General, TV and display options, for resolution and refresh rate. On a docked Switch, the display options live under System, then Display Options on the console itself.
Then match the card settings to that output. In OBS, open the Video Capture Device source and choose your resolution and frame rate to match what the console sends. Mismatched values usually still produce a picture, but you get scaling artefacts or stutter.
Two settings cause most of the headaches. HDR changes the video format to something many cards capture badly, so turn HDR off on the console until your recording looks correct. Variable refresh rate can upset cards that do not handle unusual frame timing, so disable it on the console side rather than chasing it in software.
Success check: The OBS preview should show a sharp, correctly proportioned picture that updates smoothly while you move a controller.
Add Audio and Configure Streaming Software
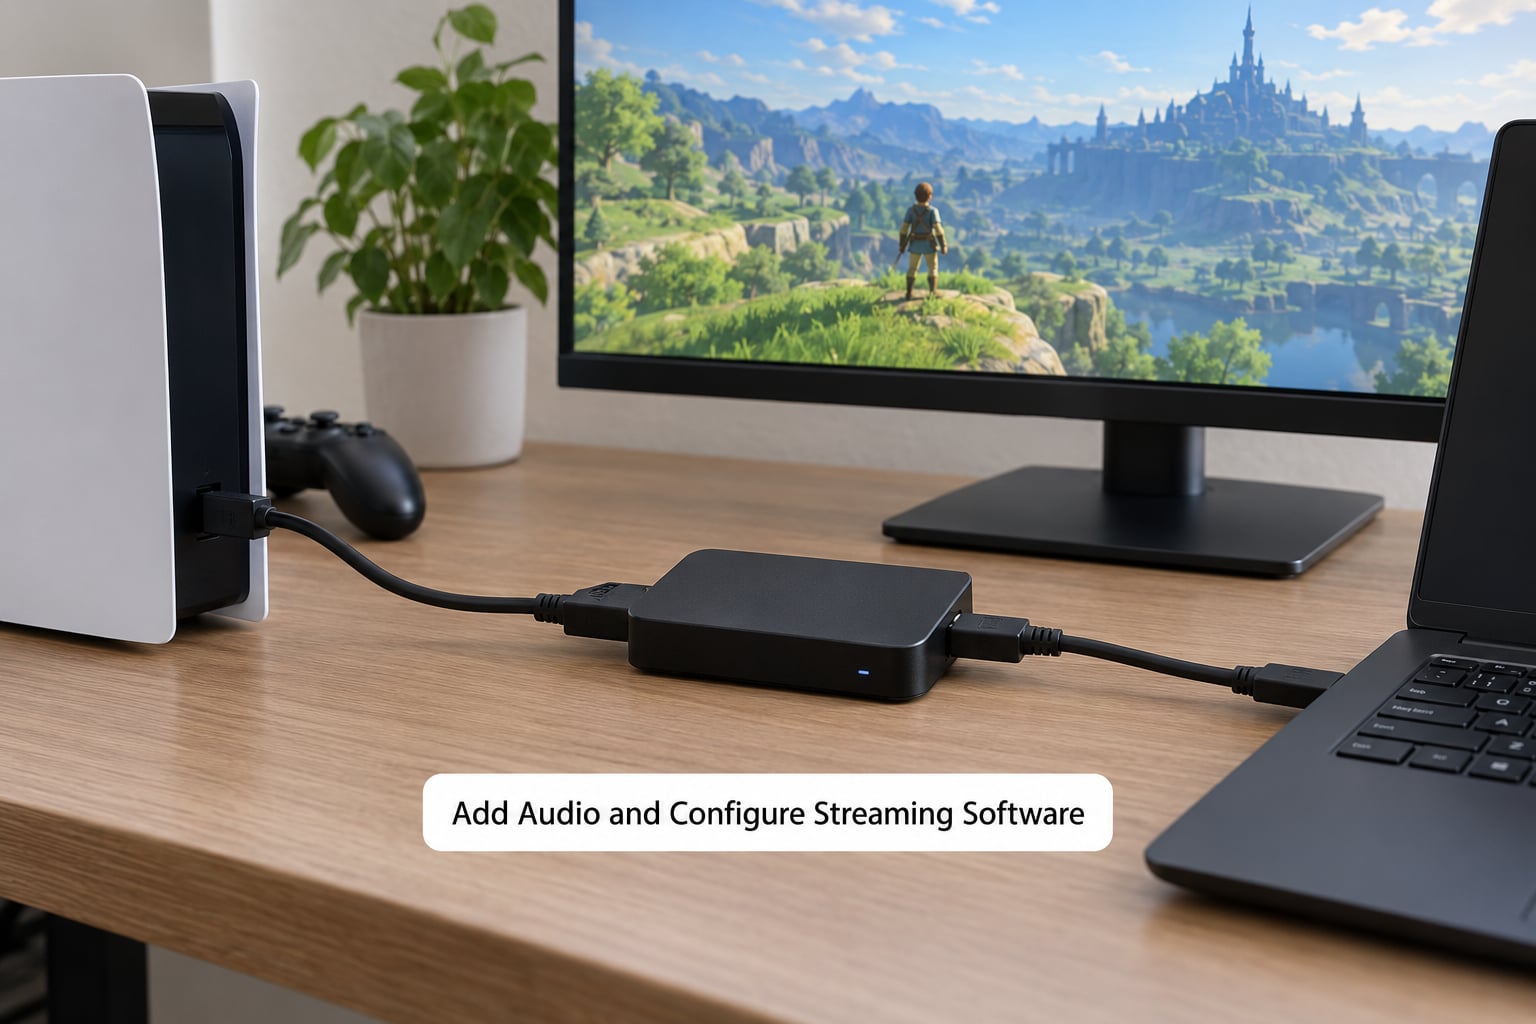
Most capture cards carry the console’s audio inside the HDMI signal, which is the easiest route by far. In OBS, add a Video Capture Device source, pick your card from the device list, and leave the audio mode on default so the HDMI audio comes in with the video.
Some players prefer audio as its own source, which lets you set levels and mute tracks separately. Add an Audio Input Capture source, choose the card’s HDMI audio endpoint if the card exposes one, or pick your console’s HDMI or optical output on a separate connection.
Add the microphone as a second source. Set your mic level in Settings, Audio, then keep an eye on the mixer at the bottom of the OBS window: green bars that reach yellow mean the track is too hot, and clipping sounds awful in a recording.
For monitoring, open View, then Advanced Audio Properties, set your mic to Monitor and Output, and wear headphones. Monitoring through speakers creates echo for everyone on the stream, including you.
Console voice chat is a separate problem. Game audio usually rides the HDMI signal, but party chat on PlayStation and Xbox generally does not. If you need it captured, run Discord on a second device, use a chat-mix program, or plug a headset with a microphone into the capture card where the hardware supports it.
Success check: Record ten seconds while talking and playing. The file should contain both your voice and the game sounds at sensible levels.
Test the Capture Before Going Live
Do a short test instead of trusting the preview window. The preview shows you what OBS sees, not what made it into the file.
Start a test recording and play for two or three minutes on a busy screen with a timer or score counter visible. Watch for dropped frames in the status bar at the bottom of OBS, and check that the audio meter moves.
Stop the recording and play the file back on a second device. Look for audio drift, where music or dialogue slowly slides out of sync, and check that motion looks clean rather than smeared.
Finally, test your own latency honestly. Watch a timer on the display and drive a car or a camera in game, then compare the movement with a phone stopwatch held in view. A small delay here and there is normal; a delay that makes aiming feel loose is worth fixing.
Success check: A completed file that plays back correctly with matching audio, no dropped frames, and lag you can live with.
Common Mistakes
Most problems are visible while you set things up. If the picture is black on your display, an HDMI cable is usually in the wrong port. If OBS shows black while the TV shows the game, the console is outputting a format the card cannot read — turn HDR off and set 1080p60 to test. If frames drop the moment you start recording, move to a direct USB 3.0 port or a PCIe slot.
Gaming on one screen only is a workflow problem rather than a hardware one. Run the game in windowed mode on your PC display and keep OBS on a second virtual desktop you switch to with a hotkey, or stream from a second cheap computer while you play on the main one.
Common Capture Card Setup Mistakes and Fixes
Here are the failures people hit most, each with the fix that solved it.
Black screen on the TV, game plays fine elsewhere: The console is plugged into the card’s output port, or the card is sending video where the display should receive it. Swap the two cables so the path reads console to HDMI IN, card HDMI OUT to display.
Black screen in OBS but a fine picture on the TV: Check the source resolution and frame rate against what the console sends, then disable HDR and variable refresh rate on the console. Protected video stays black no matter what you change, so test with actual gameplay.
No audio anywhere: The HDMI audio option on the source may be switched off. Open the Video Capture Device source properties and set the audio mode to default, then check the OBS mixer to see whether the audio bar moves at all.
Audio too quiet or clipping: Use the OBS mixer sliders, then enable the limiter in Settings, Audio. Keep peaks near minus six to minus twelve decibels rather than pinned at the top.
Dropped frames as soon as recording starts: You are on a USB 2.0 port, a hub, or a long cable. Move to a USB 3.0 port on the machine itself, and consider a PCIe card if the drops continue.
Console powers off when the card is connected: Some consoles reduce their available power when a device draws from the same outlet. Plug the display and console into separate wall sockets.
Everything works until the stream starts: Your upload or encoder is the bottleneck, not the card. Drop the recording quality and check whether other devices on the network are pulling bandwidth.
Three habits keep a setup stable. Keep a second HDMI cable and a spare USB cable within reach, since cables fail far more often than hardware. Leave headroom in your encoder settings rather than running at the limit. And check the card’s temperature during long sessions — a card that is too warm throttles and drops frames, so give it airflow instead of stacking it under a monitor.
On lag, the passthrough path is what your eyes react to, not the encoding. A card that adds one frame of delay on the TV looks and feels fine; a cheap card that adds several frames at high refresh rates does not. Test your own delay with the stopwatch method before blaming your monitor or your TV.
Frequently Asked Questions
Do I need an HDMI splitter to use a capture card with a console?
Usually not. A capture card with an HDMI passthrough port sits between the console and your display on its own: console to the card’s HDMI IN, card HDMI OUT to the TV. You only need a splitter if the card has no passthrough port, if your display has no spare HDMI input, or if you want the console picture on two screens at the same time. In that case a one-input two-output splitter is enough.
Why does my capture card show a black screen?
Most often the two HDMI cables are reversed, so the console feeds the card’s output port. Another frequent cause is a mismatch between the console output and what the card can read: turn HDR and variable refresh rate off on the console and set 1080p60 to test. Finally, protected content such as Blu-ray playback is encrypted, and a capture card will always show black for it. Gameplay from current consoles usually captures fine.
How do I get console audio into my capture card?
Most capture cards carry audio inside the HDMI stream, so no extra cable is needed. In OBS Studio, add a Video Capture Device source, choose your card, and set the audio mode to default so the sound arrives with the video. If you want audio as a separate source you can mute and level independently, add an Audio Input Capture source and pick the card’s audio endpoint or your console’s HDMI or optical output.
Does a capture card add lag to console gameplay?
Very little if the display is connected through the card’s passthrough port. The TV receives the console signal directly, so input response stays close to normal, and the encoding work happens on your PC where you cannot feel it. Cards that add a frame or two of delay are hard to notice. Cheap cards running at high refresh rates can add several frames, which is why it is worth testing with a stopwatch before buying.
Can I record gameplay with a capture card without going live?
Yes, and that is the easier half of the job. In OBS Studio, set up the Video Capture Device source as described above, then use Start Recording instead of Start Streaming and pick an output folder and format in Settings, Output. Record a two-minute test first and play it back, because the preview window does not reveal dropped frames or audio drift. Encoding is local, so your internet speed does not affect the recording quality.
Conclusion
Start by confirming the console picture on your TV with nothing else in the chain. Then connect the console to the card’s HDMI input, run the card’s output to your display, plug the card into a USB 3.0 port on your PC, and add it in OBS Studio as a Video Capture Device source.
Set the console output to a resolution and frame rate the card can actually capture, keep audio on the default HDMI mode, and record a short test file before your first stream. Once that file plays back with matching sound and no dropped frames, the hard part of learning how to use a capture card with a console is finished.