Live streaming is upload-bound, so a fast download speed and a powerful PC will not rescue a weak upstream line. To improve stream quality on slow upload speed, you send less data per second and pair that data correctly: halve your measured upload speed to get a safe bitrate, match the bitrate to a resolution and frame rate your line can carry, and pick an encoder that never stalls. Most of the work is done in OBS Studio or Streamlabs Desktop in about ten minutes.
Before you touch a single setting, it helps to know which of the two problems you actually have. A stream that looks clean in a static menu but breaks into pixelated mush during a firefight is a bitrate and resolution mismatch. A stream that buffers, freezes or kicks off after ten minutes is a connection problem. Those two need opposite fixes, and guessing at it wastes a whole evening.
Table of Contents
- What You Need
- How to Improve Stream Quality on Slow Upload Speed
- Upload speed to settings: the matrix
- Step-by-Step
- 1. Measure Your Real Upload Speed
- 2. Lower the Video Bitrate Before Changing Everything Else
- 3. Reduce Resolution and Frame Rate
- 4. Choose the Right Encoder and Encoding Preset
- 5. Close Bandwidth-Heavy Apps and Fix Network Instability
- 6. Run a Short Test Stream and Tune Dropped Frames
- Common Mistakes
- Frequently Asked Questions
- How much upload speed do I need for a good quality stream?
- Is 720p better than 1080p on a slow upload speed?
- Will increasing the stream bitrate improve quality?
- Should I use hardware encoding in OBS Studio?
- Why does my stream look blurry even when my internet speed test is fast?
- How do I fix dropped frames when the upload speed is unstable?
- Conclusion
What You Need
You do not need new hardware for most of this. You need the truth about your upload speed and a place to change encoding settings.
- A speed test you trust. Run it wired, with nothing else downloading, at roughly the same time of day you usually stream.
- OBS Studio or Streamlabs Desktop. Both expose the same Output and Video panels. Menu paths below note where Streamlabs Desktop differs.
- Your platform’s bitrate ceiling. Twitch, YouTube Live and Kick each cap video bitrate, and on a slow line that cap never binds because your own upload is the limit.
- The OBS Stats panel (View, then Stats) open during your test stream. This is how you tell an encoder problem from a network one.
- Ten minutes and a quiet room. Genuinely. Making one change at a time is the only way to know what fixed it.
How to Improve Stream Quality on Slow Upload Speed
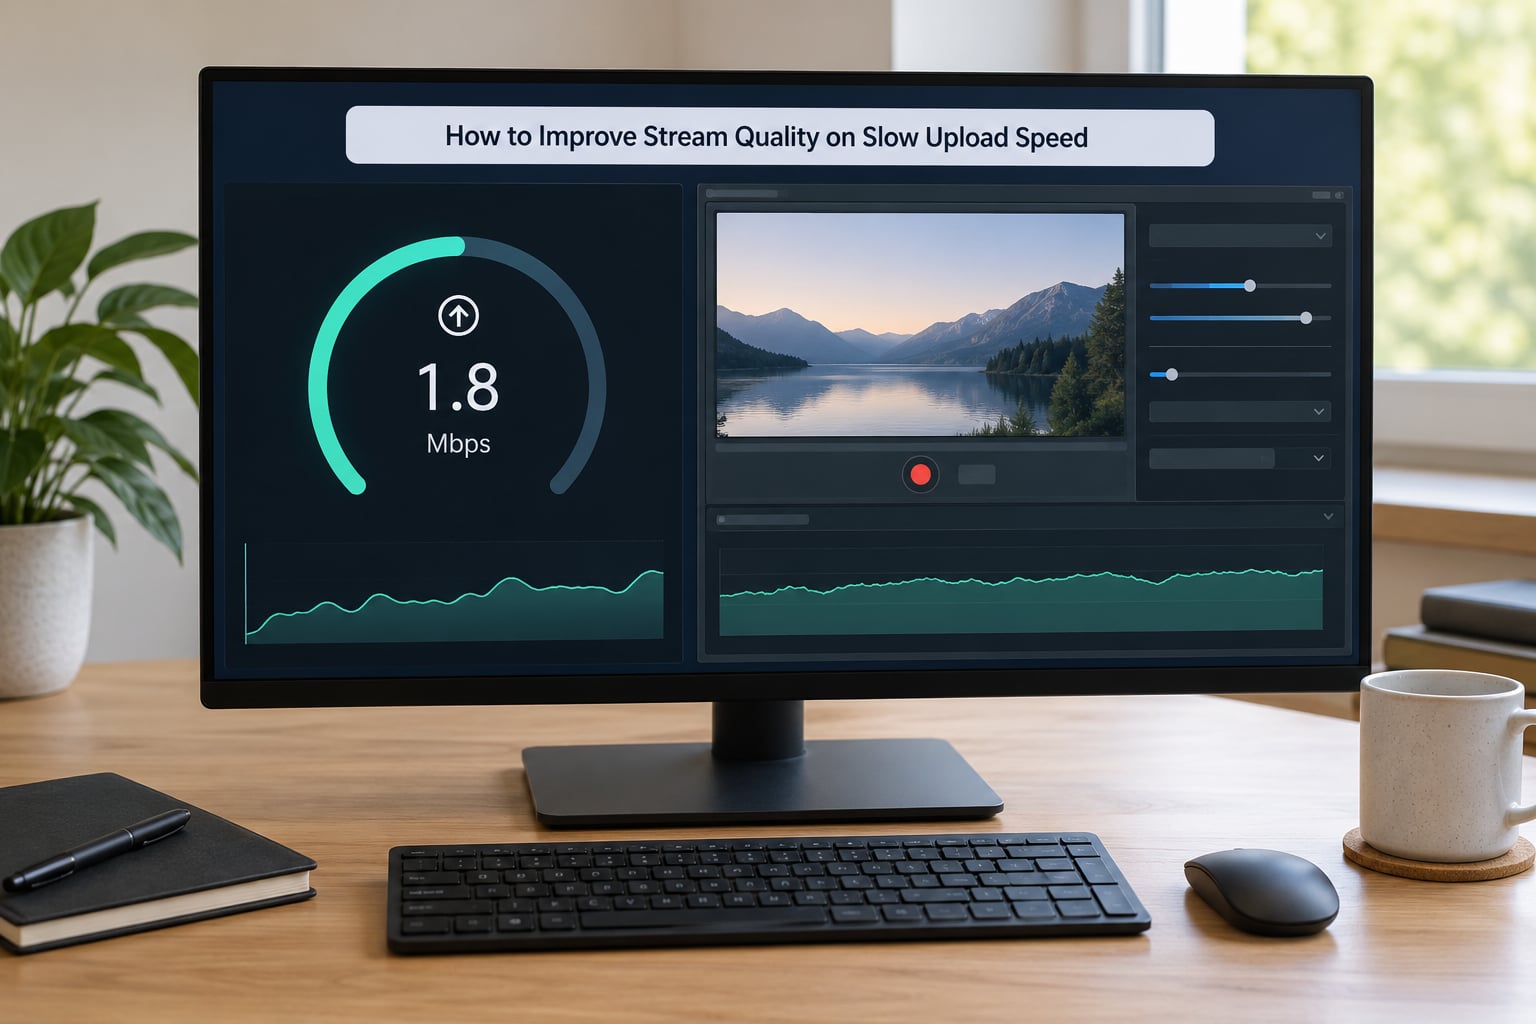
Here is the whole idea in one paragraph. OBS takes your picture, compresses it, and pushes it to a platform ingest server at a fixed rate called your bitrate. That rate is measured in kilobits per second, and it has to fit inside your upload capacity with room to spare. Miss that margin and the data queues instead of flowing, which is what viewers experience as lag, skipped frames and audio drifting out of sync. So the ceiling is your upload speed, not your graphics card.
The community rule that holds up best under real conditions is simple: set your stream bitrate to roughly half of your maximum measured upload speed. That 50% gap absorbs the household traffic spike, the Windows update and the neighbour’s upload. r/Twitch threads return to this rule constantly, and it is the reason a streamer measuring 5 Mbps up does not set 5 Mbps bitrate.
Upload speed to settings: the matrix
| Upload speed | Resolution | Frame rate | Video bitrate | Keyframe interval | Notes |
|---|---|---|---|---|---|
| Under 1 Mbps | 480p | 30 | 800 to 1000 kbps | 2 seconds | Or go audio-only. Below this a picture is not realistic. |
| 1 to 2 Mbps | 720p | 30 | 1200 to 1500 kbps | 2 seconds | Keep audio at 128 to 160 kbps and cut video first. |
| 2 to 3 Mbps | 720p | 30 | 2000 to 2500 kbps | 2 seconds | The tier most viewers call watchable, even on good connections. |
| 3 to 5 Mbps | 720p | 60 | 3000 to 3500 kbps | 2 seconds | Drop to 720p30 instead if your game is fast and your line is not. |
| 5 to 8 Mbps | 1080p | 30 | 4500 to 5000 kbps | 2 seconds | 6000 kbps is widely reported as too little for 1080p motion. |
| 8 to 10 Mbps | 1080p | 30 or 60 | 6000 to 8000 kbps | 2 seconds | Use 60 fps only when the game itself holds 60 comfortably. |
| 10 Mbps and above | 1080p | 60 | 8000 to 10000 kbps | 2 seconds | Only now does resolution or frame rate become worth raising. |
That 720p30 at 2000 to 2500 kbps tier comes up more than any other in r/Twitch threads about low upload speed, and it is not a compromise. It is the resolution and frame rate most viewers can comfortably watch, so the extra pixels above it buy you very little. Read the table as a ceiling, not a target. Drop one row if your line wobbles.
One more framing question before the steps: if your wired and Wi-Fi speed tests return the same number, your ISP is probably capping your upload rather than your Wi-Fi being the culprit. That is worth knowing before you buy a mesh system that will not help.
Step-by-Step
1. Measure Your Real Upload Speed
Run a speed test from a device plugged into the router with Ethernet, not Wi-Fi, and not from a phone on mobile data. Run it three times, at three different times of day, and write down the lowest result rather than the best one. Note the upload figure in Mbps and watch for packet loss or a jitter number above about 30 ms.
Ignore the download speed entirely. A 300 Mbps download says nothing about whether your stream holds together, and confusing the two is the single most common mistake people make with this problem. Aim for a stable upload rate at least 1.5 to 2 times your planned video bitrate, then use half of that measured maximum as the bitrate itself.
2. Lower the Video Bitrate Before Changing Everything Else
In OBS Studio go to Settings, Output, Streaming. Change the Output Mode to Advanced if it is not already there, set Rate Control to CBR, and type a new Bitrate in kbps. For Streamlabs Desktop the path is Settings, Stream, then the Stream Encoder section, where you set the Rate Control and Bitrate fields the same way.
Cut video before audio. Audio needs only about 128 kbps for stereo and viewers notice bad audio instantly, while a slightly soft picture is far more forgiving. Dropping video bitrate from 6000 to 3500 kbps does more for perceived quality than any encoder tweak you can make.
3. Reduce Resolution and Frame Rate
In OBS Studio open Settings, Video. You will see Base Canvas, Output Resolution and FPS. Set Output Resolution to 1280×720, set FPS to 30, and pick 720p from the Output Resolution dropdown so OBS downscales rather than upscales. Set the Downscale Filter to Lanczos; it holds detail better than Bicubic at the same bitrate.
Pick 720p30 for talking, strategy and most competitive play. Choose 720p60 only if the line is steady around 3 Mbps and your game genuinely runs at 60. Frame rate usually needs to fall before resolution does for action games, because motion costs bits, and a still frame costs almost none.
One specific thing to check while you are in there: turn off Game Capture if you are not running a game, and if you are, close overlays you do not need. Every extra scene layer is detail your bitrate has to pay for.
4. Choose the Right Encoder and Encoding Preset
Encoder lives next to the bitrate, in the same Stream Encoder panel. x264 is the software encoder and uses your CPU, which matters because a CPU pinned at 100 percent makes your game stutter and your stream lag. NVENC on NVIDIA cards or AMD AMF on AMD cards run on the GPU and leave the processor free for the game.
On a weak upload, hardware encoding is usually the calmer choice because it cannot stall mid-frame. If you stay on x264, set the Preset to veryfast or faster; the forum advice that cured choppy quality for some people was moving from a slow preset to medium, so test both and keep whichever holds a steady frame rate. Under a thin line the encoder is rarely the actual cause, but it decides whether your PC stays responsive while it is happening.
5. Close Bandwidth-Heavy Apps and Fix Network Instability
Uploads are the quiet thief here because downloads are visible and uploads are not. Pause cloud photo and video sync, console and game launcher downloads, Steam or Epic library updates, Windows Update, and any file transfer or video call running on the same line. A League of Legends media booster is worth naming specifically: it runs as an unattended torrent client and has been the identified culprit in OBS forum threads about choppy streams that looked fine on paper.
Use Ethernet for the streaming PC whenever you can. On Wi-Fi, move to the 5 GHz band, stand closer to the router, pick a cleaner channel, and if the signal is genuinely weak, add a mesh node rather than a range extender pushed into a dead spot. Restart the router before a stream too. Finally, if your router offers Dynamic QoS or traffic prioritisation, turn it on so your PC’s stream is ranked above a console downloading a title in the next room.
6. Run a Short Test Stream and Tune Dropped Frames
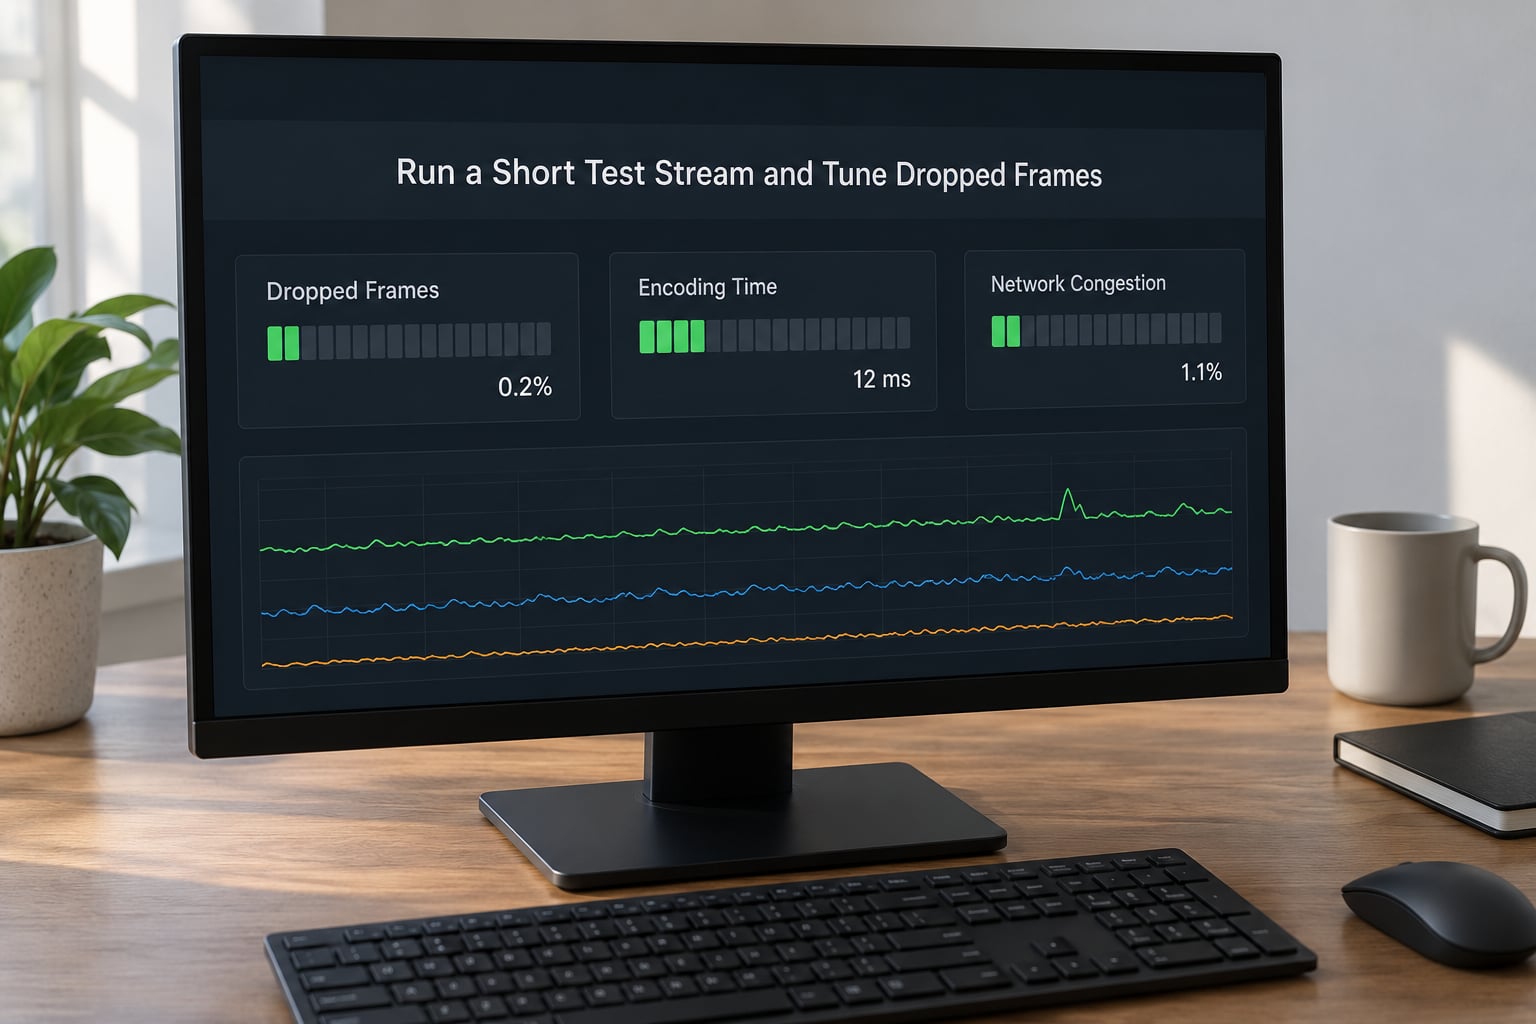
Stream to an unlisted YouTube Live stream or a private Twitch stream for ten minutes, with View, Stats open the whole time. The stats panel is the only place that tells you which of the four problems you have, and reading it takes about thirty seconds.
| What the stats panel shows | What it means | What to change |
|---|---|---|
| Dropped frames rising, encoding time normal | Your PC is fine, the network cannot keep up | Lower bitrate, close background uploads, switch to Ethernet |
| Encoding time at 100 percent | The encoder is overloaded | Move to NVENC or AMF, or speed up the x264 preset |
| Rendering lag high while encoding is idle | GPU or game performance, not upload | Lower in-game settings or cap your game frame rate |
| Clean first ten minutes, then stalls | Something started uploading mid-stream | Check launcher, sync client and Windows Update activity |
Change one setting at a time and watch a few minutes between changes. A stable frame rate, a near-zero dropped frame count, clean audio and no visible pixelation in a fast scene is what good looks like here. Then watch your own VOD rather than trusting the stream preview, because the preview lies about compression artefacts.
Two habits pay for themselves. Turn on local recording in OBS while you stream, so a failed upload never costs you the recording. And if your upload regularly collapses below 1 Mbps, plan for an audio-only stream or a local recording plus later upload instead of fighting the line.
Common Mistakes
- Reading download speed instead of upload. Your download speed is largely irrelevant. Fix: read the upload number on the speed test and ignore everything above it.
- Setting bitrate equal to your full upload speed. Any competing traffic and the stream suffers. Fix: halve the measured maximum, per the community rule.
- Running 6000 kbps at 1080p. That pairing is the top reported cause of pixelation during movement. Fix: drop to 720p, or raise the bitrate to match 1080p honestly.
- Changing five settings at once. You will never know what worked. Fix: one change, a few minutes of stream, check the stats panel.
- Leaving a 60 fps game capture on for a talking segment. You are burning bits on motion that is not there. Fix: separate scenes, or drop to 720p30.
- Streaming from a Wi-Fi dead spot. Signal strength collapses unpredictably and no bitrate setting rescues it. Fix: Ethernet, 5 GHz, or move the router.
- Suspecting the ISP before testing wired. Identical wired and wireless speeds usually mean an upload cap at the provider. Fix: compare the two, then decide whether to change plans.
Frequently Asked Questions
How much upload speed do I need for a good quality stream?
Aim for an upload speed of roughly twice your intended video bitrate. That gives 6 Mbps for a 3000 kbps stream at 720p60, or 10 Mbps for a 5000 kbps 1080p30 stream. The community rule of thumb is to set bitrate to half your measured maximum upload. Below 1 Mbps, plan on 480p or an audio-only stream instead.
Is 720p better than 1080p on a slow upload speed?
Yes, and this surprises people. A 720p stream at 2000 to 2500 kbps stays sharp and stable, while the same line pushing 1080p at 6000 kbps breaks into pixelation during fast motion. Fewer pixels at an honest bitrate always looks better than more pixels the bitrate cannot support. Drop resolution before you touch anything else.
Will increasing the stream bitrate improve quality?
Only if your line can carry it with headroom. Raising bitrate on a saturated upload causes buffering, dropped frames and audio drift instead of a cleaner picture. Quality improves when bitrate and resolution are matched, so the better move is usually the opposite: keep the bitrate safe and lower the resolution or frame rate to match it.
Should I use hardware encoding in OBS Studio?
On NVIDIA cards pick NVENC, on AMD cards pick AMD AMF, under Settings, Output, Streaming. Hardware encoding uses the GPU instead of the CPU, which frees processor headroom for the game and avoids the stalled-frame encoder lag you get when x264 saturates a core. If you stay on x264, set the preset to veryfast or medium and check encoding time in the stats panel.
Why does my stream look blurry even when my internet speed test is fast?
A fast speed test taken at the wrong moment, or on Wi-Fi, does not reflect conditions during your stream. Blurriness that appears only during fast movement is almost always a bitrate and resolution mismatch rather than a bandwidth shortage. Watch your own VOD after a test stream, and compare wired and wireless tests. Identical readings on both usually point to an ISP upload cap.
How do I fix dropped frames when the upload speed is unstable?
Open View, Stats while streaming. Rising dropped frames with normal encoding time mean the network cannot sustain your bitrate, so lower the bitrate, pause background uploads and move to Ethernet. If encoding time sits at 100 percent instead, the problem is your encoder, not the line. Switch to NVENC or AMF, or speed up the x264 preset.
Conclusion
Measure your upload speed first, wired, and write down the worst of three readings. Take half of that number as your stream bitrate, then pick the matching row from the settings matrix: 720p30 at 2000 to 2500 kbps is the sweet spot for most lines in the 2 to 5 Mbps range. Test stream for ten minutes with the stats panel open, and if dropped frames climb while encoding time stays normal, the answer is bandwidth, not settings. Improve stream quality on slow upload speed by sending less, pairing it correctly, and measuring honestly.