Most OBS recording lag comes down to four settings: the encoder, the rate control, the resolution you record at, and where the file lands on disk. Pick a hardware encoder (NVENC, AMD, or Intel Quick Sync), set rate control to constant quality instead of a bitrate, record at your monitor’s real refresh rate, and save to an SSD, and the encoder stops fighting your CPU for cores. A clean setup takes about 20 minutes, and this walkthrough covers every click in the order that matters.
What follows is the process I would give someone sitting next to me at a desk with a stuttering recording: install, video settings, capture source, audio, encoder, storage, test. Skipping straight to the encoder panel and guessing is why most people end up back here a month later.
Table of Contents
- What You Need
- Step-by-Step: How to Set Up OBS for Game Recording Without Lag
- 1. Install OBS Studio and choose the right recording mode
- 2. Set your recording resolution and frame rate
- 3. Add your game as a Game Capture source
- 4. Configure your audio sources
- 5. Choose encoder and bitrate settings for game recording without lag
- 6. Save recordings to a fast drive
- 7. Test the recording and confirm performance
- Common Mistakes
- Frequently Asked Questions
- Why does OBS cause lag while recording a game?
- What are the best OBS settings for recording gameplay without lag?
- Should I use Game Capture or Display Capture in OBS?
- Does OBS need to be encoding while I am recording?
- How do I fix dropped frames in OBS Studio?
- Is it better to record in OBS or use NVIDIA ShadowPlay?
What You Need
Four things, and one of them is a fast disk people keep overlooking. Everything else you probably own already.
- A PC with headroom. OBS needs a few CPU cores spare even with hardware encoding. A modern six-core chip handles 1080p60 comfortably.
- A capture method. Game Capture hooks into the game’s graphics API directly, which is lighter than recording the whole screen.
- An audio source. At minimum your desktop audio for game sound, plus a microphone if you plan to talk.
- An SSD. A SATA SSD is fine. An external spinning drive over USB is the number one cause of dropped frames on an otherwise capable machine.
- Current OBS Studio. Grab it from obsproject.com, not a third-party download page.
Before you open OBS, know which GPU you have, because it decides your encoder. Right-click the Windows Start button, choose Device Manager, expand Display adapters, and read the card name. If a laptop lists two adapters, note both. You will need that later.
| Your GPU | Encoder to pick | Rate control | Starting quality value |
|---|---|---|---|
| NVIDIA RTX or GTX (Turing and newer) | NVIDIA NVENC | CQP | 20 |
| AMD Radeon RX 5000 or newer | AMD HW Encoding | CQP | 20 |
| Intel Arc or Intel UHD/Iris with Quick Sync | Intel Quick Sync | CQP | 22 |
| Old GPU, no hardware encoder | x264 (CPU) | CRF | 20, preset Very Fast |
Those four values are a known-good starting point, not a final answer. Move the CQP number up for bigger files and better quality, down for smaller files, and only then worry about anything else.
Step-by-Step: How to Set Up OBS for Game Recording Without Lag
1. Install OBS Studio and choose the right recording mode
Download the installer from obsproject.com and run it as administrator if Windows prompts. The first launch offers an Optimize for Recording wizard. Use it, then adjust the values afterward, because the wizard often defaults to x264 even on machines with a perfectly good NVENC chip.
What you are choosing here is the Output mode. Open Settings, go to Output, and leave it on Simple while you get a working file, then decide later whether Advanced gives you more control. Simple mode exposes Encoder, Rate Control, and Bitrate in plain language, which is why it is the right starting point for a first clean setup.
2. Set your recording resolution and frame rate
In Settings, go to Video. Your Base (Canvas) Resolution should equal your monitor’s resolution, and Output (Scaled) Resolution should match it too unless you deliberately want a smaller file. Then set FPS to the number your monitor actually runs at: 60 for a 60Hz panel, 120 or 144 for a faster one.
Recording at 60 while playing a 144Hz game produces motion that stutters in playback, because the file only holds half the frames your eyes saw. Matching them costs nothing.
The one place a mismatch helps is upscaling: base 1080p, output 1440p on a 1440p monitor gives a slightly soft image at a fraction of the GPU cost. I only do this for talking-head material, never for fast gameplay.
Set the Downscale filter to Lanczos if you ever scale down, and Bicubic if you scale up. The default bilinear filter softens fine detail, which is visible on HUD text.
3. Add your game as a Game Capture source
In the Sources panel at the bottom, click the plus button and choose Game Capture. In the Mode dropdown pick Capture Specific Window, then select your game from the list. This is the mode you want, because it attaches to one window instead of a whole monitor.
Game Capture hooks into the game’s own rendering, so it costs almost nothing and never records your desktop, taskbar, or a chat window. The other options are Display Capture, which grabs everything and is your fallback for consoles, emulators, and full-screen apps, and Window Capture, which grabs a window without the game-specific hook and sometimes captures the black border of a borderless window.
Black screen after adding a source usually means one of three things: the game is running in exclusive fullscreen instead of borderless, the anti-cheat in that game blocks Game Capture, or the window list needs refreshing. Switch the game to borderless windowed and hit Refresh in the source properties.
Size the source to your canvas under Transform, and check Fit to Screen only if you want letterboxing handled automatically.
4. Configure your audio sources
Your audio mixer at the bottom of the OBS window usually has Desktop Audio and Mic/Aux already. Desktop Audio should say Default, which means it follows whatever Windows is playing, including game sound.
Add a microphone by clicking the plus button under Sources, choosing Audio Input Capture, and picking your mic. Then mute whatever you do not want in the recording. If you talk and play, an accidental Discord or notification sound is a pain to strip out later.
For anything you plan to edit, turn on multi-track audio. In Settings, go to Output, tick the Audio Track 2 box, and leave Track 1 unmuted. Mic/Aux goes to Track 2 by default, game sound to Track 1. Your editor can then mute your voice with one click.
Watch for green bars turning yellow or red in the mixer while you talk and play. Yellow means you are close to clipping and will need to turn down input sensitivity in your Windows sound settings, or in OBS under Settings, Audio, Mic/Aux.
5. Choose encoder and bitrate settings for game recording without lag
This is the setting that decides whether your game stutters. In Settings, go to Output. With Simple mode, find the Encoder dropdown and pick your hardware encoder: NVIDIA NVENC, AMD HW Encoding, or Intel Quick Sync. Never leave x264 selected if you have a hardware encoder available.
Hardware encoding runs on a dedicated block inside the GPU, which means your CPU keeps every core for the game. x264 runs on the CPU and competes with the game directly. On a weak processor, the difference between the two is the difference between a smooth recording and a stuttering one.
Next, set Rate Control to CQP and pick a quality value. CQP tells the encoder to hit a target quality and spend whatever bitrate that takes, which produces variable file sizes and no quality ceiling. CBR, the default for streaming, targets a fixed bitrate and will either waste space or visibly degrade a busy scene.
The widely used range is CQP 16 to 23. At 18 or lower you get large files with very little visible compression, around 20 a 1080p60 gameplay file lands somewhere in the 8 to 20 GB per hour range, and 23 trims that noticeably while still looking clean. Pick 20 and adjust from there.
For x264 as a last resort, choose CRF, set it to 20, and set the CPU preset to veryfast. Slower presets like slow compress better but eat CPU cycles the game needs. In Advanced mode you also get a keyframe interval field, and 2 seconds is the sane value for editing.
If you plan to stream and record at the same time, keep CQP for the recording tab and CBR only on the Streaming tab. They are separate panels and can hold different values.
6. Save recordings to a fast drive
Same page, Output, Recording tab. Click Browse and point the Recording Path at a folder on your internal SSD, ideally not your desktop if that is synced to a cloud drive. Create a dedicated folder for videos rather than dumping them next to your downloads.
Recording writes hundreds of megabytes a second. An external HDD or a slow USB drive cannot keep up, and OBS reports the result as dropped frames even though the game itself never dips. Moving the path to your internal drive is the fastest fix for a whole class of problems.
Switch File Format to MKV. If OBS or your machine crashes mid-session, an MKV file stays readable and you can remux it into MP4 from the same panel afterward. MP4 writes that die abruptly leave you with an unplayable file.
Leave Automatically split files off unless you need it, and if you turn it on, set the split size well above the size of a single session.
7. Test the recording and confirm performance
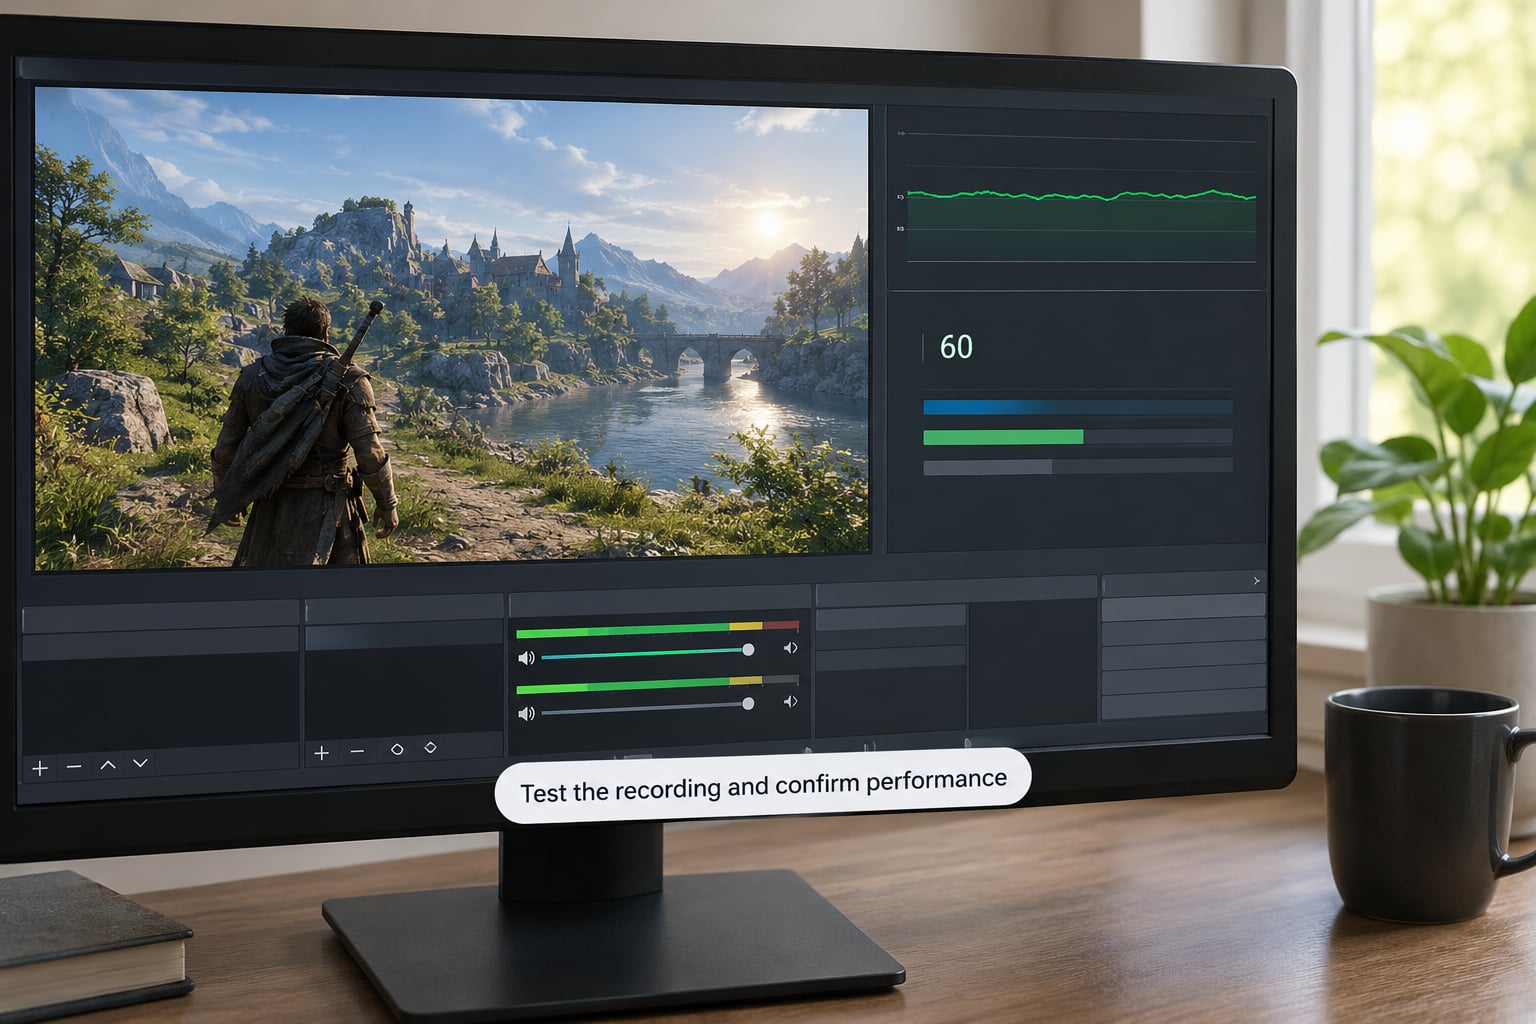
Hit Start Recording, play the part of the game that stutter the worst for about two minutes, then hit Stop Recording. The real test is not the preview, it is the file.
Open View, then Stats, to bring up the performance window. You want to read three things. Encoding lag means the encoder fell behind and is dropping video frames; anything above about 1 percent during your test means the encoder is the bottleneck. Rendering lag means OBS could not draw the scene fast enough. Dropped frames, the last line, means frames were lost and almost always points at your disk or your GPU.
If encoding lag is high, drop the CQP number by two, step the CPU preset up to veryfast, or close other apps that are using the GPU. If rendering lag is high, turn off any browser sources or filters, and check that your base resolution has not been set above your monitor.
Then play the finished file in something other than Windows Media Player. Media Player’s decoder handles high bitrate MKV files badly and will report playback lag that does not exist. VLC and MPC-BE both play the same file smoothly, and a recording that is smooth in one of those was never laggy.
Common Mistakes
Using CBR for local recording. CBR is a streaming control. For files, constant quality gives you better-looking video at a similar size. Fix: switch Rate Control to CQP on the Recording tab.
Leaving x264 selected by default. The auto-configuration wizard often picks it even on capable hardware, and it takes CPU from your game. Fix: choose NVENC, AMD HW Encoding, or Intel Quick Sync, then restart OBS if the option is greyed out.
Recording directly to MP4. One crash and the file is gone. Prevention: record to MKV and remux to MP4 from File, Remux Recordings after you close the session.
Recording to an external drive. Dropped frames appear in the statistics window and the file stutters. Fix: point the Recording Path at an internal SSD and re-test.
Judging quality in Windows Media Player. It struggles with the bitrates quality mode produces. Open the file in VLC before you conclude anything is wrong with your setup.
Ignoring which GPU a laptop is using. On a dual-GPU laptop, OBS can end up rendering on the integrated chip while the game runs on the discrete one, which starves the encoder. Fix: in your laptop’s control panel, set the OBS executable to high performance, and check Settings, Video, Device in OBS itself to see which adapter is listed.
Windows 11 changes after a working setup. Hardware-accelerated GPU scheduling and Game Mode can shift frame pacing after an update. If performance dropped without you changing anything, turn Game Mode off for that game in Settings, Gaming, and try toggling hardware-accelerated GPU scheduling in Settings, Display, Graphics, to see if either direction helps.
A quick rule that fixes most cases: watch the Stats window during your test and fix only what it reports. Guessing wastes an afternoon; a red line at the bottom of that window tells you exactly where to look.
Frequently Asked Questions
Why does OBS cause lag while recording a game?
OBS costs CPU and GPU cycles while it captures, scales, and encodes video. With x264 selected, the encoder competes with the game for processor cores, which shows up as stutter. Hardware encoding moves that work to a dedicated block on the GPU and the game usually stops noticing. Other causes include recording to a slow external drive, a base resolution set above your monitor, and too many filters or browser sources.
What are the best OBS settings for recording gameplay without lag?
Use a hardware encoder, rate control set to CQP at 18 to 22, output resolution and frame rate matched to your monitor, MKV as the file format, and an internal SSD as the recording path. In Advanced mode set the keyframe interval to 2 seconds so your editor has clean cut points. Verify with View, Stats during a two-minute test and keep adjusting only what the statistics report.
Should I use Game Capture or Display Capture in OBS?
Use Game Capture for PC games. It attaches to the game process, costs almost nothing, and records no desktop or taskbar. Use Display Capture when you are recording a console, an emulator, a full-screen app, or when a game’s anti-cheat blocks Game Capture and you get a black screen. Window Capture sits between the two and is a fallback, not a first choice.
Does OBS need to be encoding while I am recording?
Yes. Recording captures frames and encodes them into a video file at the same time, so the encoder runs for the whole session. That is why hardware encoding matters: it takes the load off your processor. The file is finished and playable the moment you press Stop Recording, with no export or render step waiting on you afterwards.
How do I fix dropped frames in OBS Studio?
Open View, Stats and read the last line. If dropped frames are zero but the video still stutters, the loss is happening on disk, so move the recording path to an internal SSD. If dropped frames climb alongside encoding lag, lower the CQP value or switch presets. If they climb with rendering lag, remove filters and browser sources. Re-test after each change rather than adjusting several things at once.
Is it better to record in OBS or use NVIDIA ShadowPlay?
ShadowPlay is faster to start and adds almost no overhead, which makes it a good backup for quick clips and highlights. OBS is the more capable tool: you can record multiple scenes, add a webcam and overlays, capture consoles and emulators, write separate audio tracks, and record a replay buffer of the last several minutes. For polished YouTube videos, most creators end up on OBS.
If you only remember three things from this guide, make them these: pick a hardware encoder instead of x264, set the rate control to CQP around 20, and record to an internal SSD as MKV. Get those right in 2026 and most of the lag people report disappears, leaving the game running exactly as it did with OBS closed.